

How to Win Gas Wars🏆
Step-by-Step guide to come out Victorious in the Ethereum Gas Wars!
696.eth
3 min read·
The market is slowly coming back and there's more demand than supply for certain projects.
You might have gotten a first come first serve (FCFS) or any other not guaranteed whitelist spot.
How are you going to make sure you are a winner and not a loser in the gas wars?

you will learn how to set up custom gas settings in the Metamask wallet and then add a better private RPC instead of the default one.
All of that to guarantee the win in the mint process.
Before we dive in, make sure to join the Discord community and subscribe to my newsletter👇
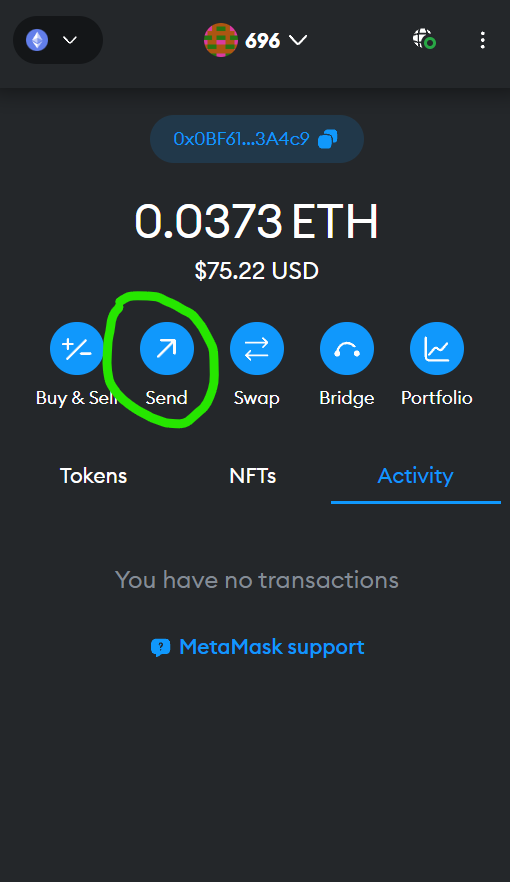
Open up your metamask and click on 'send'.
Pick any of your accounts.
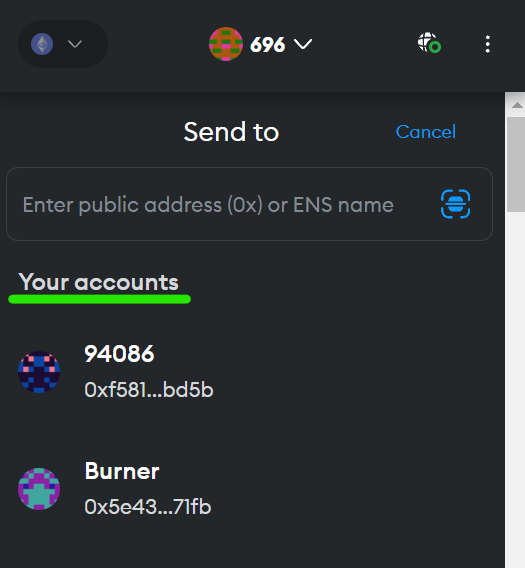
Click 'next'.

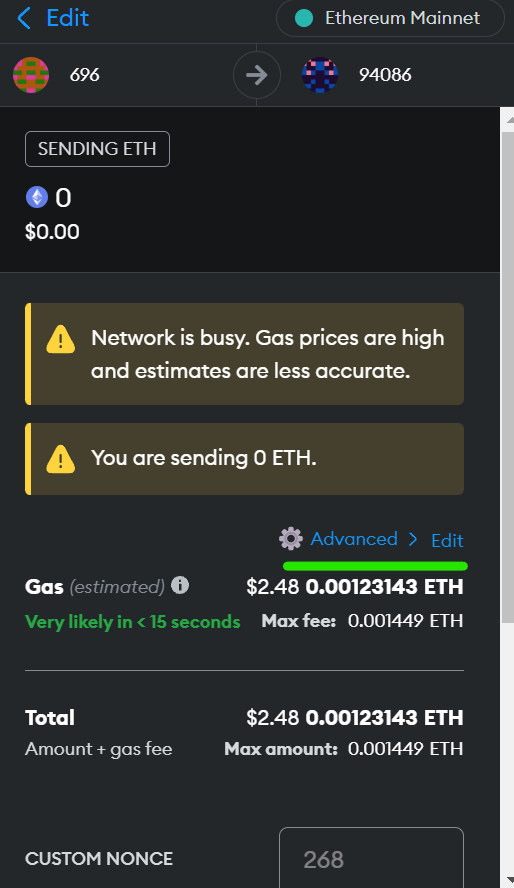
Click on the 'Advanced' or whatever setting you have there. Metamask uses the latest version so you might see 'Market', 'Slow', or 'Aggressive' button there instead.
Another menu opens up where we click on the 'advanced' again.
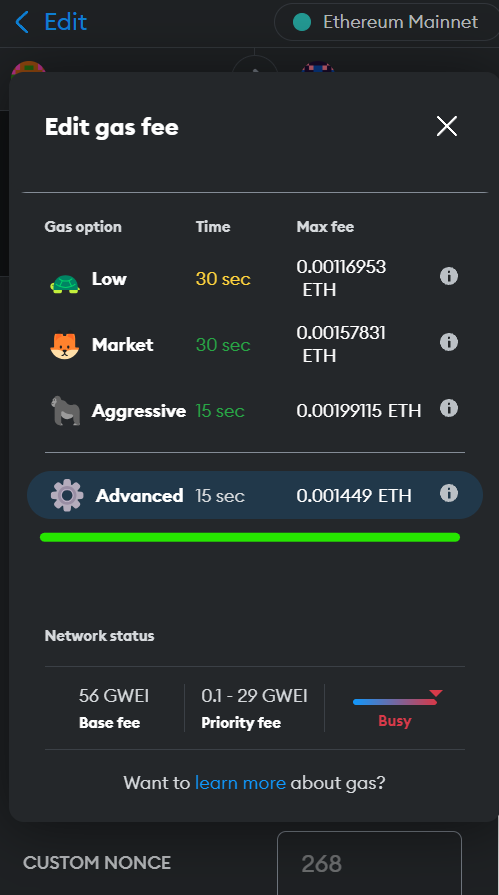
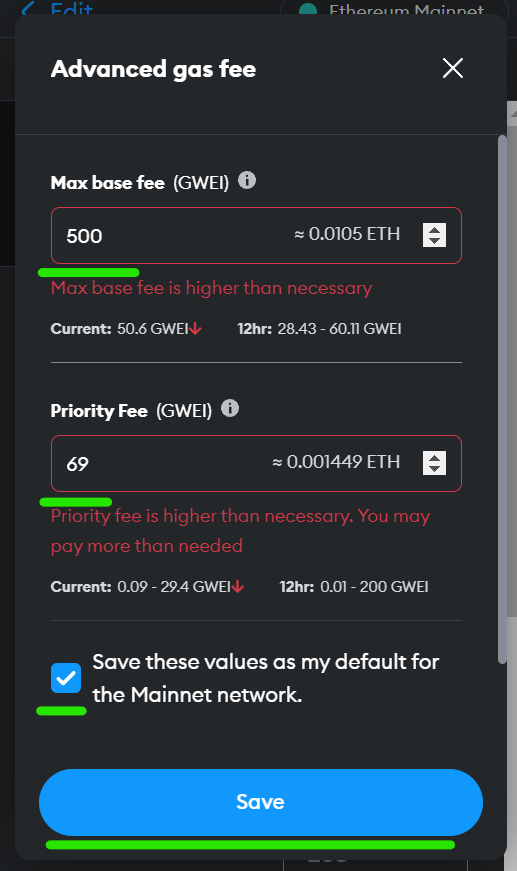
Now this is where we set the gas settings. After you are done, make sure to click the checkmark below to save them.
And it's done 🎊🎊
A few words about the fees.
Imagine that blockchain is a freeway and blocks are buses.
The base fee is like a bus ticket. Mint spots are limited and we want to board the first bus, so we are going to increase the fee. Since Ethereum upgrade EIP-1559, we can set the fee as high as we’re willing to pay, but we'll only end up paying the maximum amount needed at the time of a transaction.
For example, you set your base fee to 500 gwei and gas is at 50 gwei when the mint opens. You send the transaction but gas jumps up to 150 gwei—you’ll only end up paying 150 even though your base fee is 500. If you set your base fee at 100 you would have missed the first block (bus) since only transactions at 150 and above are included.
So what about priority fee then?
Our high base fee gives us a ticket to the first bus, however there are more people getting on the bus than there are spaces. So we need to ensure we have a seat. To do this, we are going to give the driver an anonymous tip—that's our priority fee. Unlike the base fee, we pay the full priority fee no matter the outcome. The hard part? We don't know how much everyone else is paying until after the bus is gone. This is where experience comes in handy to know how much to tip. I would set 200 priority for the very hyped mints. Many people put in increments of 50 (i.e. 50, 100, 150, etc). Meme numbers are common too, like 69, 169, etc. Just make sure to always add a bit more (i.e. 100.69 instead of 100, or even better, 102) The goal is to make sure we are in the bus but not tip more than we need to. However, coming from my personal experience, it is always better to overpay than miss your spot because you end up losing the gas fee and there are no refunds.
Gas option: this is set by the smart contract you're interacting with and won't affect how quickly you mint.
The best site to check for the current recent gas prices - Blocknative. They also have a handy extension.
Bonus part: setting up a private RPC (remote procedure call)
But first, why do we need a private RPC?
Faster performance
More consistent
Lower latency
MEV Protection Services (use MEV Blocker RPC for that)
Avoids congestion (yes it has happened before where Metamask's default RPC went down)
Advanced features (if needed)
Good RPCs that you can add in one click.
MEV blocker - I would recommend this one, especially for token trades so you are not being front run by bots.
Flashbots - is a good one to use for all other things.
Alchemy - my personal favorite for all other things too but requires a set up as it's private.
Go to the website.
Click on the 'Get Your API Key'

Sign up or Sign in.
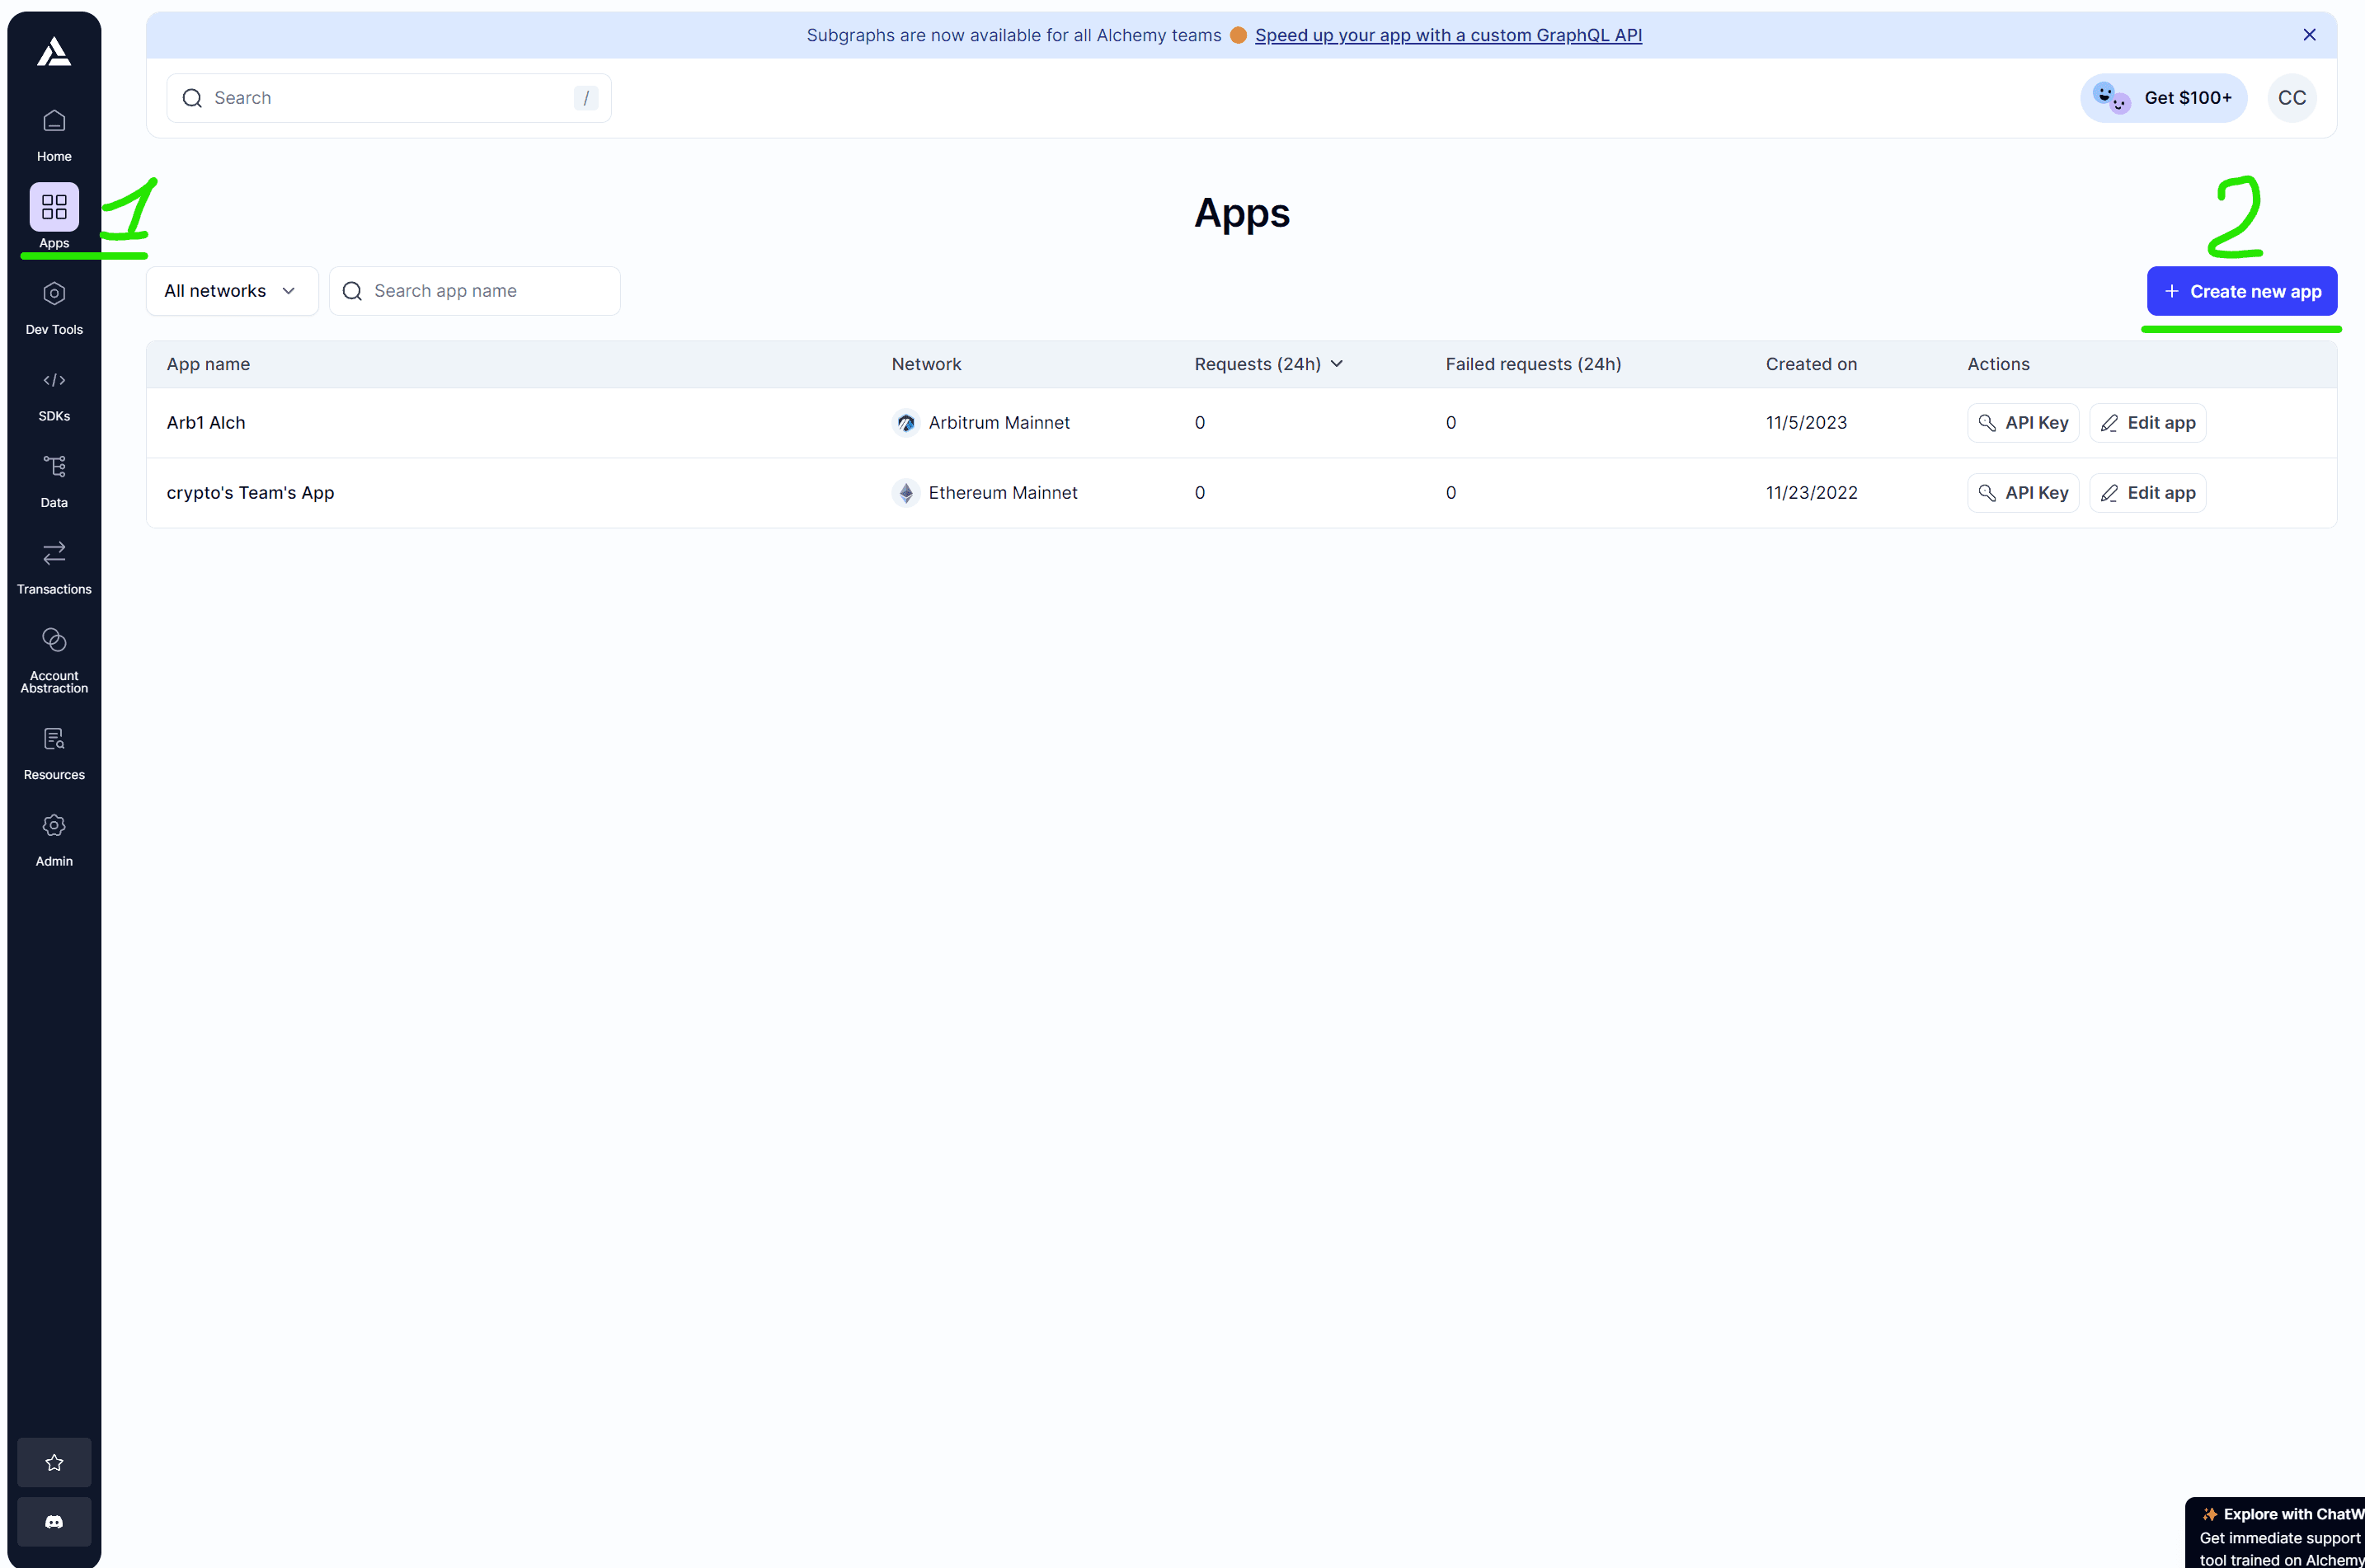
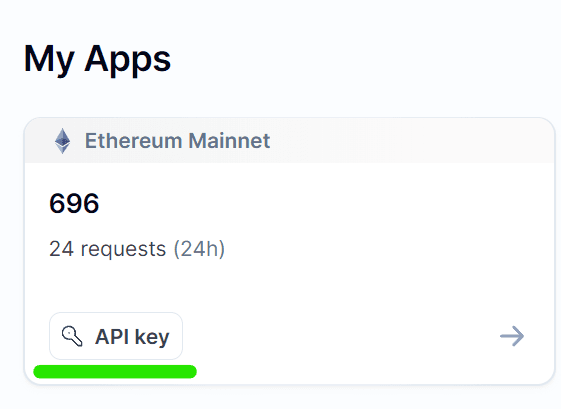
Click on the 'Apps' on the left side, then proceed to click on 'Create new app'.
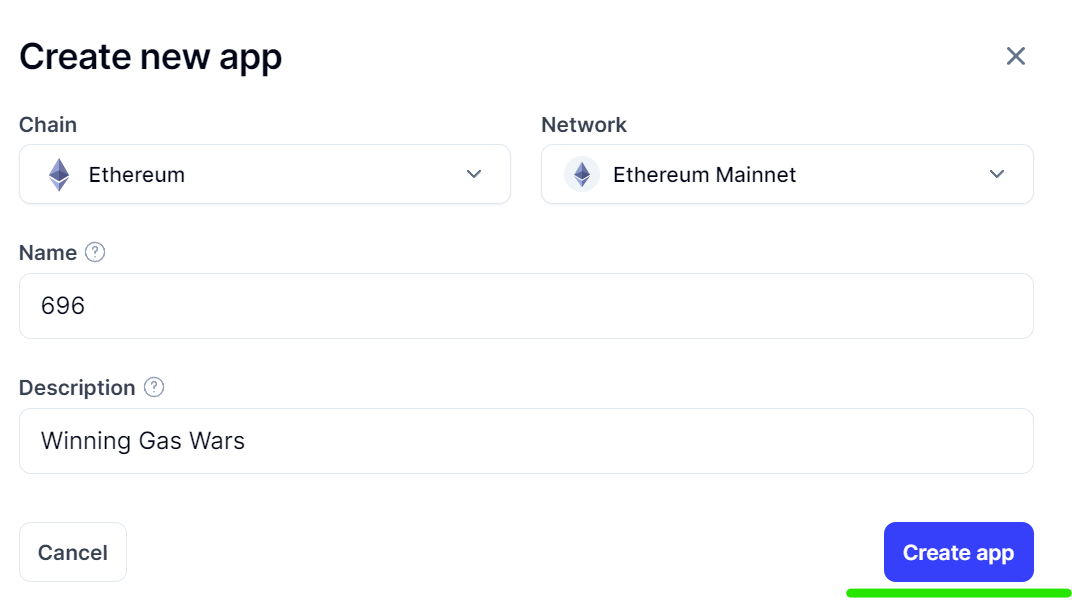
Make sure both Chain and Network are set to 'Ethereum' as shown in the image below. Fill in the Name and Description. Click on the 'Create app' button.
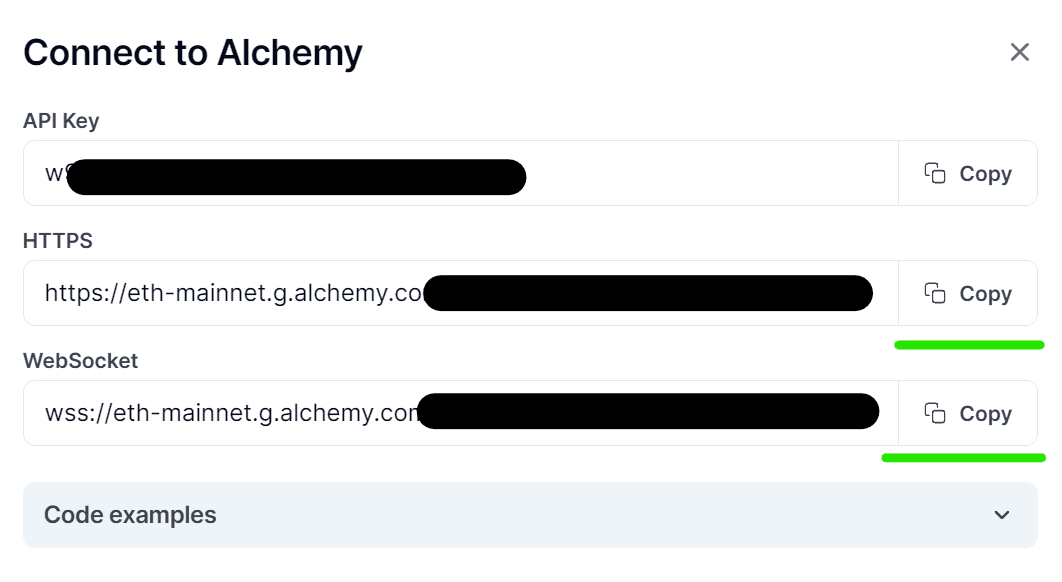
Click on the 'API key'

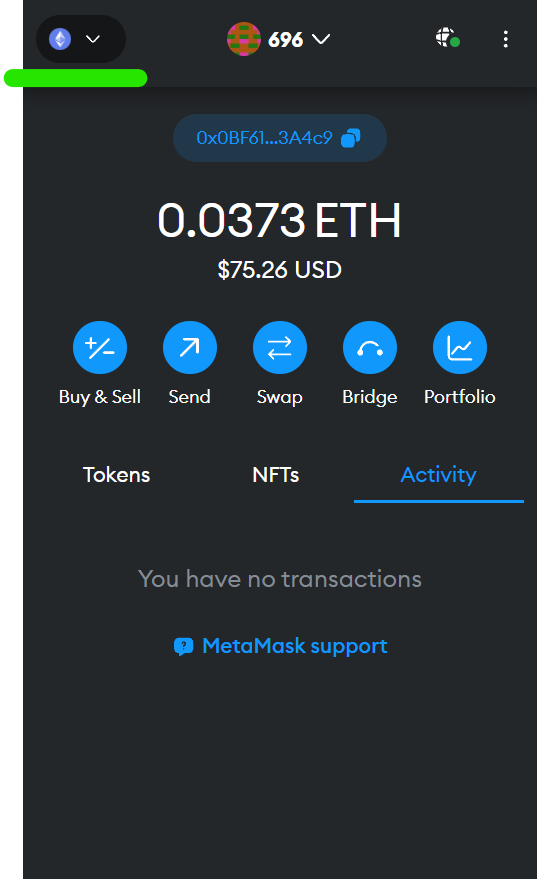
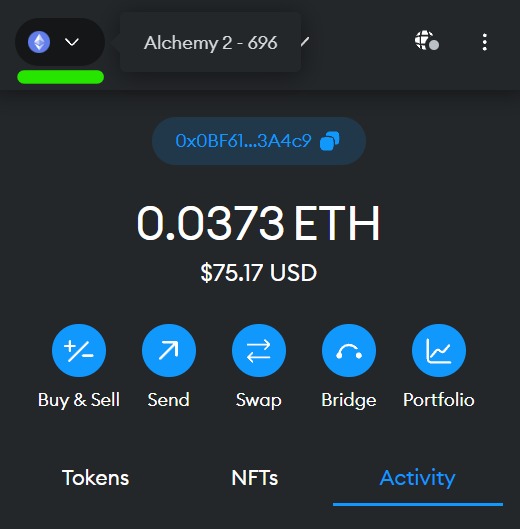
Having that window open, open up your metamask.
Click on the top left symbol
'Add Network'.
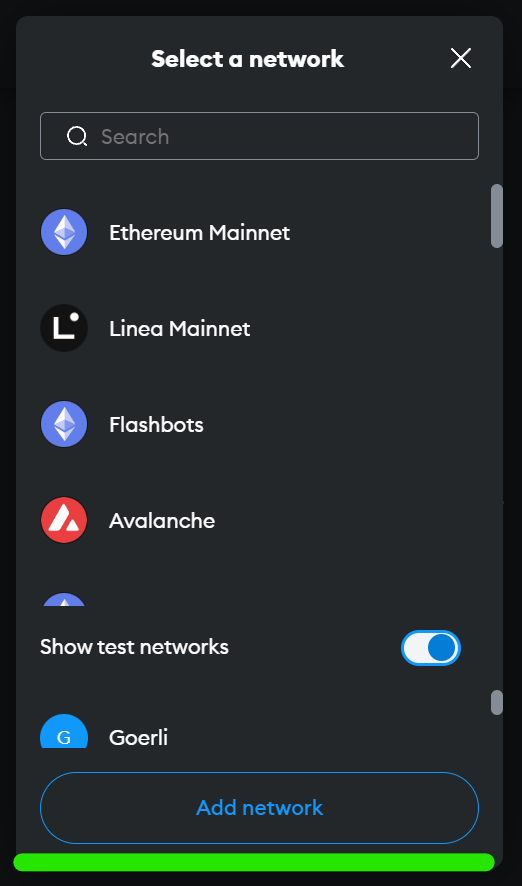
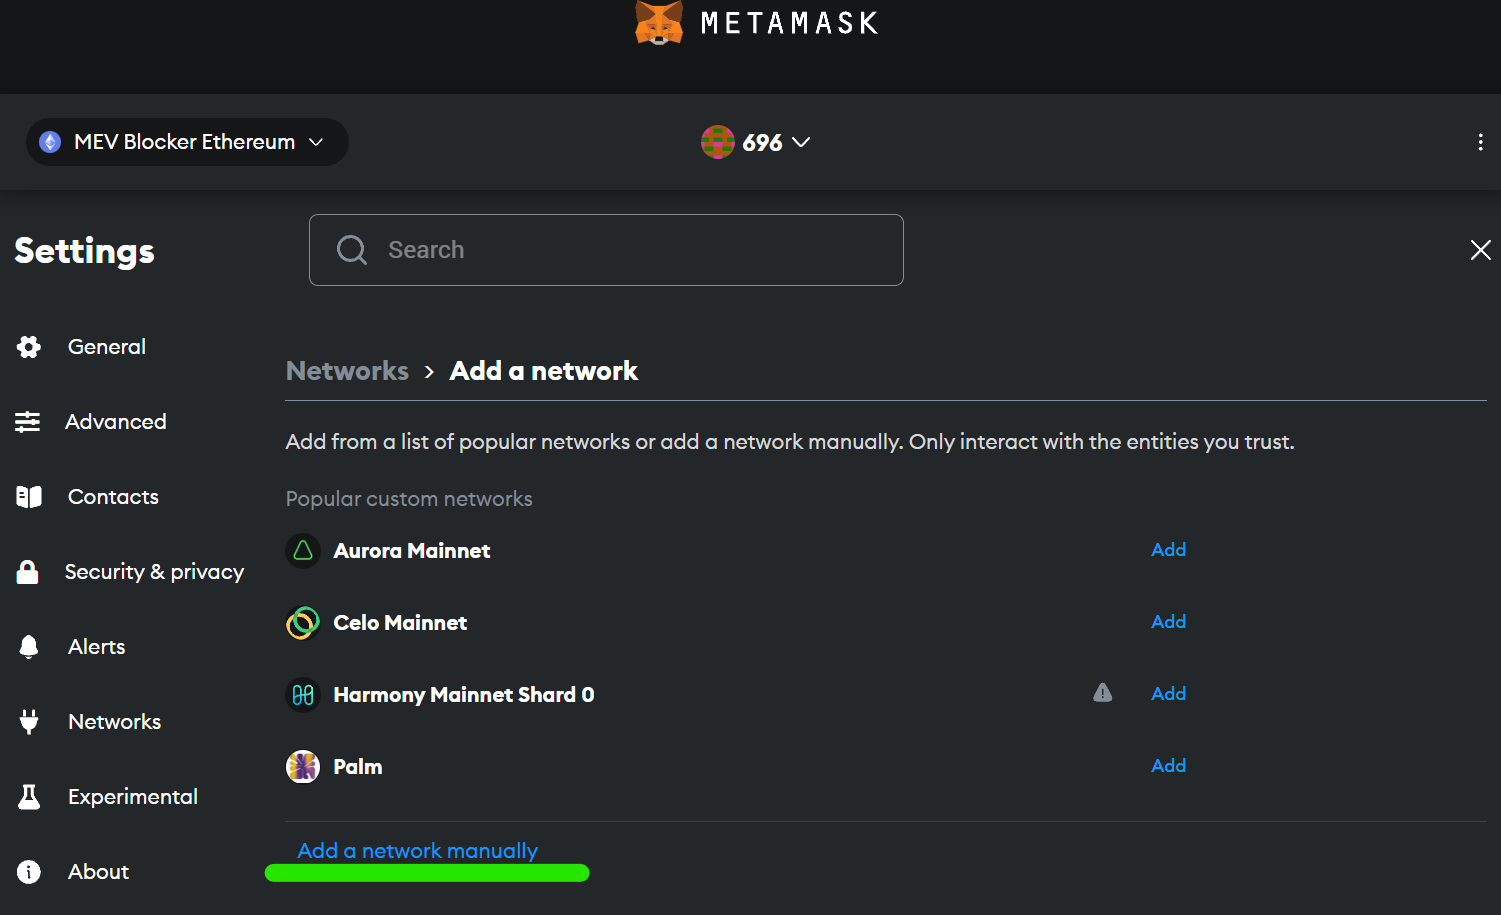
It is going to open up another window.
Click on the 'Add a network manually' at the bottom.
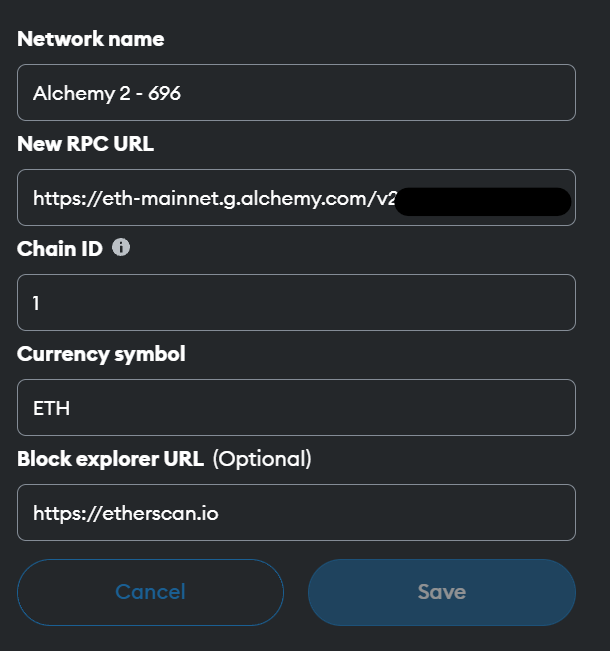
Now fill out the form.
Network Name: Anything you wantNew RPC URL: You get buy copying the HTTPS field from the other window that you have open.Chain ID: 1Currency symbol: ETHBlock explorer URL: https://etherscan.io
If you lost the open window, go back to the Alchemy dashboard. Login. Click on the 'API key' to find the HTTPS for your New RPC URL.
You are all set now. Just make sure that you are using the RPC by hovering over the ETH symbol in the top left and it should show you the name of the RPC you just created.
Subscribe and join the Discord community!
Share with your fellow friends and comment below what you'd need a step-by-step guide on next 👇
Subscribe to Memoirs of 696.eth
Over 300 subscribers
696 - Writing about What Matters: Life, Web3, Ethereum, Crypto, NFTs, ENS