How to Add Base (and “Base ETH”) to Your Wallet
Prepare your wallet for the upcoming $MILO token generation event (TGE)
BabyMilo
2 min read·
$MILO is launching on the Base Network in the coming weeks.
For those unfamiliar with Base, or how Ethereum Layer 2 networks operate, you can follow his step-by-step guide to get you up and running and interacting with the MILO ecosystem in no time.
Adding the Base Network to Your Wallet
If you are using the Coinbase Wallet or Rainbow Wallet browser extensions, you will have support for Base by default.
Simply open the network selection menu by clicking the network icon in the upper right/left-hand corner and select “Base”.
If you are using an alternative browser wallet (i.e, MetaMask), follow the steps below to add Base:
1. Head to https://bridge.base.org/withdraw
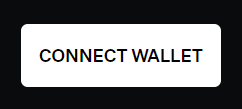
2. Click “Connect Wallet.”
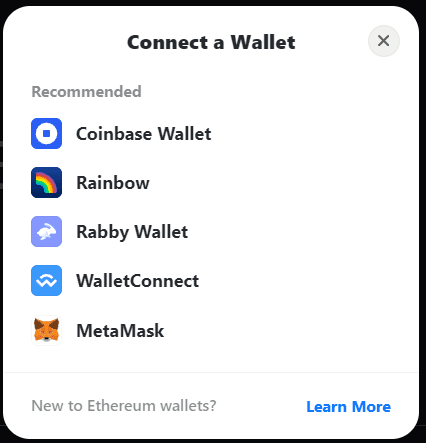
3. Choose your wallet.
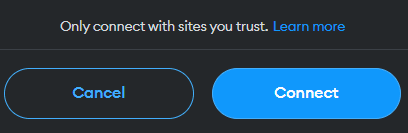
4. A pop-up will appear in your browser wallet. Click “Connect.”
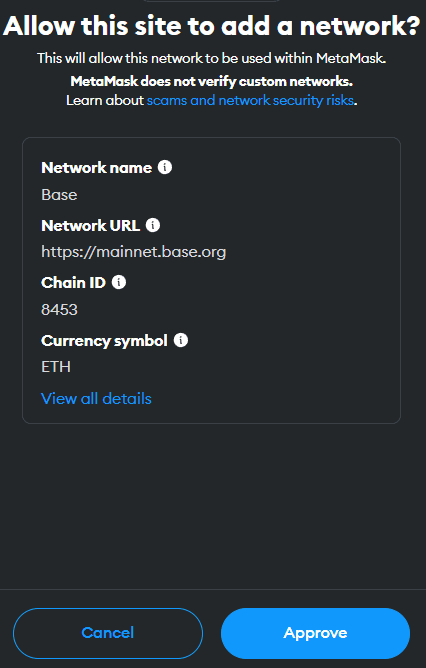
5. You will then be prompted to “add a network.” Click “Approve,” and you’re all set!
Adding “Base ETH” to Your Wallet
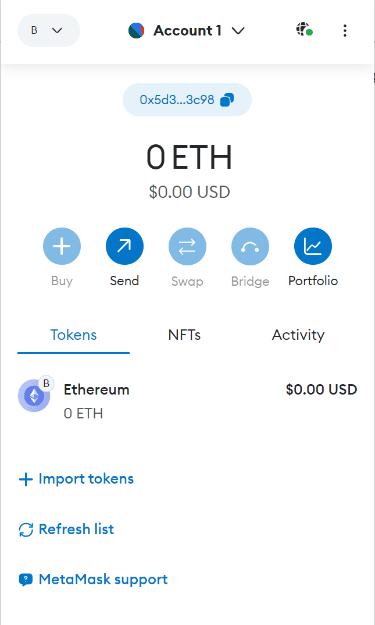
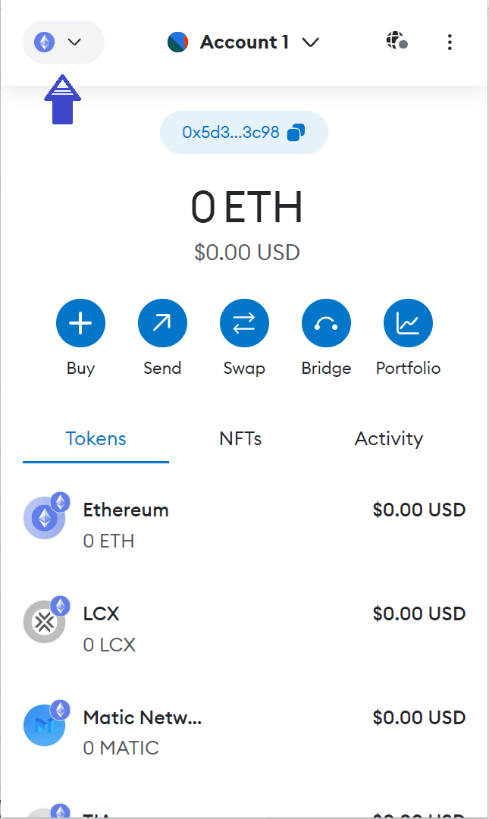
Once you’ve added the Base network to your wallet, the next step is to send Base ETH to your address.
This can be done in two ways:
1. Bridge ETH to the Base Network
The first way is to bridge your ETH to the Base network from the Ethereum (or other EVM) network.
To do this, head to orbiter.finance (or another similar bridging service).
*note: when bridging from the Ethereum network you may encounter higher gas fees.
Step 1: Connect your Wallet
Click the “Connect Wallet” button in the top corner of the screen.
A pop-up will appear in your wallet asking you to connect to the site.
Hit “connect” and you will be able to start interacting with the site.

Step 2: Bridge your ETH
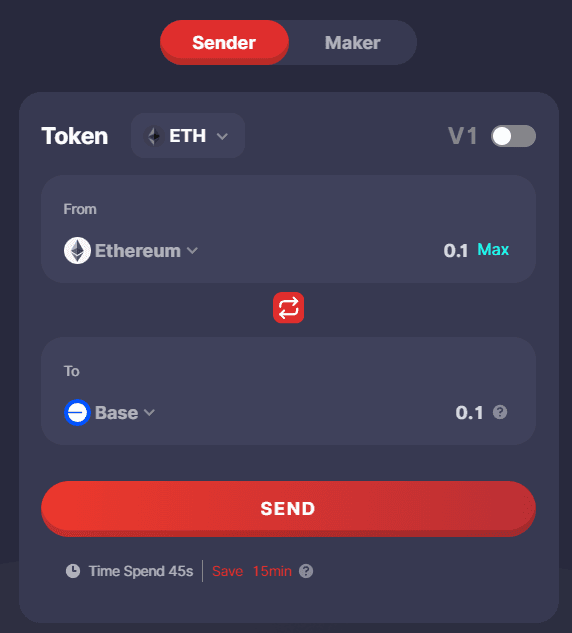
You will then be presented with a screen that looks similar to the one in the image below.
Select “Ethereum” in the “from” section and “Base” in the “to” section.
Enter the amount of ETH you want to bridge and hit “send.”
Step 3: Confirm the Transaction
On the next screen, hit “Confirm and Send.”
A pop-up will appear in your wallet asking for confirmation.
Hit “confirm” and the bridging process will begin.

Step 4: Check your Balance
The bridging process can take anywhere from 30 seconds to 15 minutes.
Switch your wallet to the Base network and wait for your Base ETH funds to display.
2. Send From an Exchange
The second option is to send Base ETH to your wallet from a centralized exchange.
If you hold or purchase ETH on one of the following exchanges, you will be able to withdraw Base ETH directly to your wallet.
Coinbase
Binance
OKX
Kucoin
Upon withdrawing your ETH, ensure you select the Base network as your transfer network.
This will automatically convert your ETH to Base ETH.
Approve the withdrawal, and your Base ETH should appear in your wallet within 10–15 mins (depending on the exchange).
Note* This option is slightly cheaper but comes with the risks of using a centralized exchange to hold your funds (even for a short period).
Additional Options: Adding Base Network Manually
1. Open your wallet browser extension
2. Open the network selection menu by clicking the dropdown button at the top of the extension.
3. Click the ‘Add network’ button.
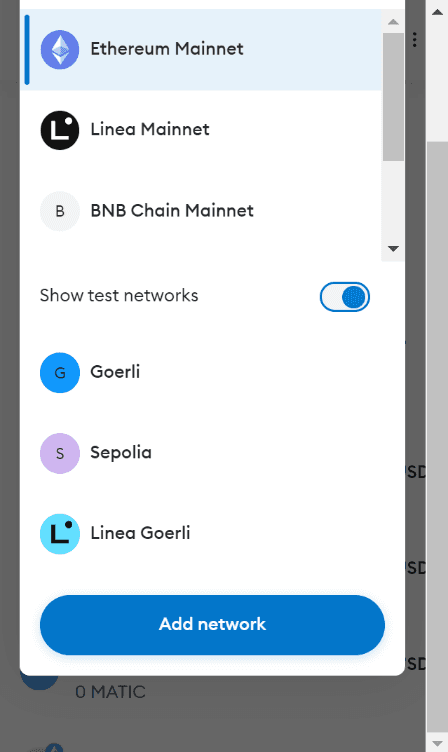
4. A new window will open. Click the ‘Add a network manually’ button.
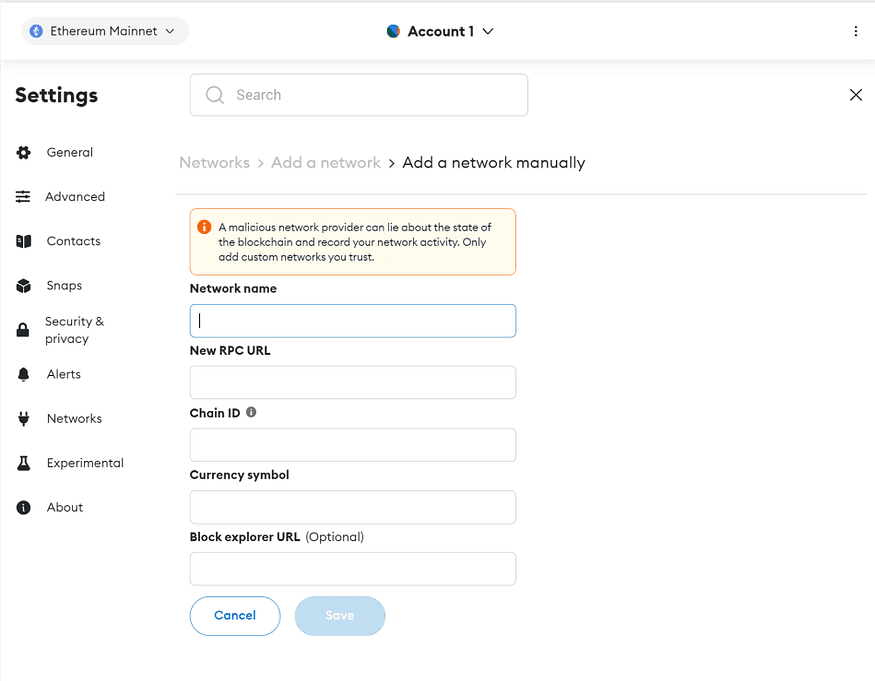
5. In the Add a network manually dialog that appears, enter the following information for Base:
Network Name: Base
New RCP URL: https://mainnet.base.org/
Chain ID: 8453
Currency Symbol: ETH
Block Explorer (optional): https://basescan.org/
6. Tap the ‘Save’ button to save Base as a network.
7. You should now be able to connect to Base by selecting it from the network selection dropdown menu in your browser extension.