


To create a Farcaster frame using Figma, follow these streamlined steps to design your frame and integrate it into the Percs Hub. This guide will help you achieve a professional look for sharing on Warpcast.
Step 1: Create a New Template
Open Figma: Launch the Figma app or visit the Figma website.
Create a New File: Start a new project by selecting "New File."
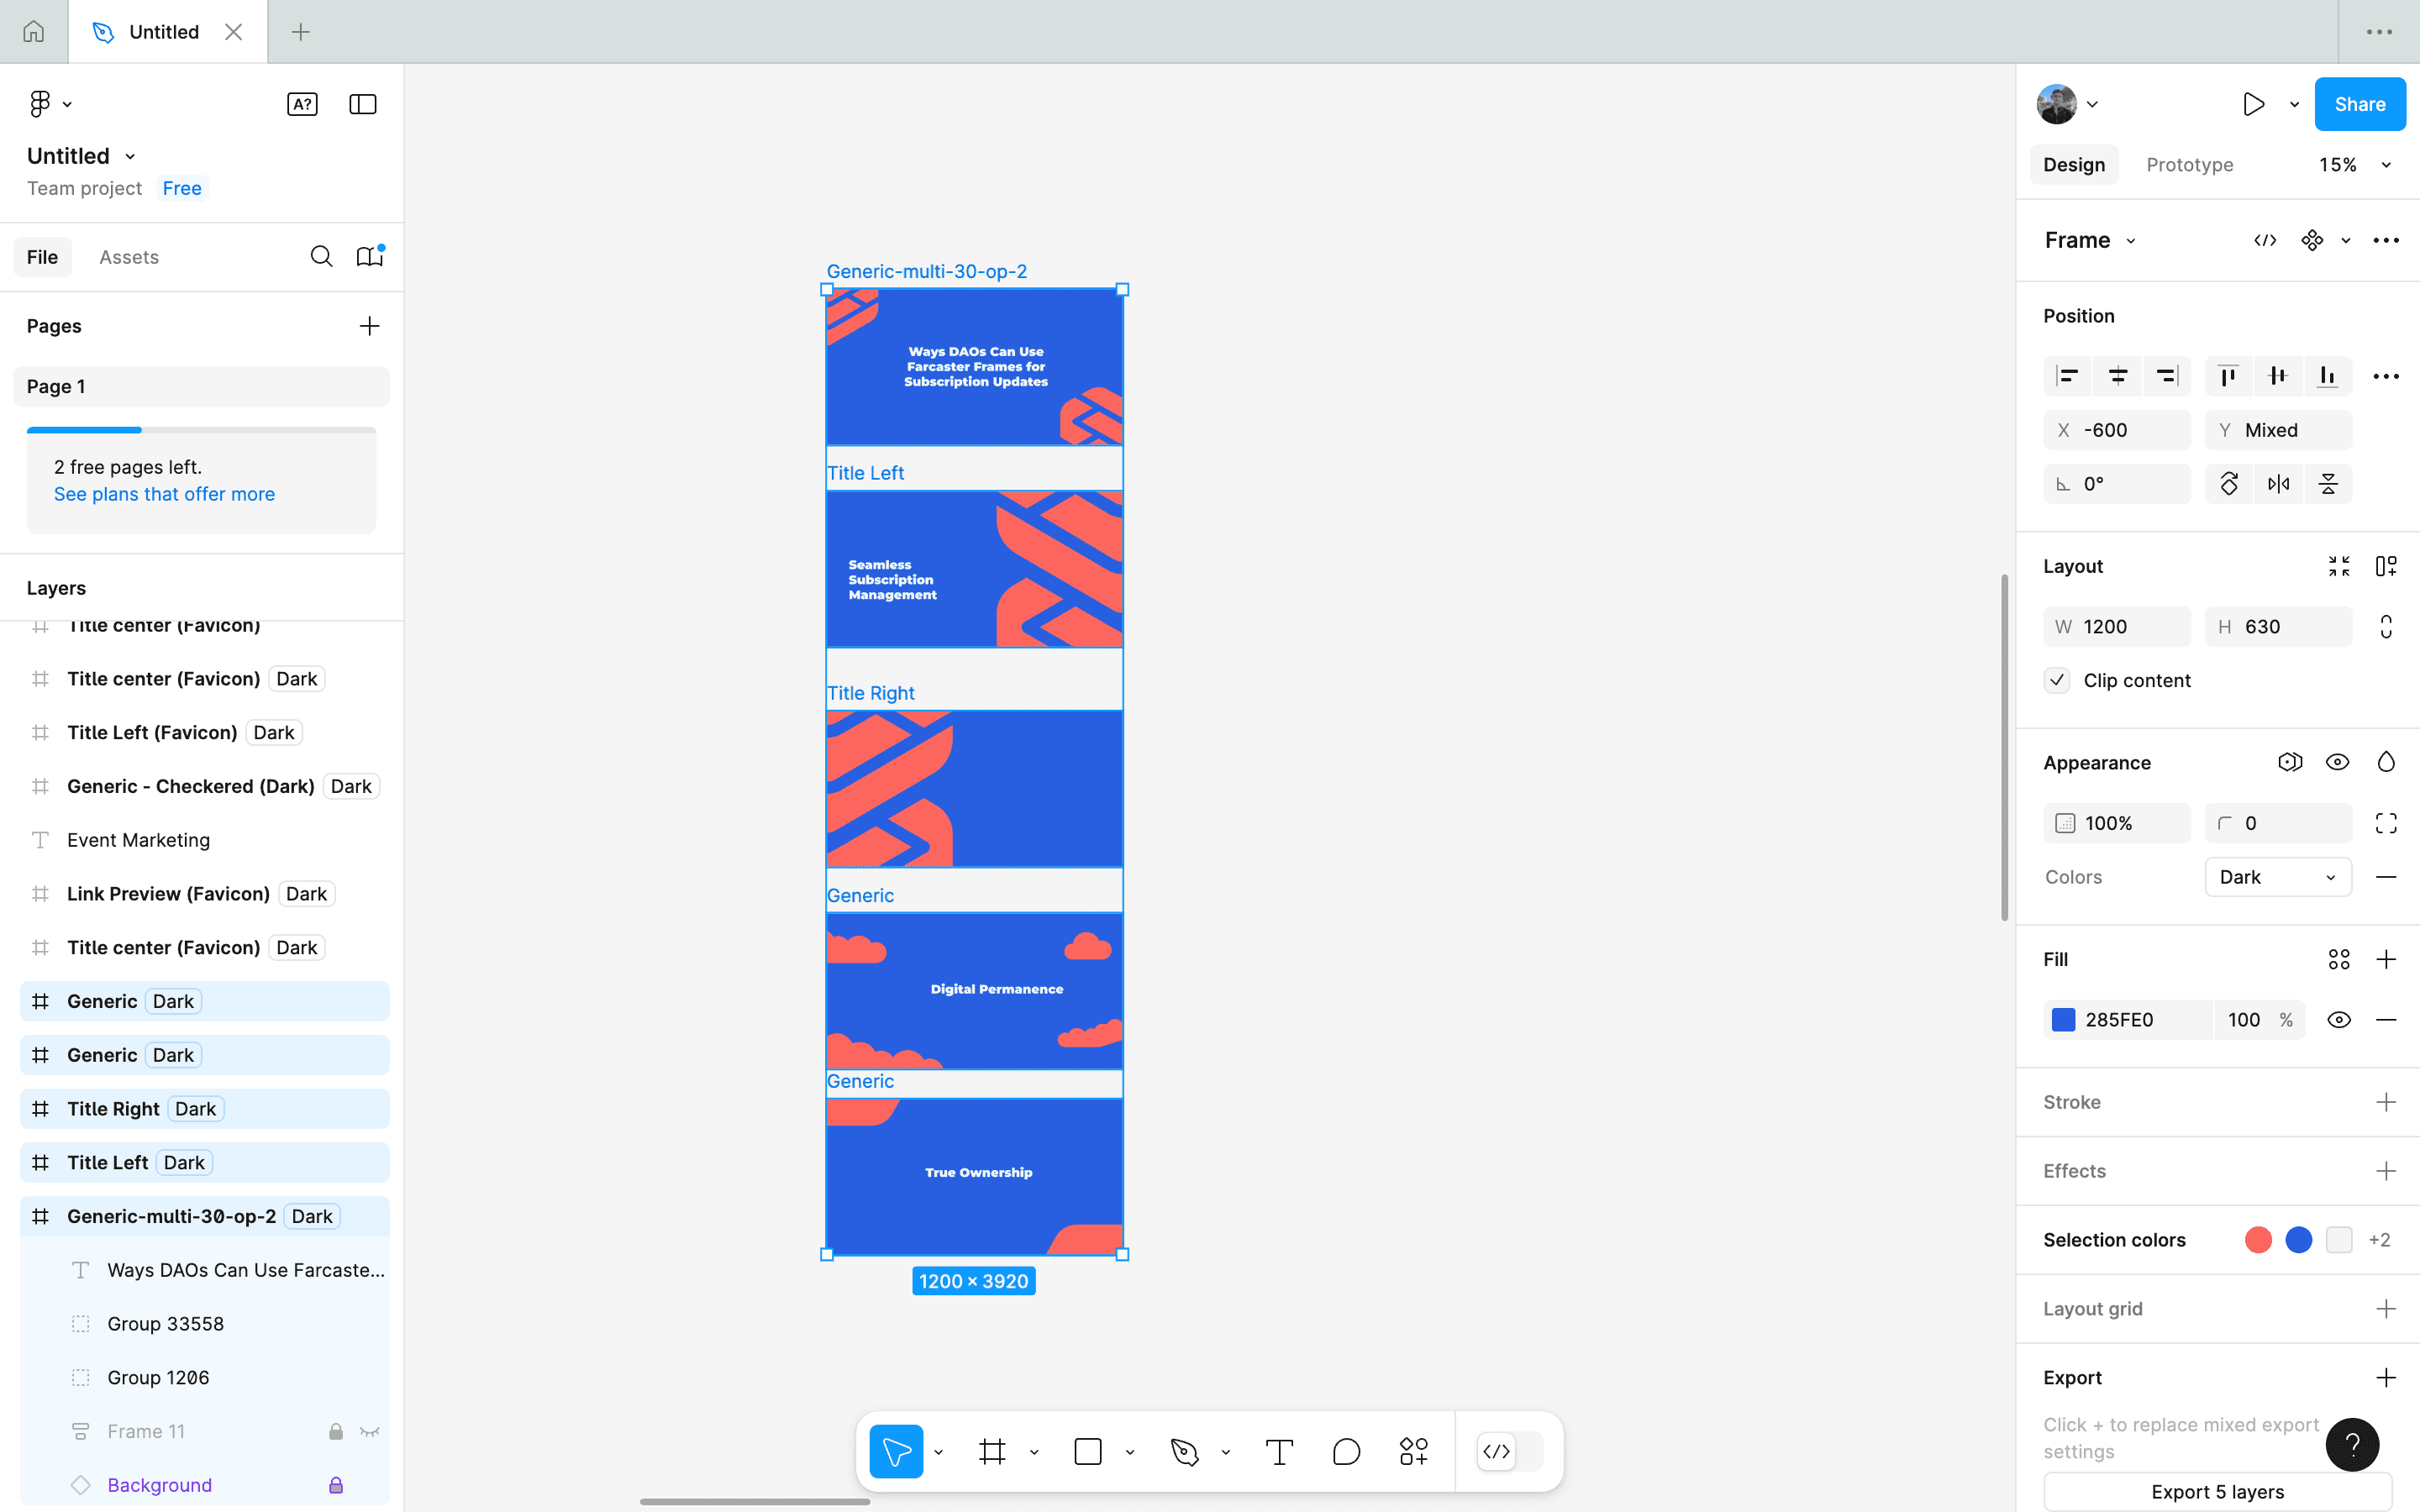
Set Frame Size: Use the frame tool to create designs in the dimensions of 1200 x 628 pixels, which is optimal for Farcaster frames.
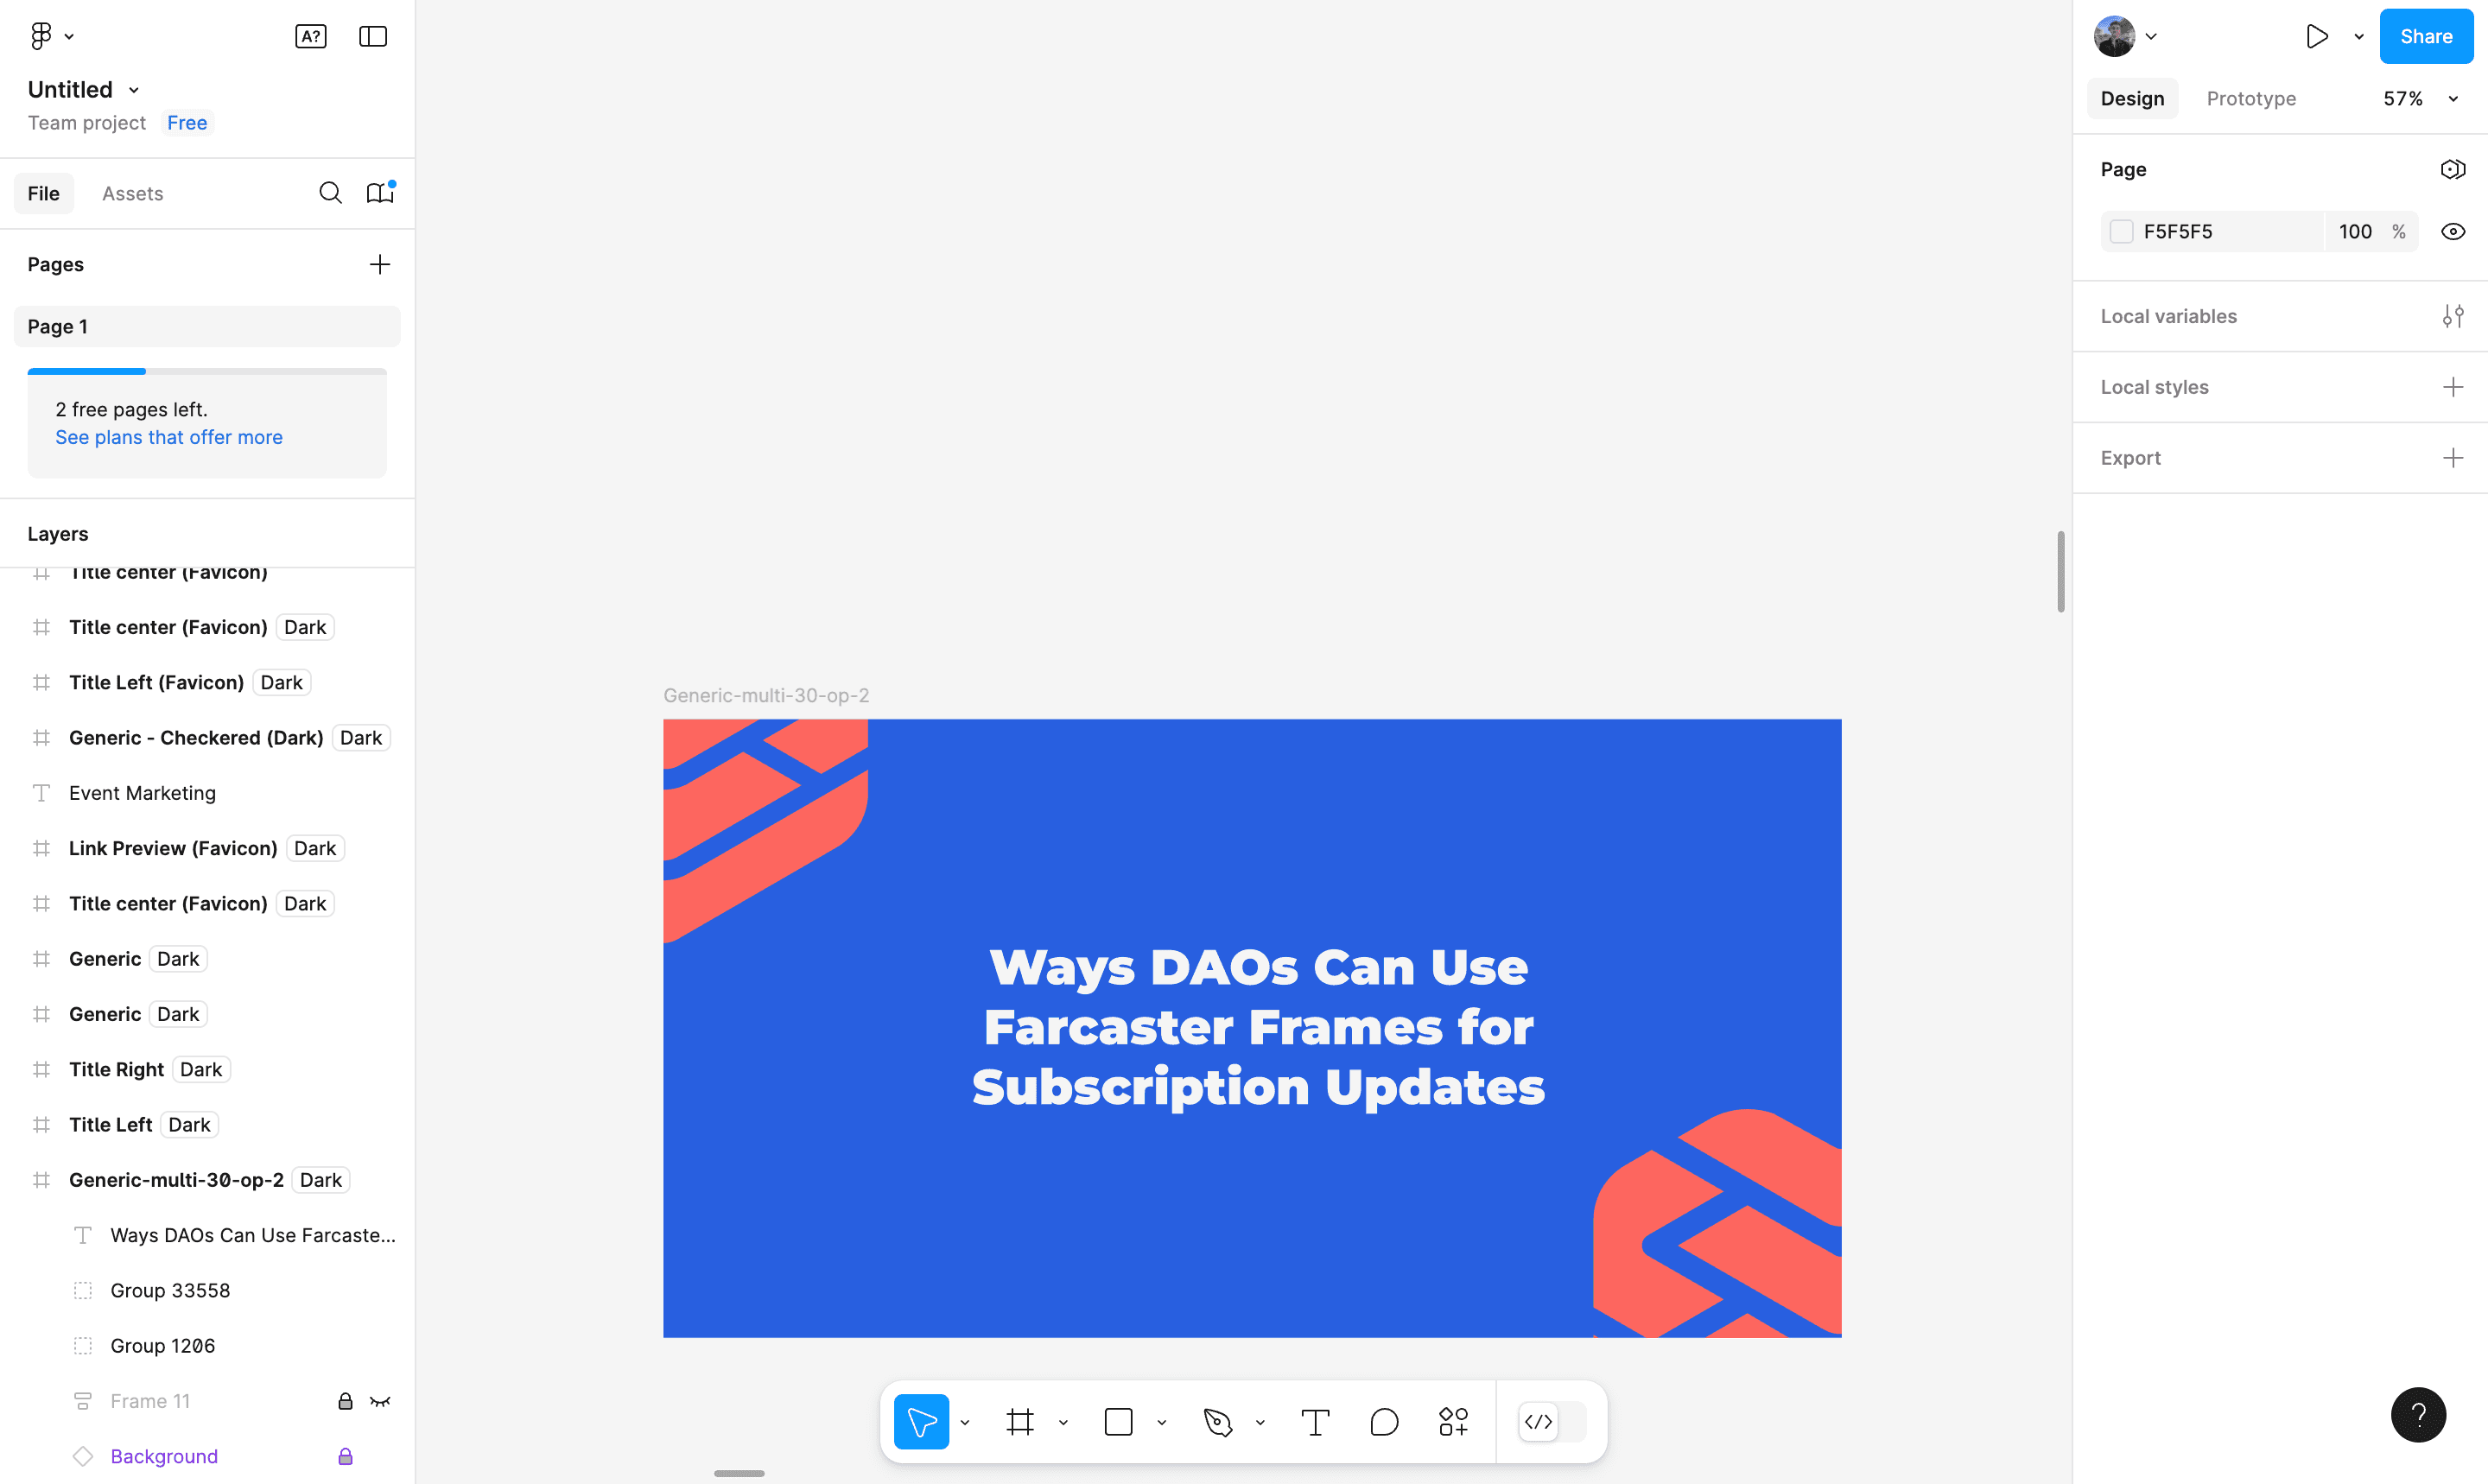
Step 2: Design Your Frames
Design Customization: Within your new file, create a series of designs. You can adjust colors, add text, and incorporate images to match your vision. Ensure all designs maintain the same size format for consistency.
Step 3: Export Your Designs
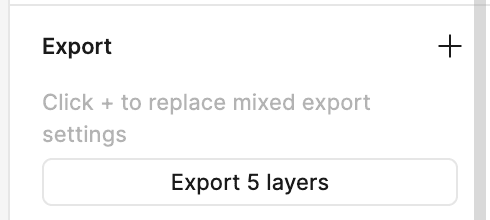
Export Options: Once your designs are complete, select each frame you want to export.
Choose Format: Export your frames as JPEG or PNG files. This can be done by clicking on the export button in the right sidebar.
Step 4: Open Percs Hub
Navigate to Percs Hub: Go to the Percs Hub platform where you will create your frame.

Step 5: Create Your Frame
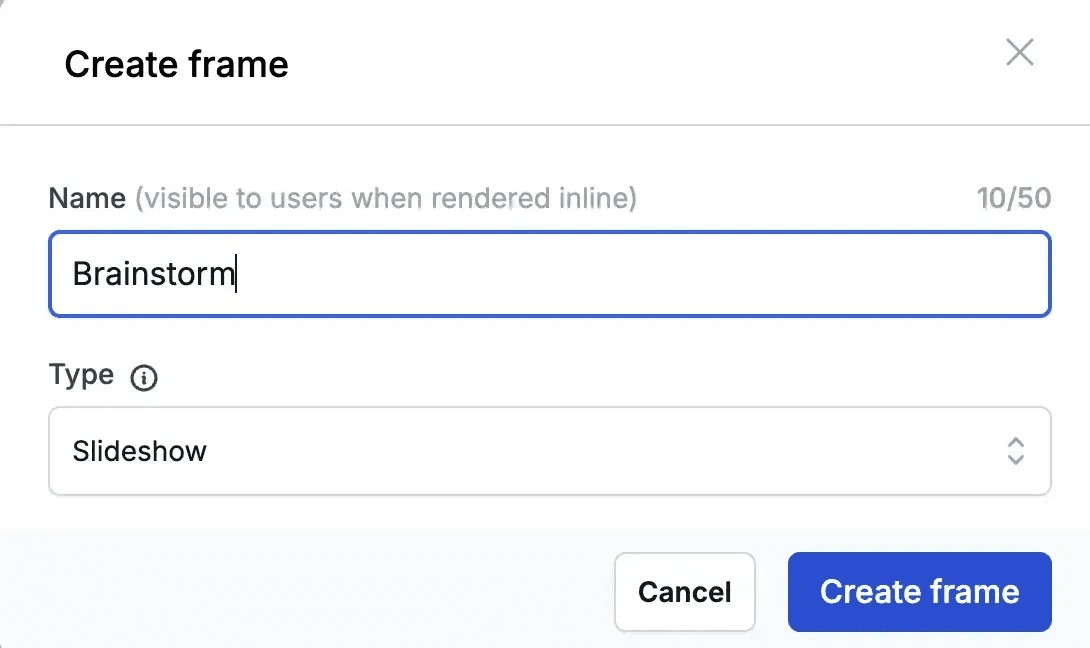
Initiate Frame Creation: Click on the option to create a new frame.
Name Your Frame: Enter a suitable name for your frame.
Select Frame Type: Choose the "Slideshow frame" option since you are using pre-designed images.
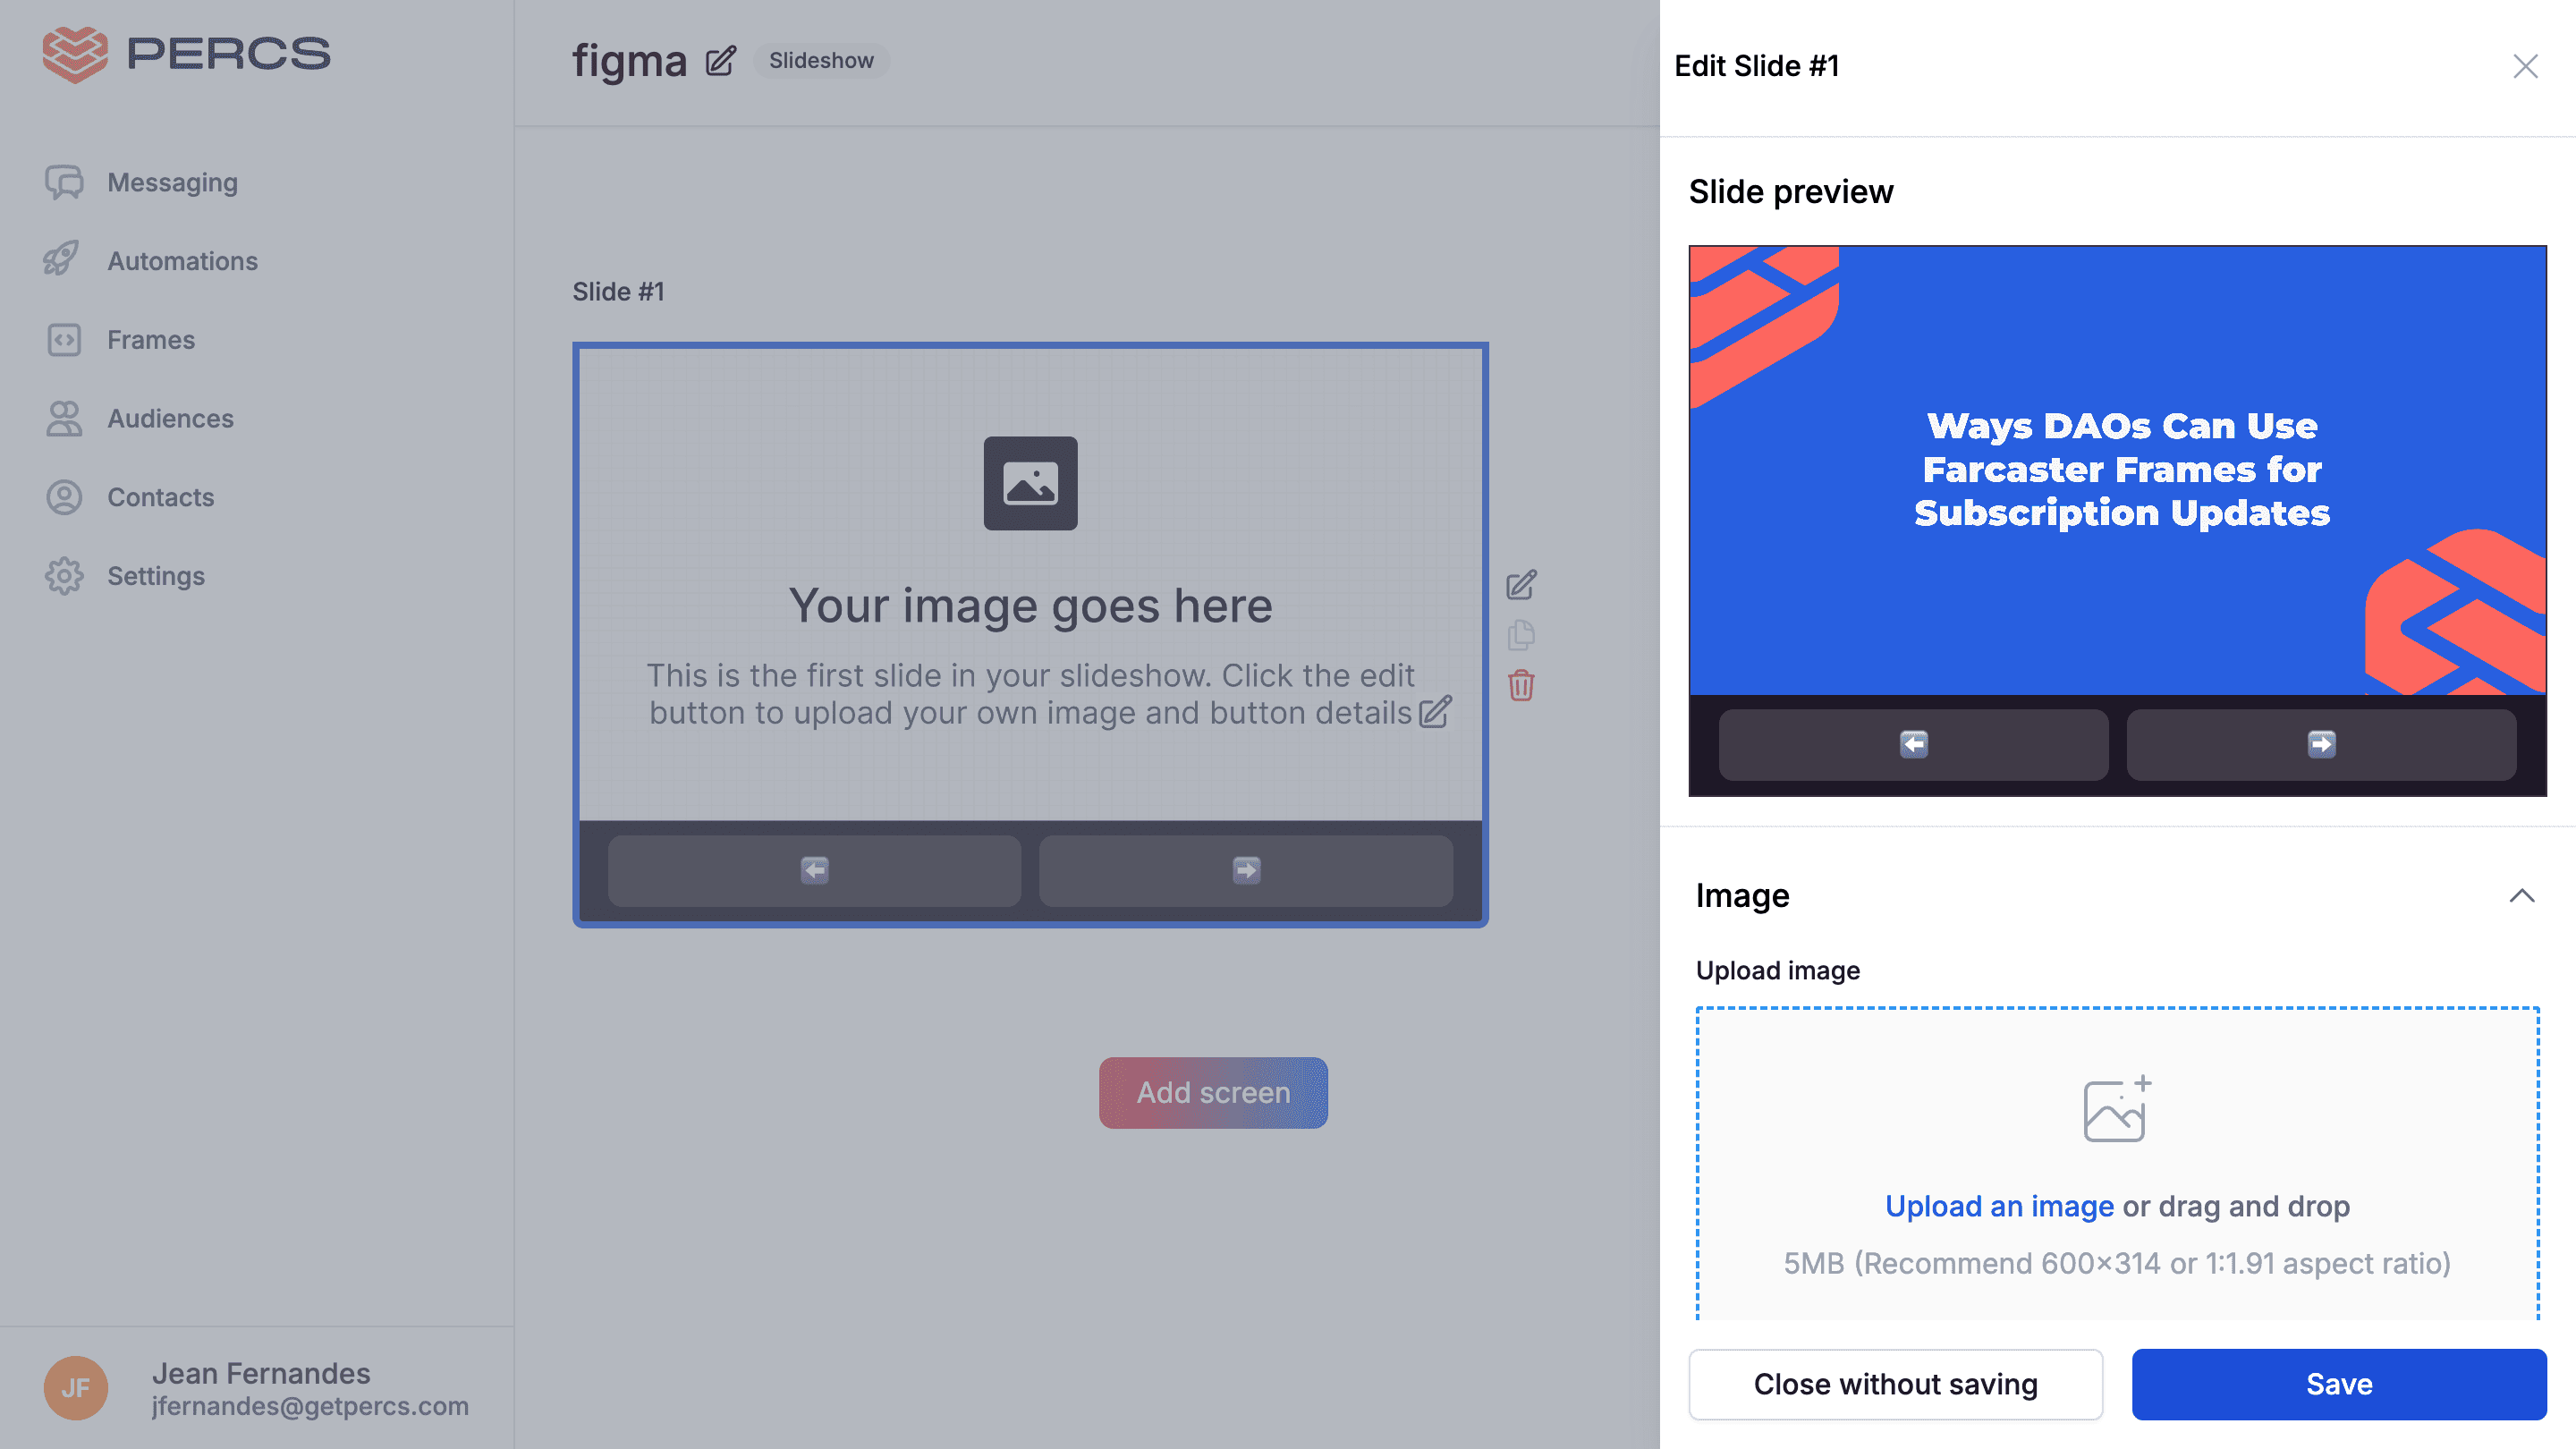
Step 6: Upload Your Designs
Edit Frame Option: After creating your frame, click on "edit frame."
Upload Images: Upload the images you exported from Figma. Ensure they fit well within the designated areas of the frame.
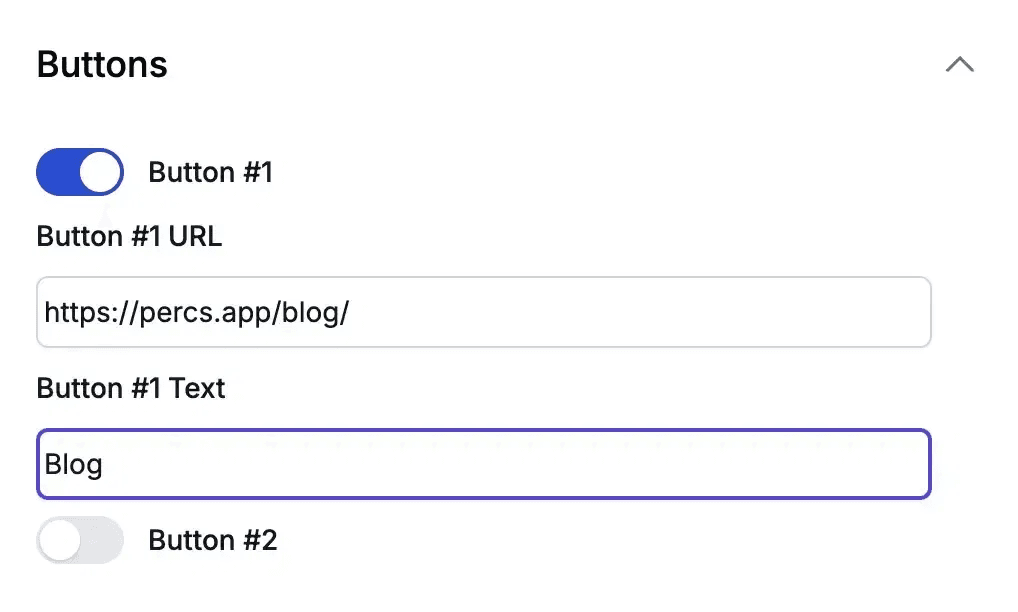
Step 7: Add Buttons
Insert Buttons: Below the image upload area, find options to add buttons that enhance interactivity.
Link Buttons: Assign relevant links to these buttons for users to engage with your content effectively.
Step 8: Save and Duplicate Frames
Save Your Progress: After making all necessary edits, click on save.
Copy or Add New Frame: If you wish to keep the same button configuration, utilize the copy feature. To create additional frames, select the option to add another frame and repeat the image upload process.

Step 9: Finalize Your Frames
Continue Uploading Images: Keep adding images until all desired frames are completed.
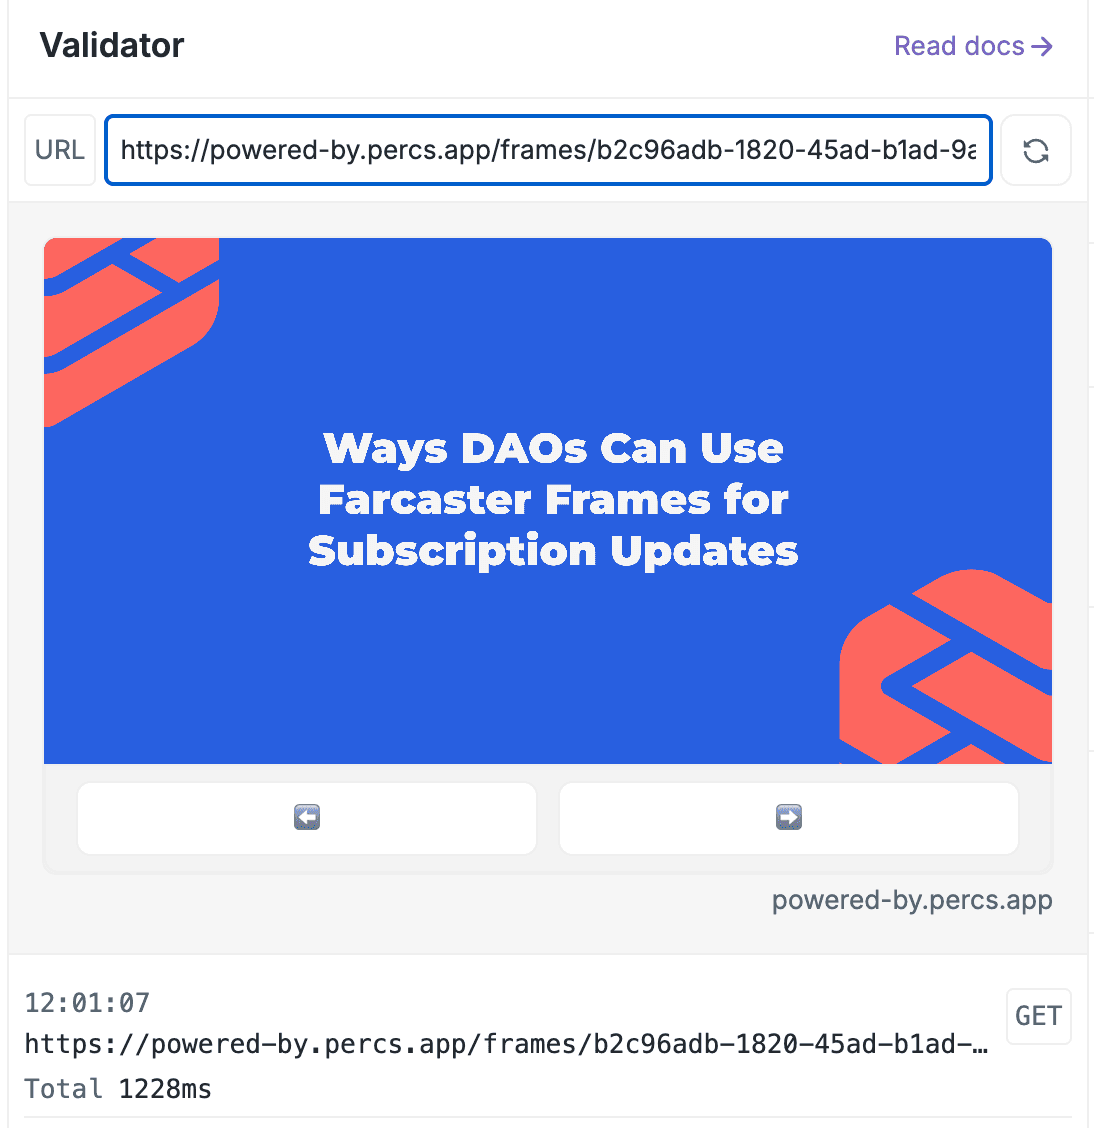
Preview Your Frame: Use the "preview" button in Warpcast to check how your frame appears.
Step 10: Publish and Share
Publish Your Frame: If everything looks satisfactory in preview mode, click on "Publish frame."
Copy Frame URL: After publishing, select the option to copy your frame's URL.
Share on Warpcast: Navigate to Warpcast and start a new cast. Paste the copied URL into your new cast to share with your audience.

By following these steps, you've successfully created an engaging Farcaster frame using Figma and integrated it into the Percs Hub for sharing on Warpcast. Enjoy showcasing your creativity!
