

pocket (ai)nimal
tinyrainboot
6 min read·

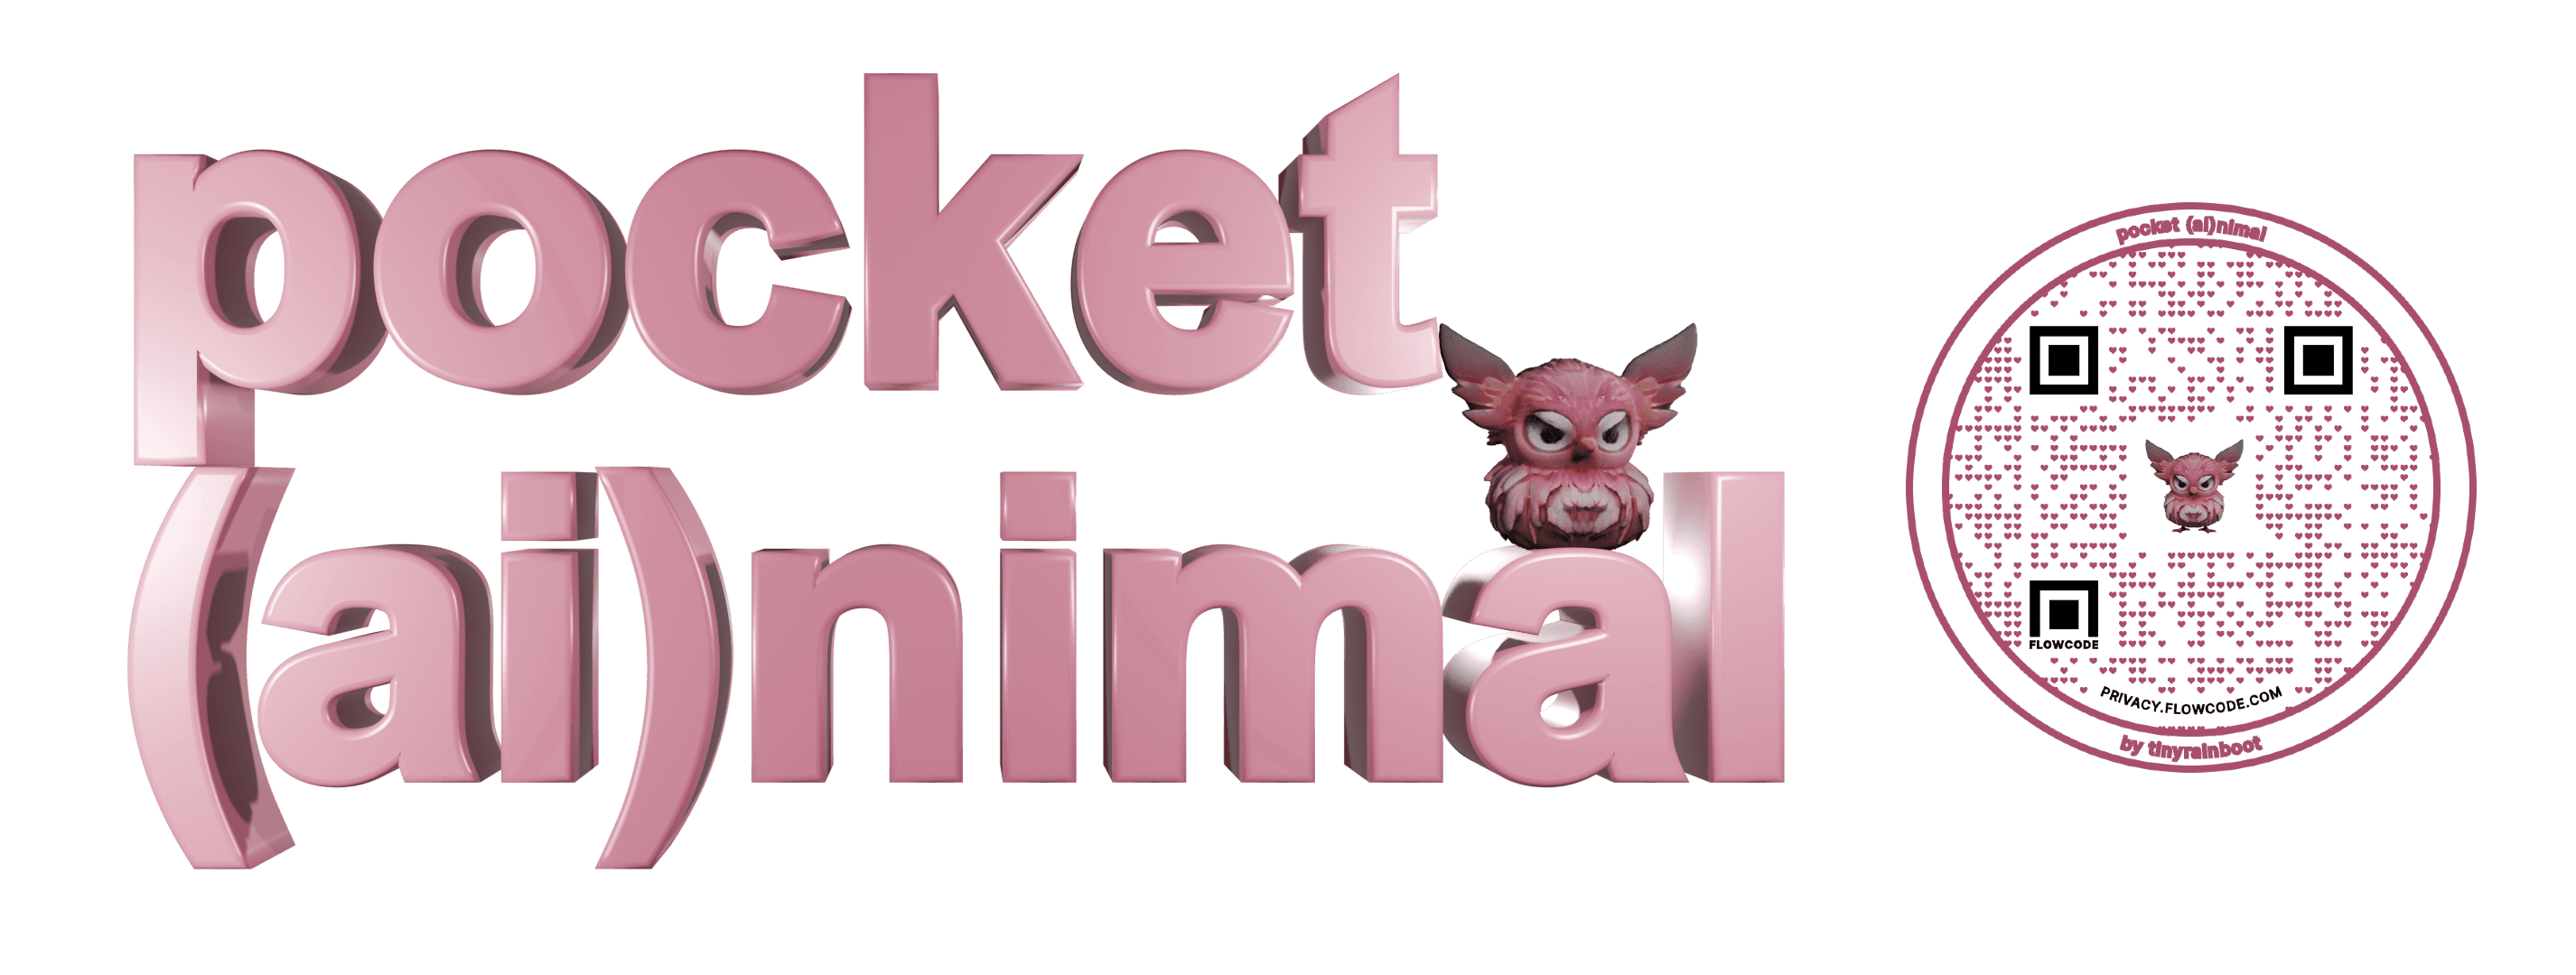
This is my submission for Claire Silver’s 7th AI contest. The final piece is an AR experience, found at the below QR/link.
Tools used (AI marked with ✩):
Stable Diffusion XL (via Replicate)✩
Pixlr AI photo editor✩
Spline image-to-3D✩
Blender
Anything World✩
Geenee AR
I have really been wanting to play with AI and 3D lately, but hadn't yet found the time, so I felt this was the perfect opportunity. After all, the instructions were to "find a rabbit hole that interests you and go down it."
My idea was to create a little 3D creature using AI and then bring it to life with AR. I haven’t done something like this before, so I started off by researching tons of tools and then narrowed it down to what I thought would work best. I had a few failed attempts along the way, but I'm happy with this result!
Keep reading for the full write-up (or consider it a tutorial, if you want to make your own☺️).

I started by creating a creature with Stable Diffusion that I could use as a base for the model. You could skip this step and go straight to a text-to-3D generator, but since those can be expensive to use, it may be better to play around with the visuals using a cheaper option like SDXL. I really like using Replicate because it’s altogether rather inexpensive. Midjourney is also great for this.
Here’s my prompt:
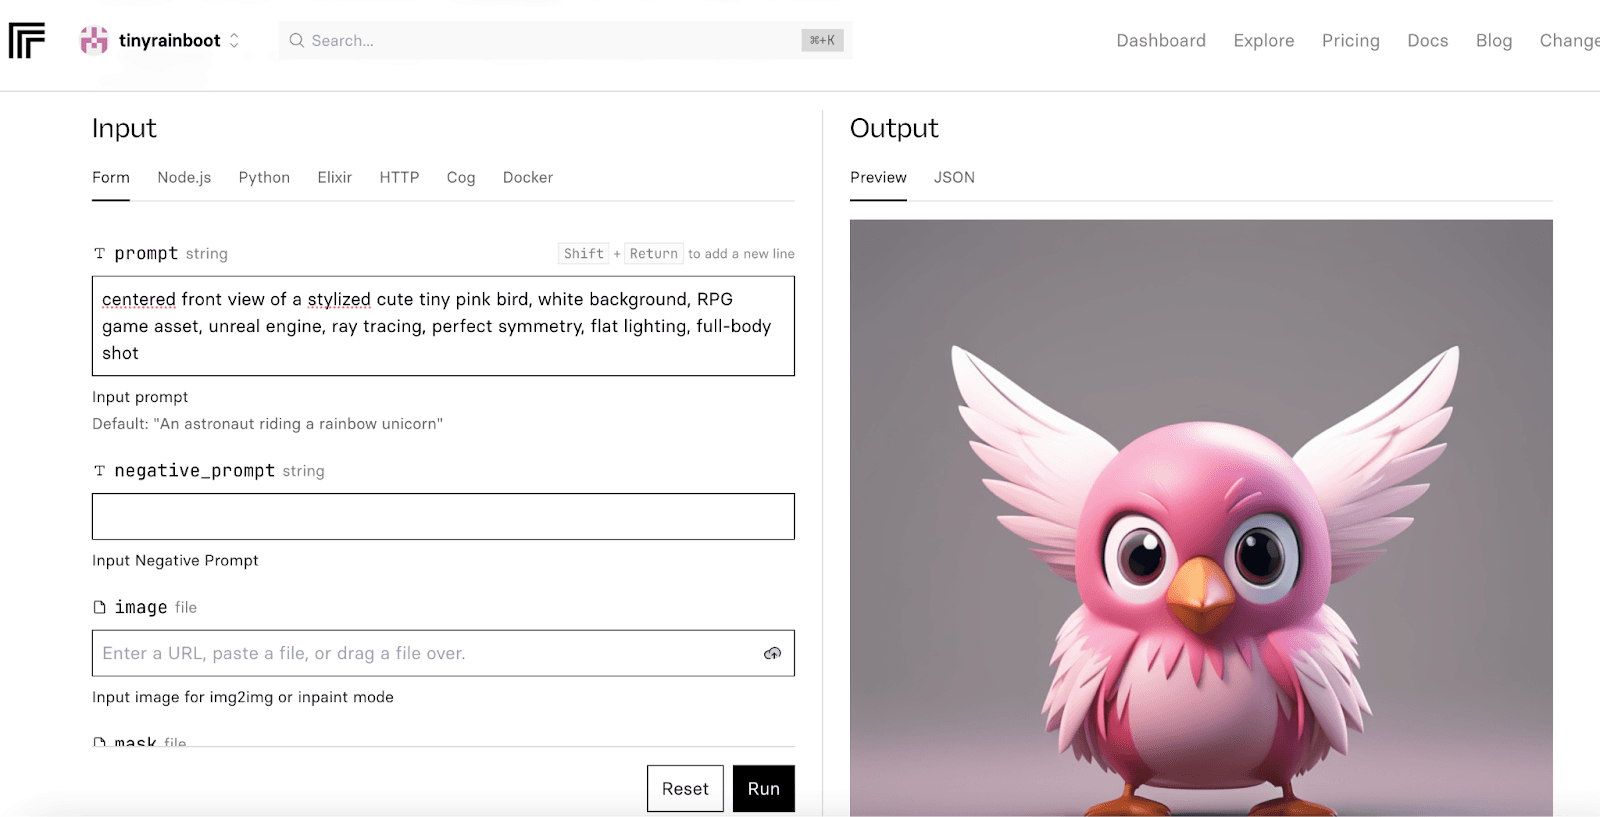
I realized after trying this a couple of times how important symmetry is for the rigging step, so I optimized for that. I brought this image into Pixlr because they have a nice AI cutout tool. So with that, I was able to get my creature onto a transparent background with very little effort.
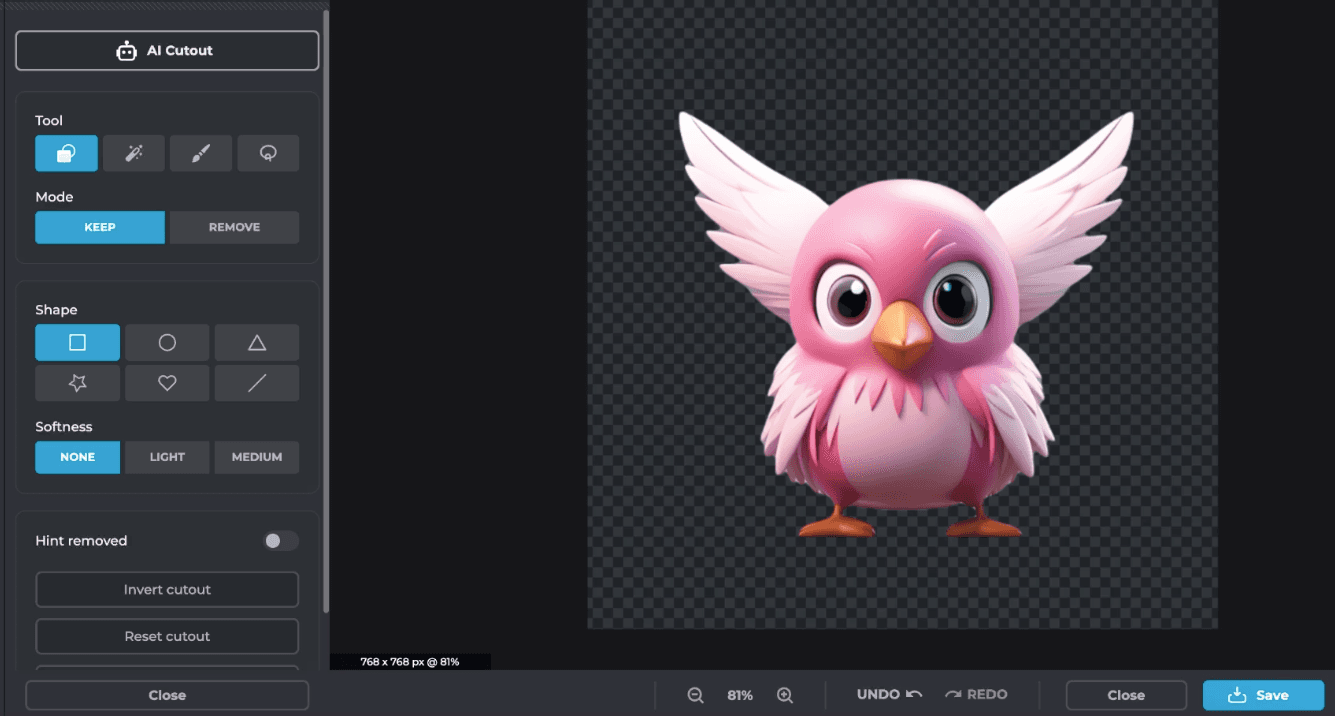
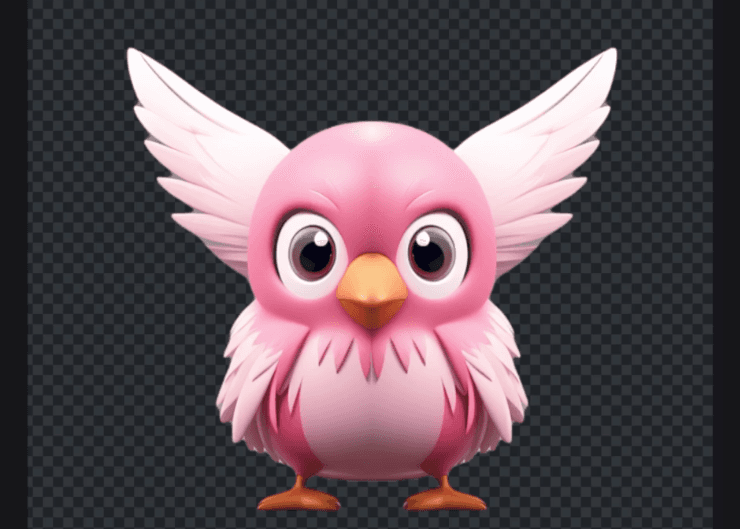
I also wanted it to be perfectly symmetrical, so I duplicated the side with brighter lighting, flipped it, and merged the two pieces. A little bit of gentle blurring to fix up the line at the middle and it's looking good.
For the image-to-3D part, I tried out sloyd.ai, 3D AI Studio, and Spline. Sloyd didn’t work for me because it can’t do animals yet, but I mention it anyway because it has some other interesting applications. 3D AI Studio was not bad, but my outputs tended to have extra limbs. They have a good remeshing tool, too. Spline lets you do a couple of free generations, and the initial outputs were even better than I expected. I paid for a credit top-up so that I could play around a bit more.
I pulled the transparent .png that I’d prepared into Spline. It always offers you four outputs, and the first one is usually the closest to your input image. I assume that adding a prompt here affects how the other three turn out.

I went through each of the outputs and ended up picking the fourth one because it is soooo cute and grumpy.
The preview mesh actually looked pretty good, but he (it's a he now) doesn’t have a butt and his feet are wonky.
So then I downloaded the .glb and imported it into a new Blender file. Even if you have never used Blender (it’s free!), I hope to offer you a very simple walkthrough to fix up your model - I think anyone can do this. You can also completely skip this part, but you may need to find another way to extract your texture from the model as a .png for the rigging step.
Steps in Blender:
Create a new general file.
Delete all the existing objects by pressing “a” and then “x.”
Go to File > Import > glTF 2.0
Find and import your file (you may need to add the .glb extension to the file in file explorer so that Blender recognizes it).
Click on the object once it’s been added and press “tab.”
This brings you into editing mode. Press “a” to select all and make sure vertices mode is selected (see pink arrow).

Now press “m” - a box will pop up. Click “by distance.” This cleans up the mesh a bit by removing extra vertices.
Press “tab” to go back to object mode. If you want to see the texture better, you can use these settings:

My suggestion for the easiest possible mesh cleanup is as follows: all you need to do is add and apply two modifiers.
Go to this tab on the right side (with your lil guy selected still):

Now click “add modifier” and search to add “mirror” and then “smooth.” (You can type it in.) By mirroring over the X axis, any weird deformities should be fixed as the mesh gets filled by what is happening on the other side. For me, this fixed the issue with the feet, for example. The “smooth” modifier also tends to fix any weird, sticking-out parts. You can set the factor to 1 and then the repeat to 1, 2, or 3 - whatever looks better to you.

Then once you are happy, apply both modifiers using the down arrow next to them.

If you need to make body adjustments, you can go into sculpt mode.
This is what I did to give him a booty: enter the sculpt tab, then make sure you have x-axis symmetry selected (we still want to keep our guy symmetrical as this will be required for the following rigging process). Press “g” and this pulls up the grab tool. You can adjust the strength and radius at the top. Then just tug around a bit at your mesh until you get the desired result.

Okay, should be good. Now we need to export two files: the texture and the model. The texture is an image file. Click on the “texture paint” tab. On the left, you probably see a messy-looking image. This is what’s giving our guy his color. We need to save it separately from the model for the rigging step. Click Image > Save As > and then save it as a .png.

Great, now we just have to export the model. Normally a .glb file should work, but I was having issues with the texture showing up in the next step so I exported mine as an .fbx instead. Make sure your character is selected, then File > Export > FBX > and make sure to click “limit to selected objects” and then save.

Now that the model is looking better, it’s time to animate it! I couldn’t use the Reallusion rigging tool because it doesn’t have Mac support. Sad face. But I found a wonderful alternative called Anything World that has an AI rigger. That means they use AI to add a “skeleton” to the model and then animate it.
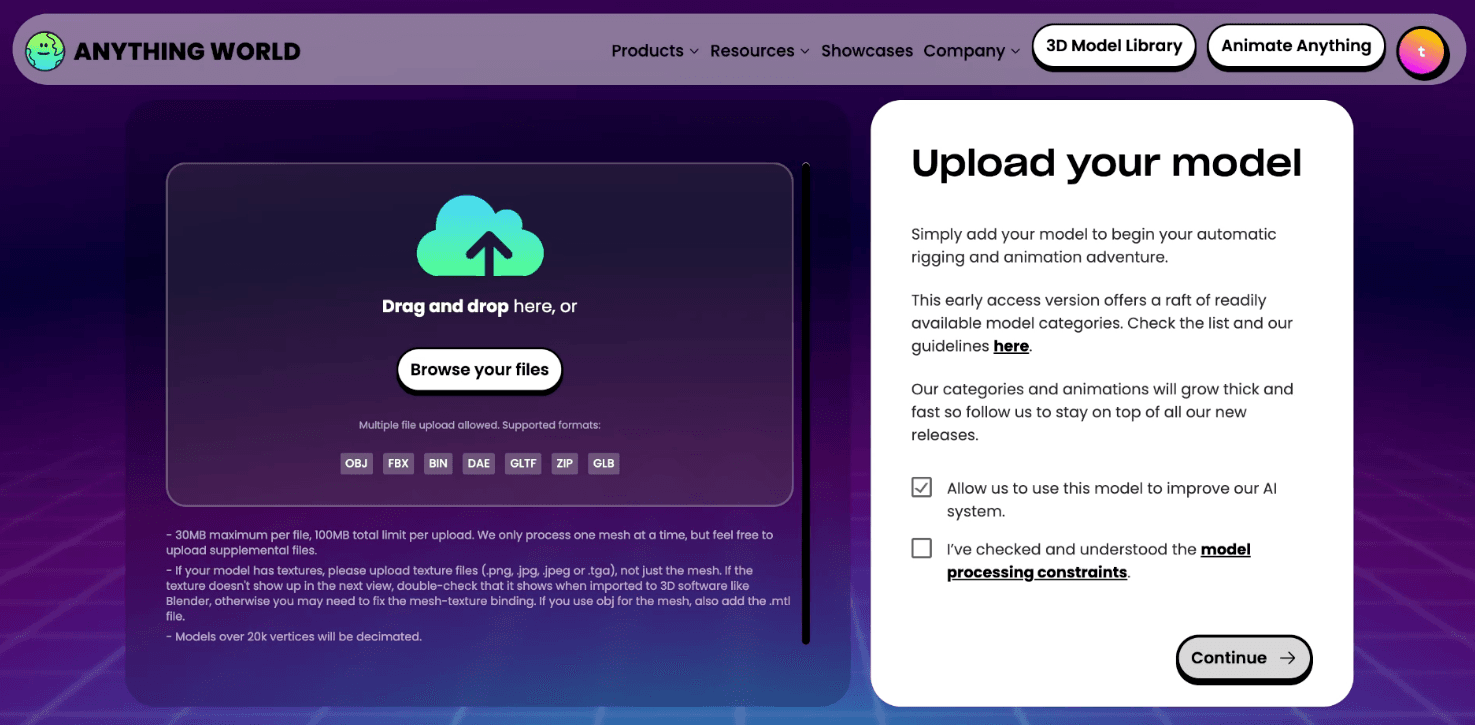
So, it says “Animate Anything,” but there are some exclusions for now. We’re still early! On their upload page, under “model processing constraints,” you can see what is included for now. You also get a few credits to try it (I had to buy a credit pack because I did this a few more times, trying different approaches and models. But I don’t mind supporting projects like this; I’m excited about what they’re working on).
Go ahead and upload your model - you’ll need to include both the .fbx and the .png here.
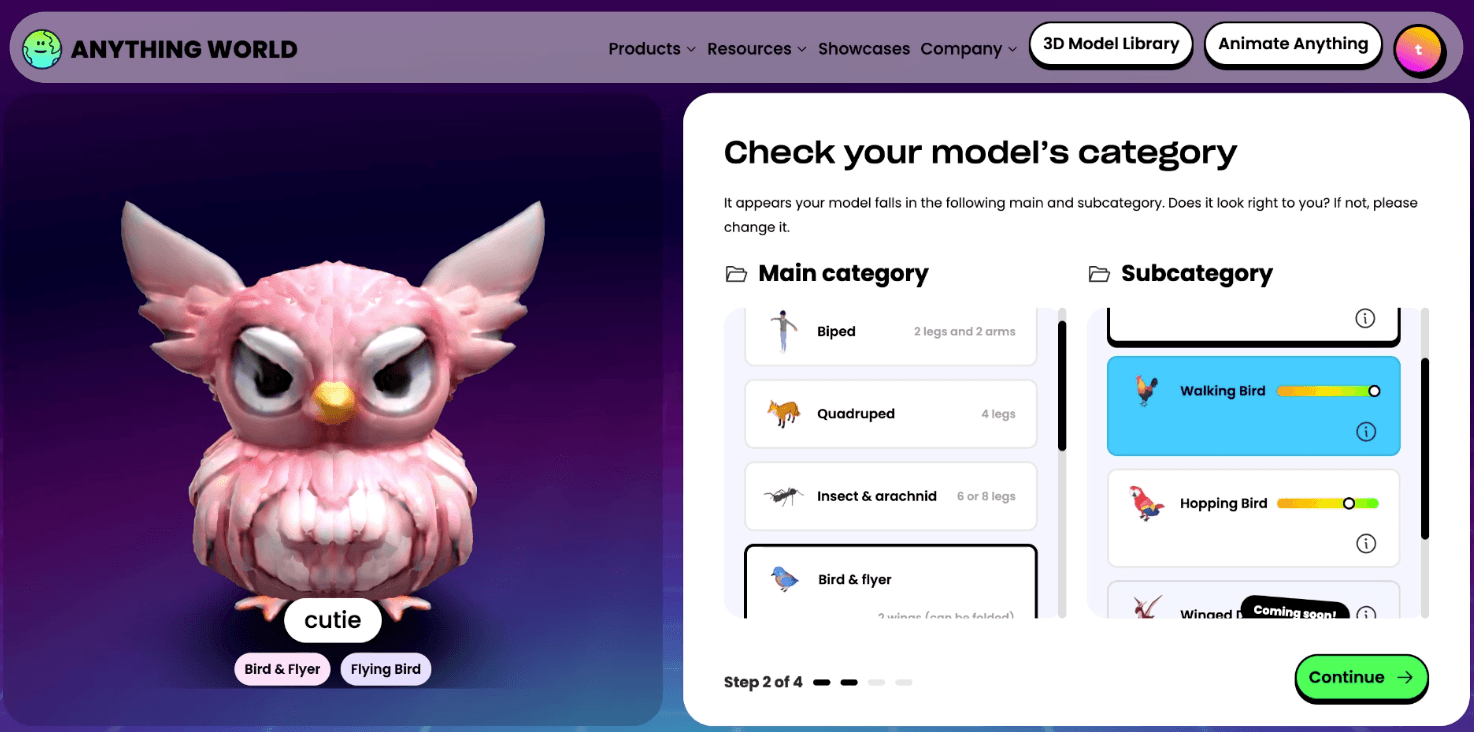
Then you’ll add a name and choose a type and a subcategory if available. I ran this twice, both with “hopping bird” and “walking bird.”
It takes a few minutes to rig the model with AI. While I waited, I researched baby names and decided to name my guy Clyde.

On the next screen, you’ll confirm the skeleton, and then wait again for it to add the animations. This is the most exciting moment! The animations are ready!
Clyde lives and breathes! I was dancing around my living room at this point. It’s so cool. I almost couldn't believe it worked. You can download all the animation files or just the .glb (that’s the one you need).
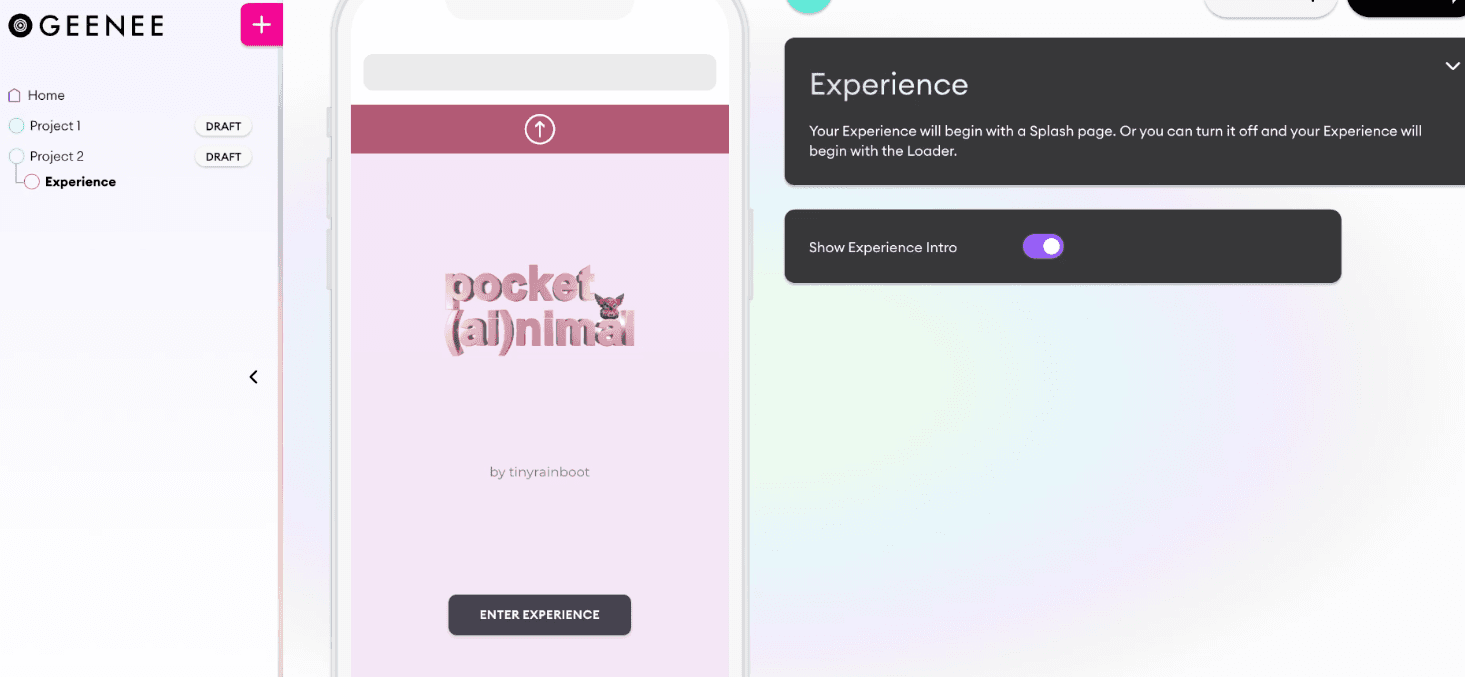
Now it's time to give Clyde a home in the metaverse. After researching a few AR apps, Geenee seemed to fit my needs the best. This tool is pretty awesome - it’s geared more towards the fashion industry, but honestly, it suited this use case perfectly, too.
You can add a little graphic and description to the entry screen. I made one in Blender.
Next, click “add section” and then choose “AR build” and then “World AR.” Now we can design a full scene. You can add up to 40mb of objects, but I just want Clyde to be chilling there solo (at least for now).
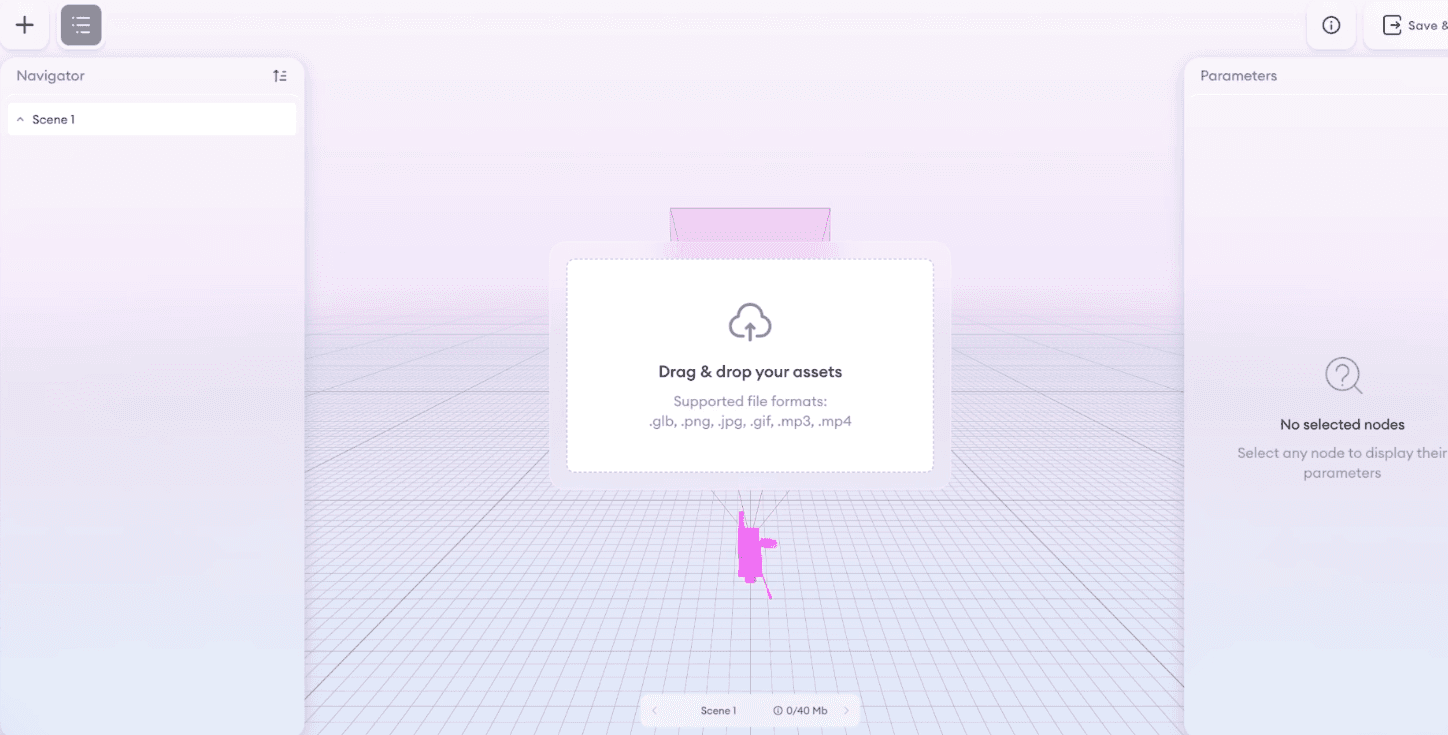
Drop in your .glb file that you exported from Anything World. It's that simple.
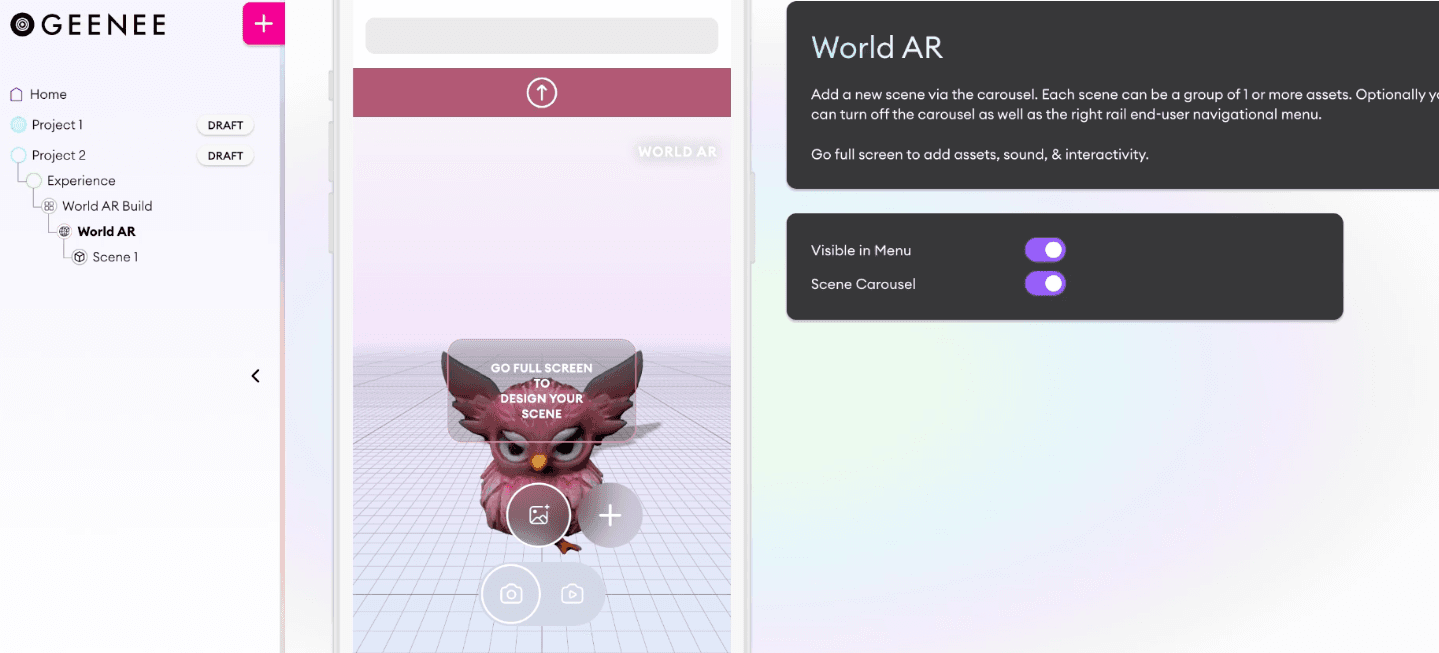
You can click on the little plus button next to the image icon and add more scenes. I have three versions of Clyde - one where he is walking, one idle, and one jumping. So I added all three here, each as different scenes. And then you can drag and drop images onto the icons if you have multiple scenes.
So easy. You can preview and publish from the top right!
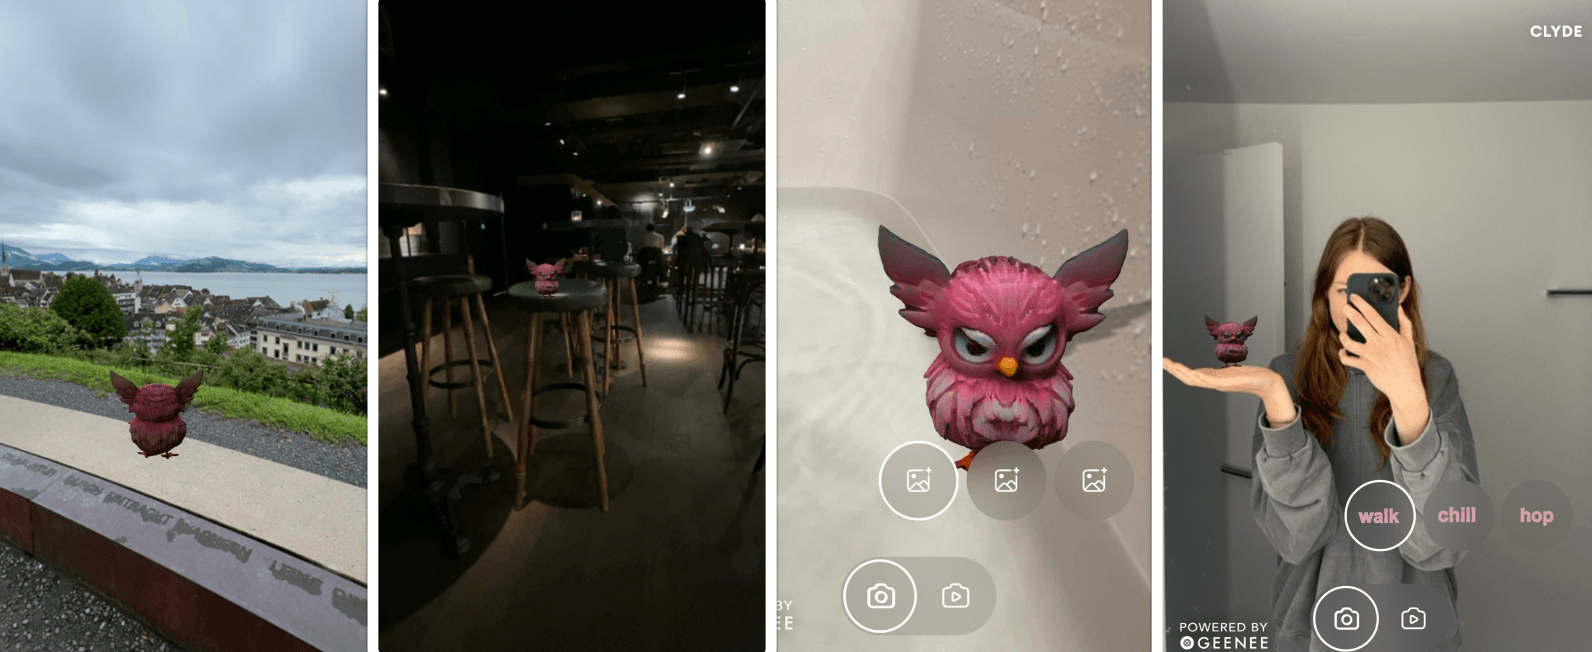
Make sure your phone or other device has camera access enabled. ☺️
Now you can take your creature with you anywhere - even places pets aren’t allowed, like the supermarket, doctor’s office, or even the nightclub. Heh.
If you try this out, let me know how it goes! And if you get stuck or need help, I'm here.
♡ tinyrainboot ♡
P.S. - Thank you, Claire, for the initiative! I'm looking forward to seeing what else I can use this tech and workflow for.
