


The pain and joys of getting started with plotting
My experience setting up the iDraw 2.0 for my first plot
henry
4 min read·
On a wintery November night in Dumbo, New York, me and a group of friends made our way to a loft to attend a meetup hosted by plottables. Plottables is a website that allows artists to upload art pieces, where each art piece can be plotted.
For the last year and a half I have been living out of a suitcase, travelling the world as part of a travelling art experience team. This has made it difficult to acquire equipment such as a plotter, however from that moment on the thought was implanted in my brain, and I knew that at some point in the future I would get my hands on a plotter. Fast forward to October 2023, fresh after signing a lease in Brooklyn, the first thing on my to do list is to order a plotter. And thus began the pain and joys and getting started with the iDraw 2.0.
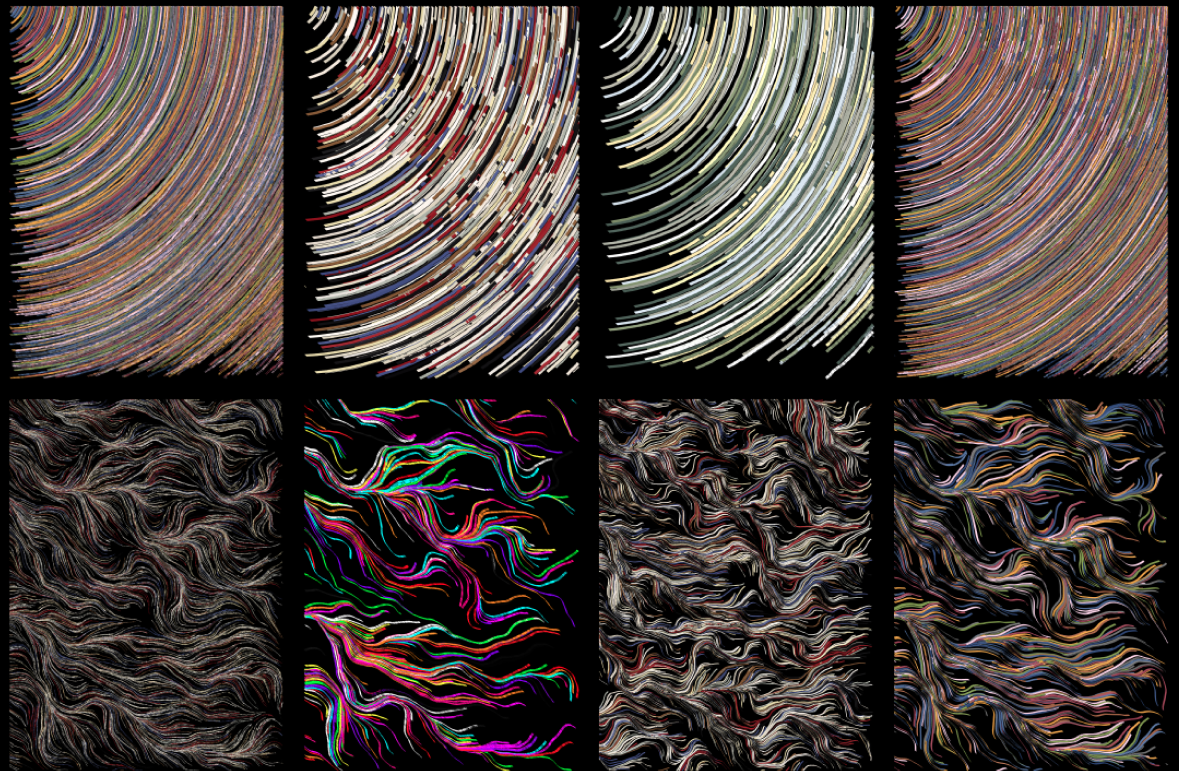
My artistic style involves a lot of drawing of lines / colours, slowly exploring the canvas and filling the empty space, resulting in beauty assembled by many smaller parts. This is reflected in flow, a project I released on fx(hash) in April 2023.
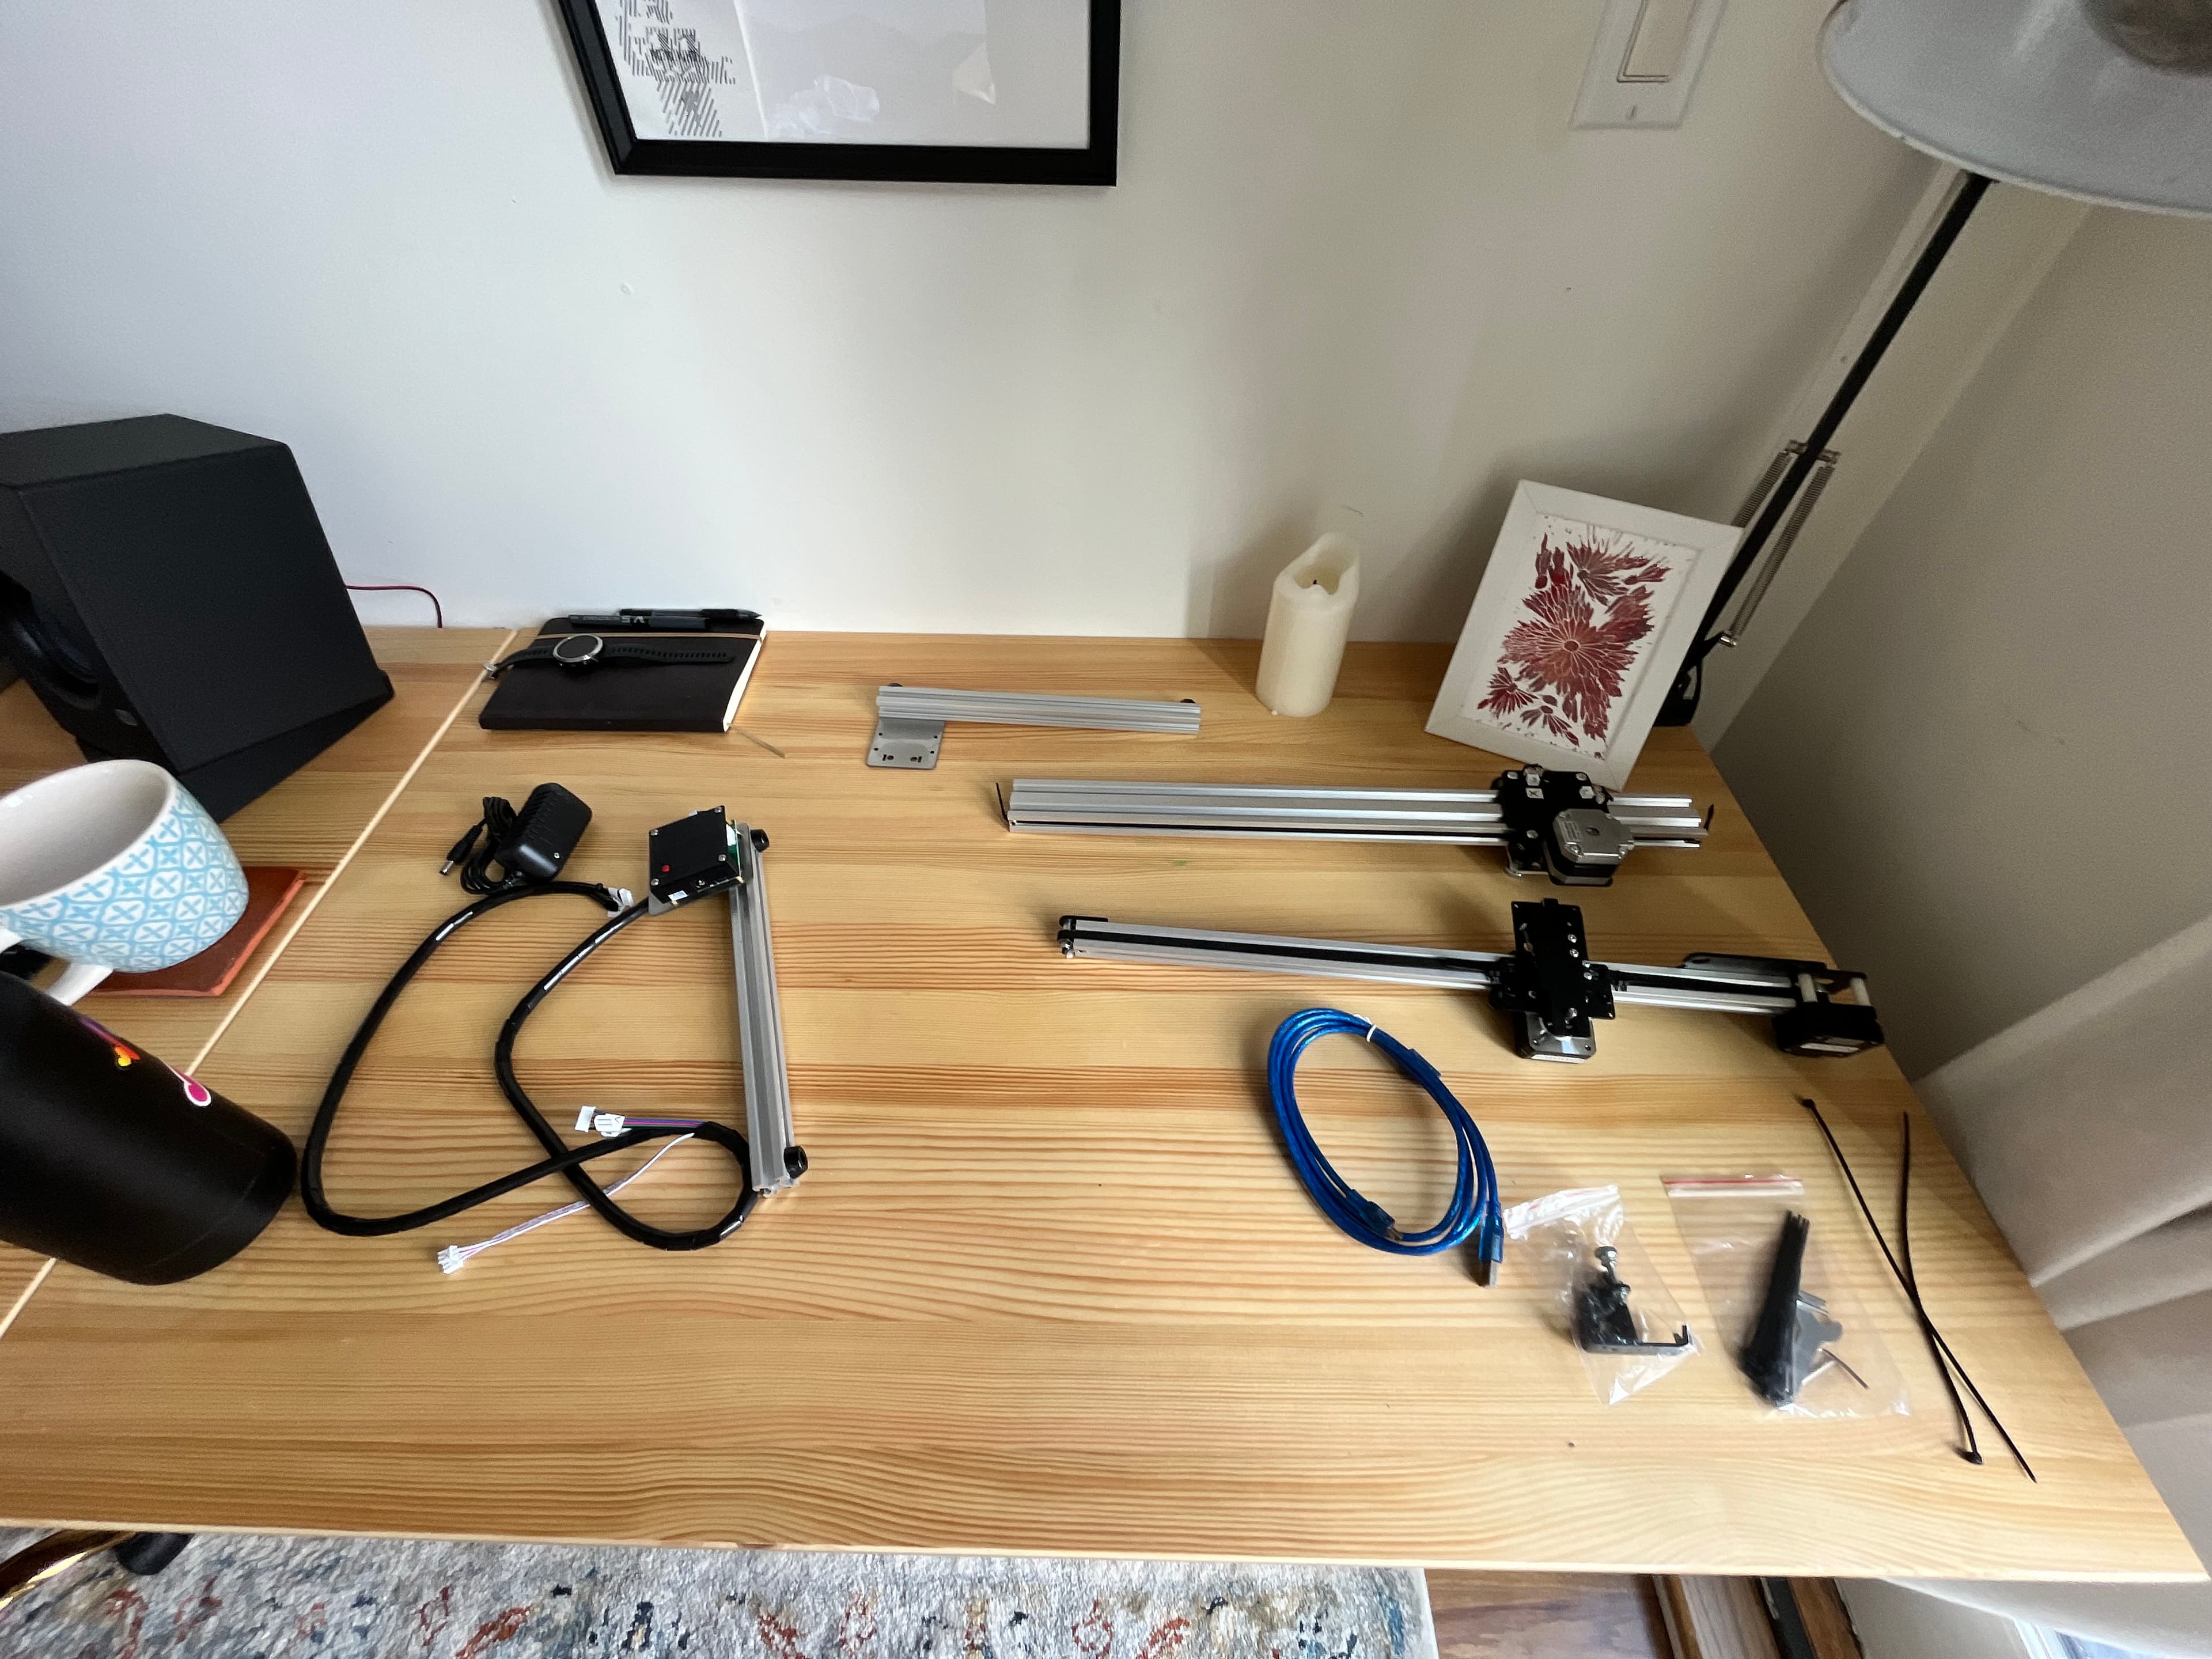
So, it is a rainy October day, and on my desk is the box for an iDraw 2.0, freshly shipped from Hong Kong, and ready to be assembled. And on my laptop, there are hundreds of outputs from flow ready to be plotted.
Building the iDraw is an interesting experience. To be honest, even though there are only 4 pieces to be put together, it was overwhelming. I found myself trawling through YouTube for assembly guides. Pretty much all of them are in languages I do not understand. A promising start. With searches such as 'iDraw 2.0 without base assembly', and still the only resulting videos are ones with the base...such as this gem. Eventually I come across this video and pause on the shots of the full plotter, using the frame as a reference for how the one without a base can be setup.
The first plot went quite well, and I experienced a hot pot of joy / adrenaline / relief / euphoria. With thoughts like "Oh my, this is amazing" and "I am a natural, damn", I set up for my next plot...
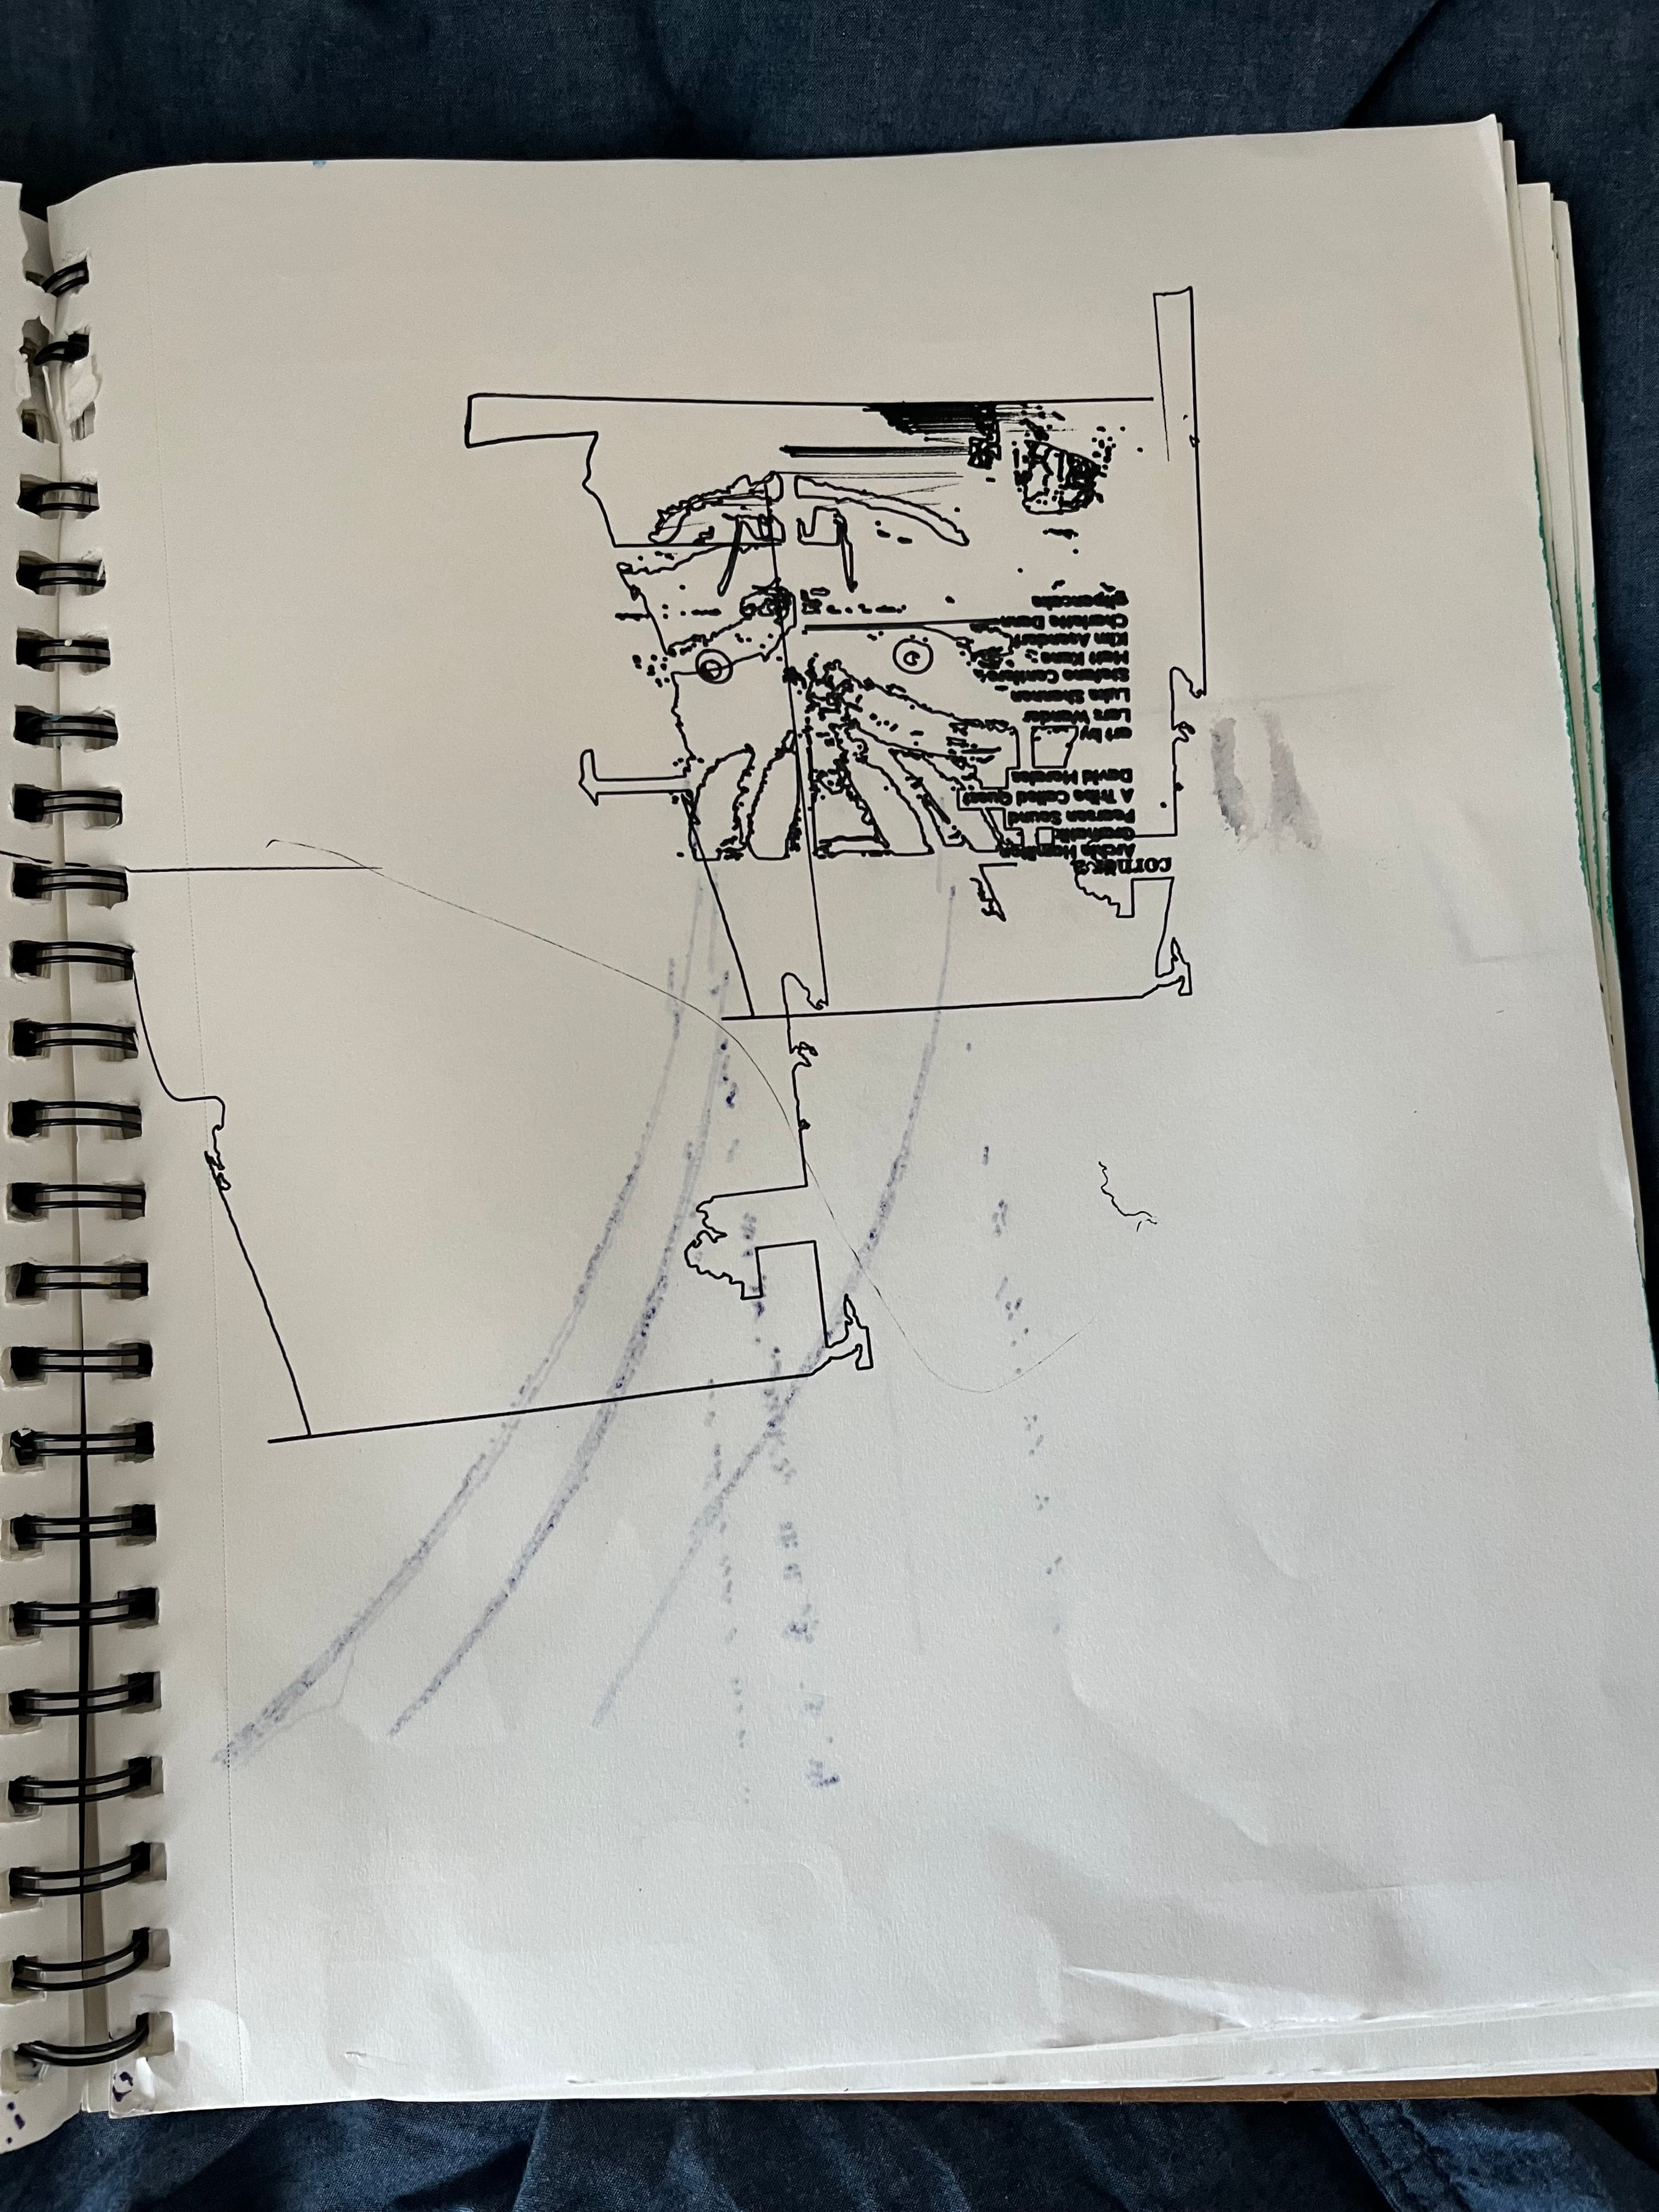
Immediately after starting my next plot, the pen head moves all the way to the left and starts making a crunching sound. It vibrates my entire desk. The crunching makes my coffee ripple. The sound curses my ears, then the pen slams down and draws a line straight downwards, going completely off the page, over the ring binding of my sketch book and nearly careering into my first plot. While doing this my sketch book is dragged over and collides with the bracket of my plotter. Then the head reaches a corner and heads straight down, off the page narrowly avoiding gouging a canyon in my wooden desk. It continues straight down until it reaches another 'corner' (at this point miles away from my sketchbook), aggressively pivots, and heads back towards my sketchbook. I'm on my laptop, sweating, trying to shut the plotter down, but Inkscape has decided to become completely unresponsive. So I force quit the application, open a new instance, head to the iDraw 2.0 control panel and hit 'turn off the motors' as a manual override. The plotter stops. My sketchbook has been dragged into the plotter. The plotter is skewed, having been dragged by the pen head and my poor sketchbook.
Okay, so, queue the next week rinsing and repeating plotting random pieces. Fortunately my flatmates and I are hosting a halloween bash, and this presents a great opportunity to create small halloween themed plots and dash them around the apartment for people to enjoy. This really helps with my understanding of head placement, alignment, where things would appear on the page and just practicing by doing.

During the halloween party I had a discussion with someone who has been plotting for quite some time. We discuss areas of improvement for my plotting setup. It was immensely helpful, and after that conversation I purchase a cutting board, craft tape and a tripod. While these were being shipped I played around with grids, bounding boxes and placement of images on Inkscape to familiarise myself with plotting layouts. Again, a great learning experience.
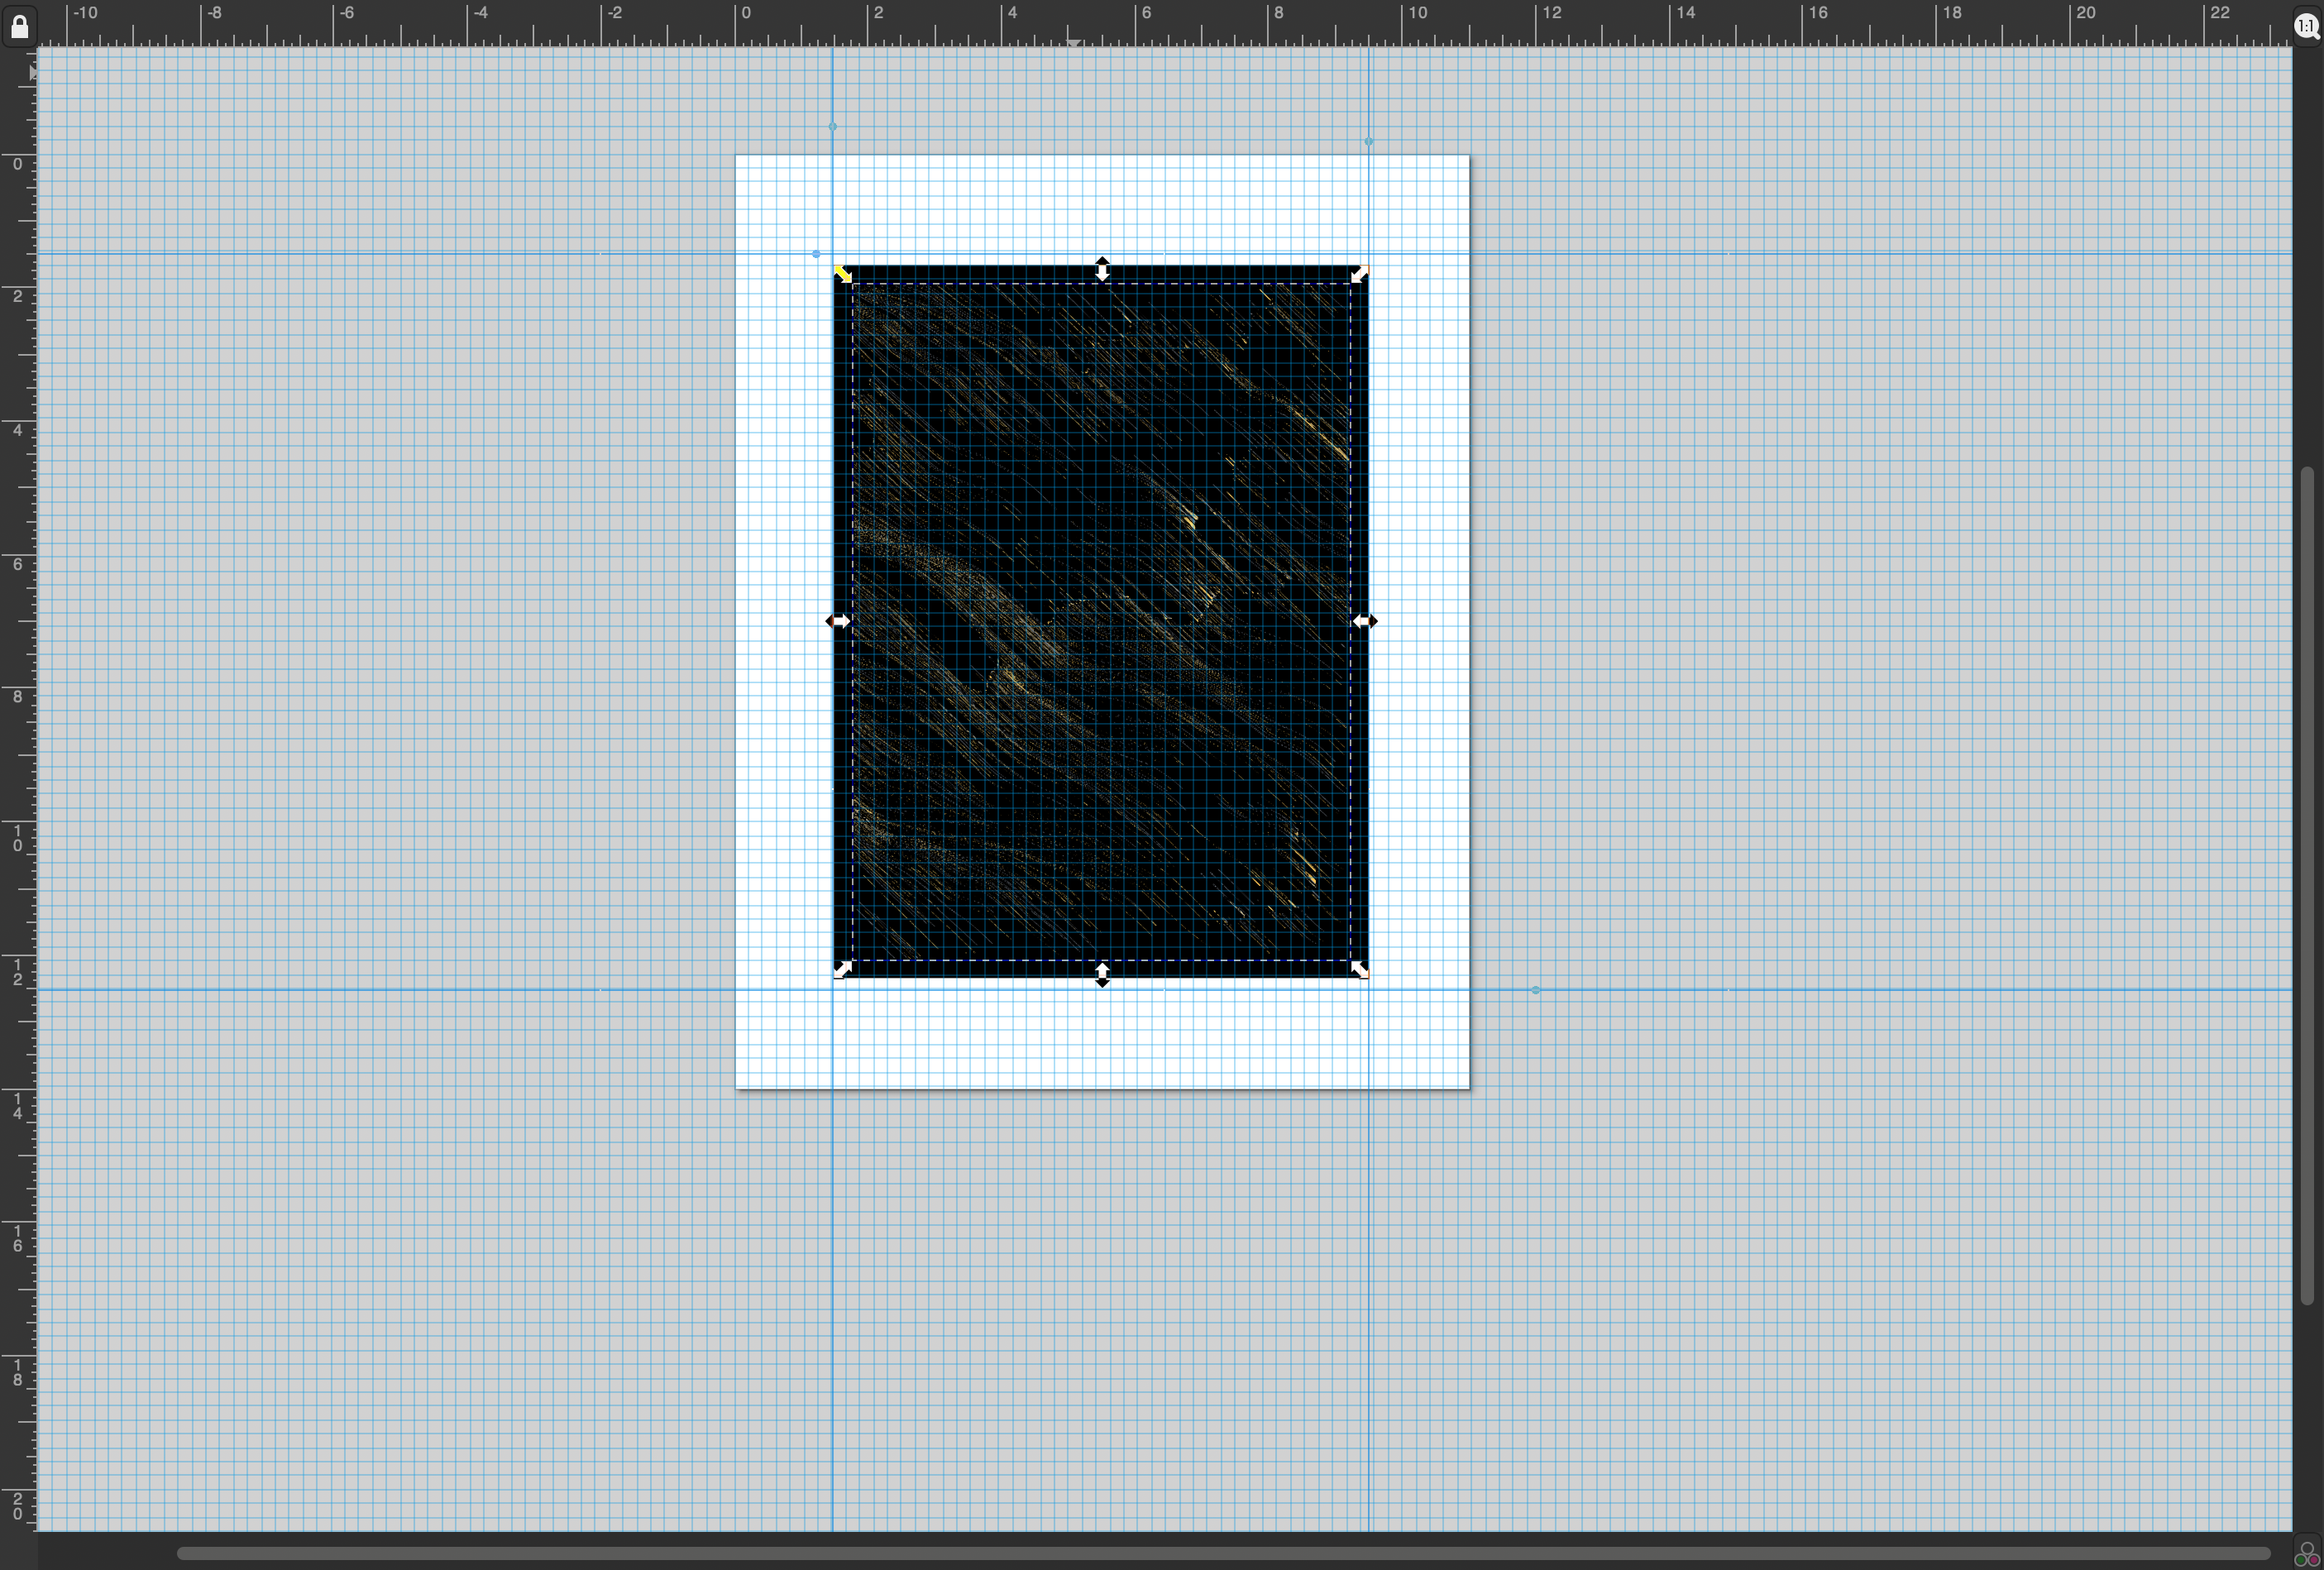
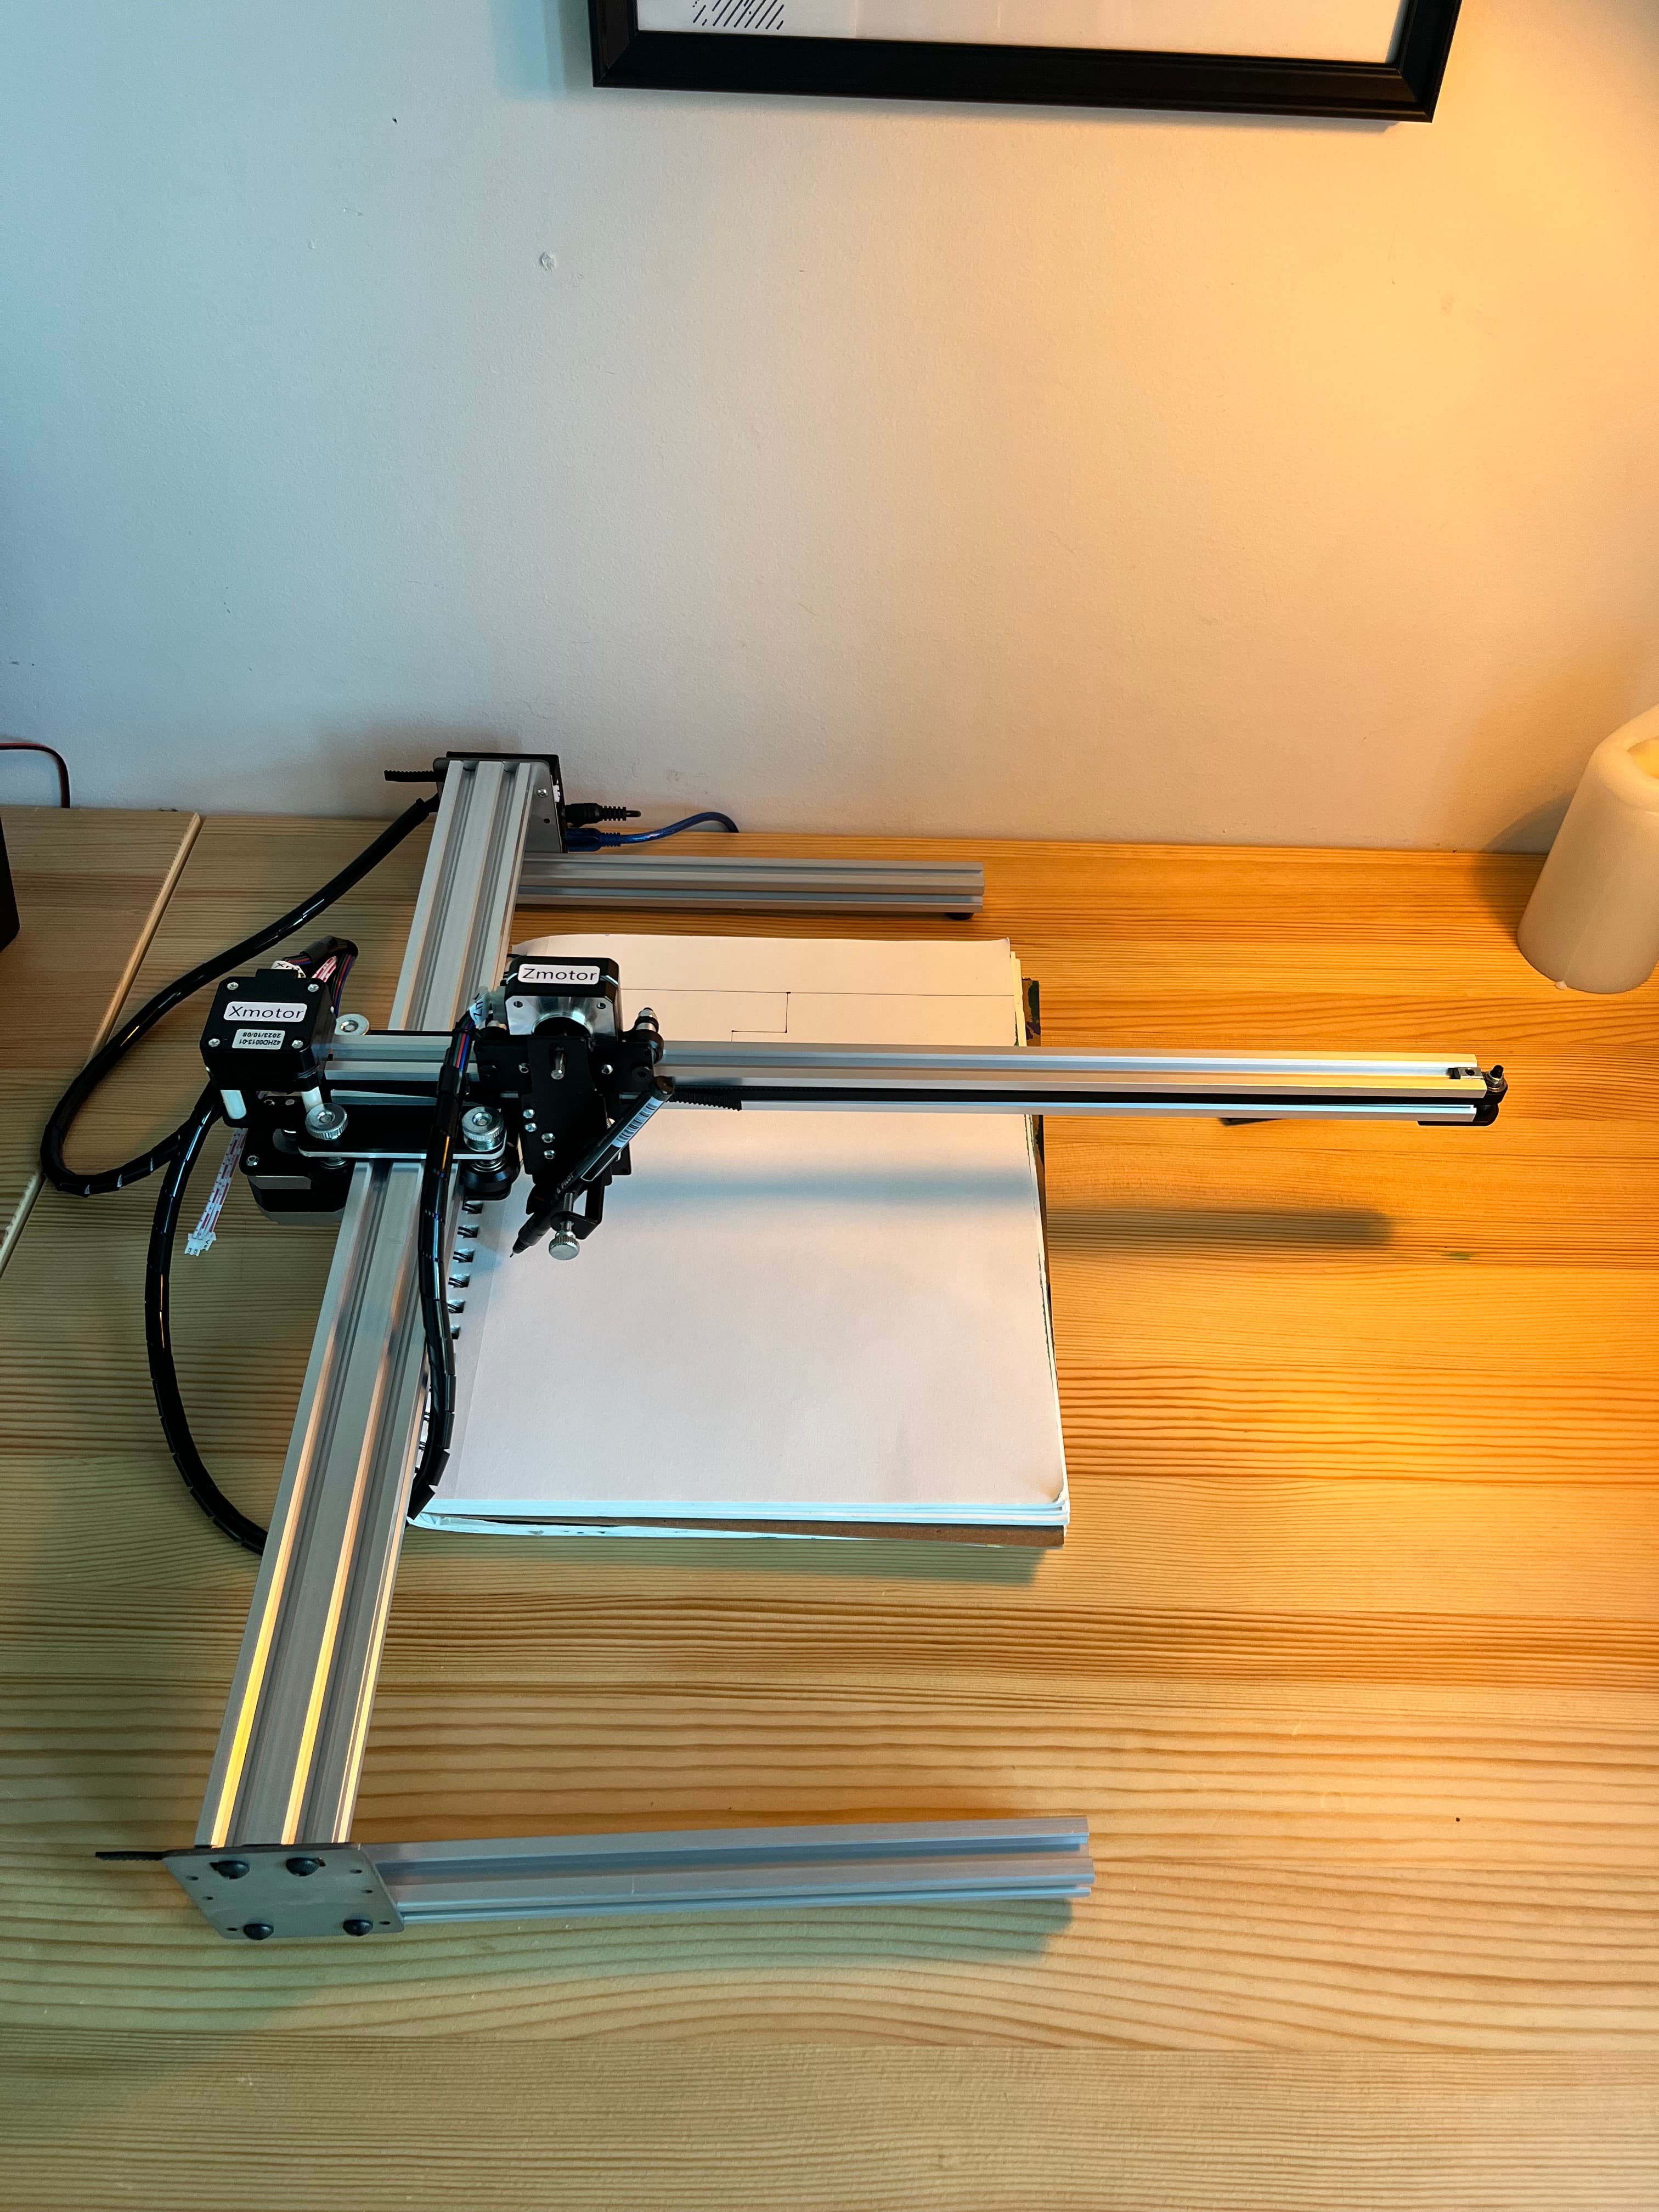
I continued to do adhoc plots of flow, including some miniature plots as gifts for friends, until the new components arrived. Then, spent quite a lot of time setting everything up. Somethign I found challenging was figuring out where the plotter things 0,0 is. Inkscape allows for manual interaction with the plotting head. This is great, but I find it a bit misleading. For example, there is an option to 'Send head home (RIGHT)'. This is not necessarily home...I found even after selecting the right plotter, the motor will still go all the way to the right and made a crunching sound as described a few paragraphs ago. This really confused me. After discussing this with people, I am now placing the head manually at 0,0 and starting my plots there. This is working, and in combination with a cutting board the outputs are starting to look presentable, quite a proud moment!

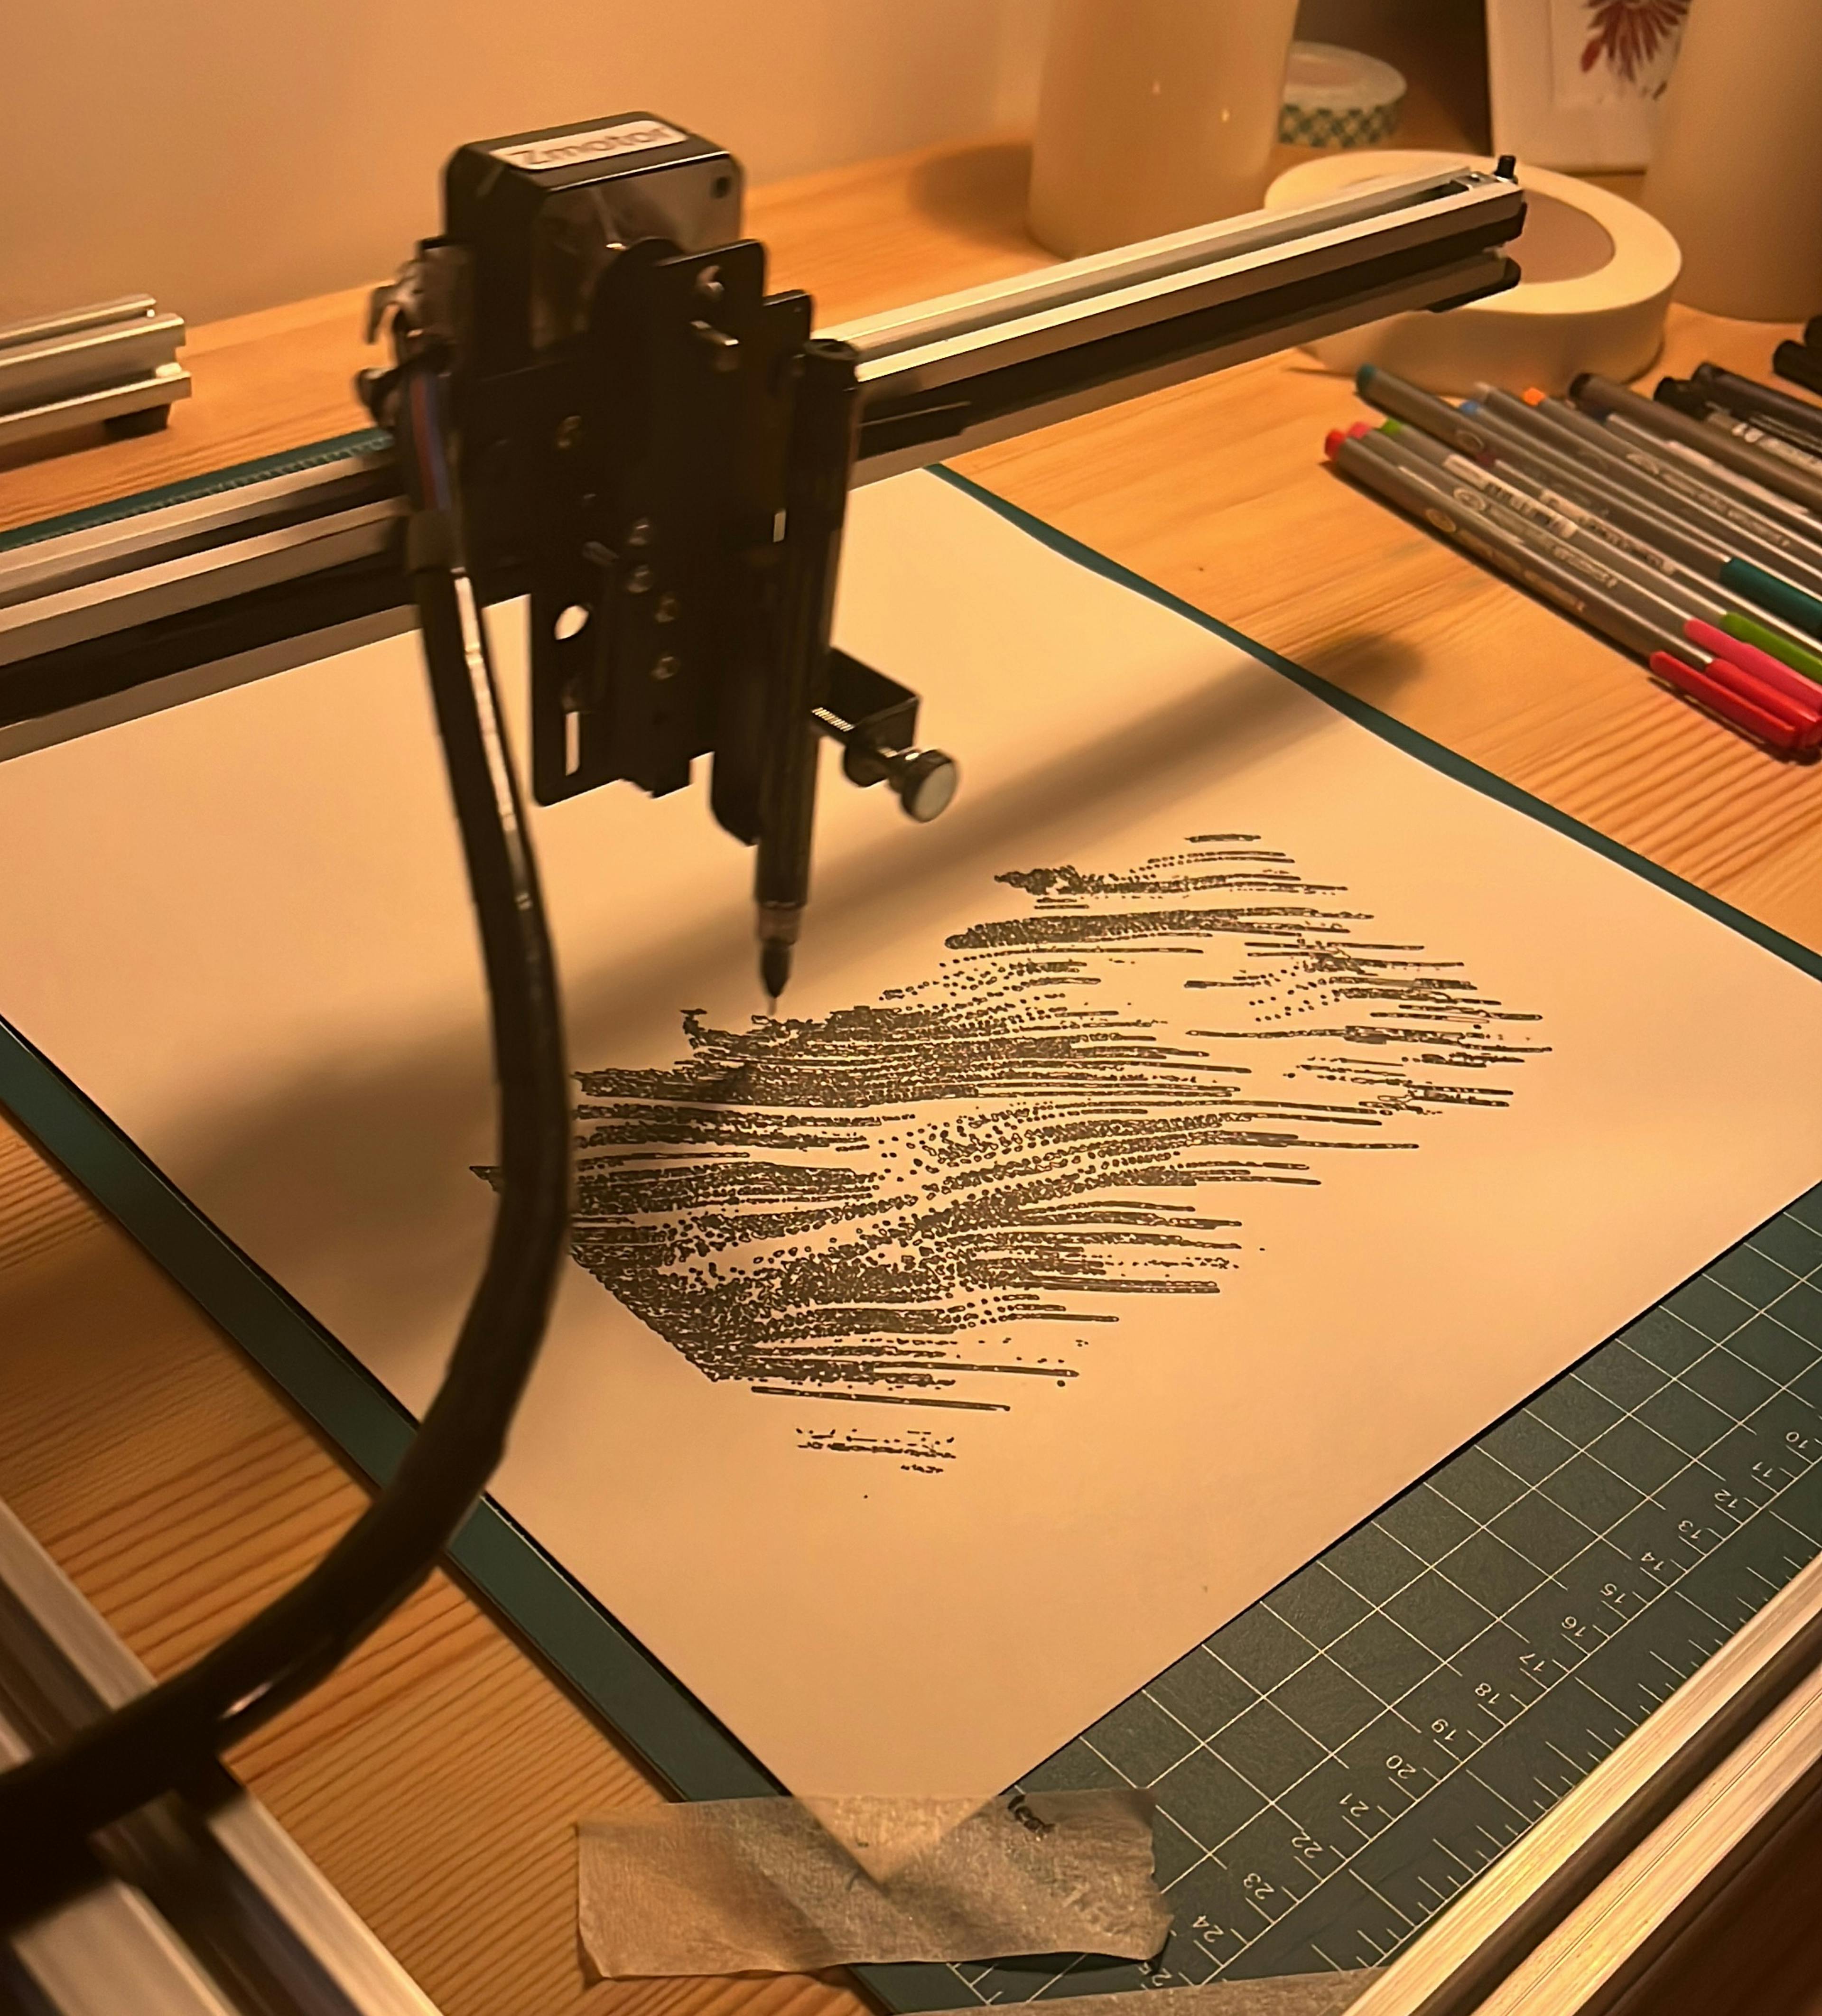
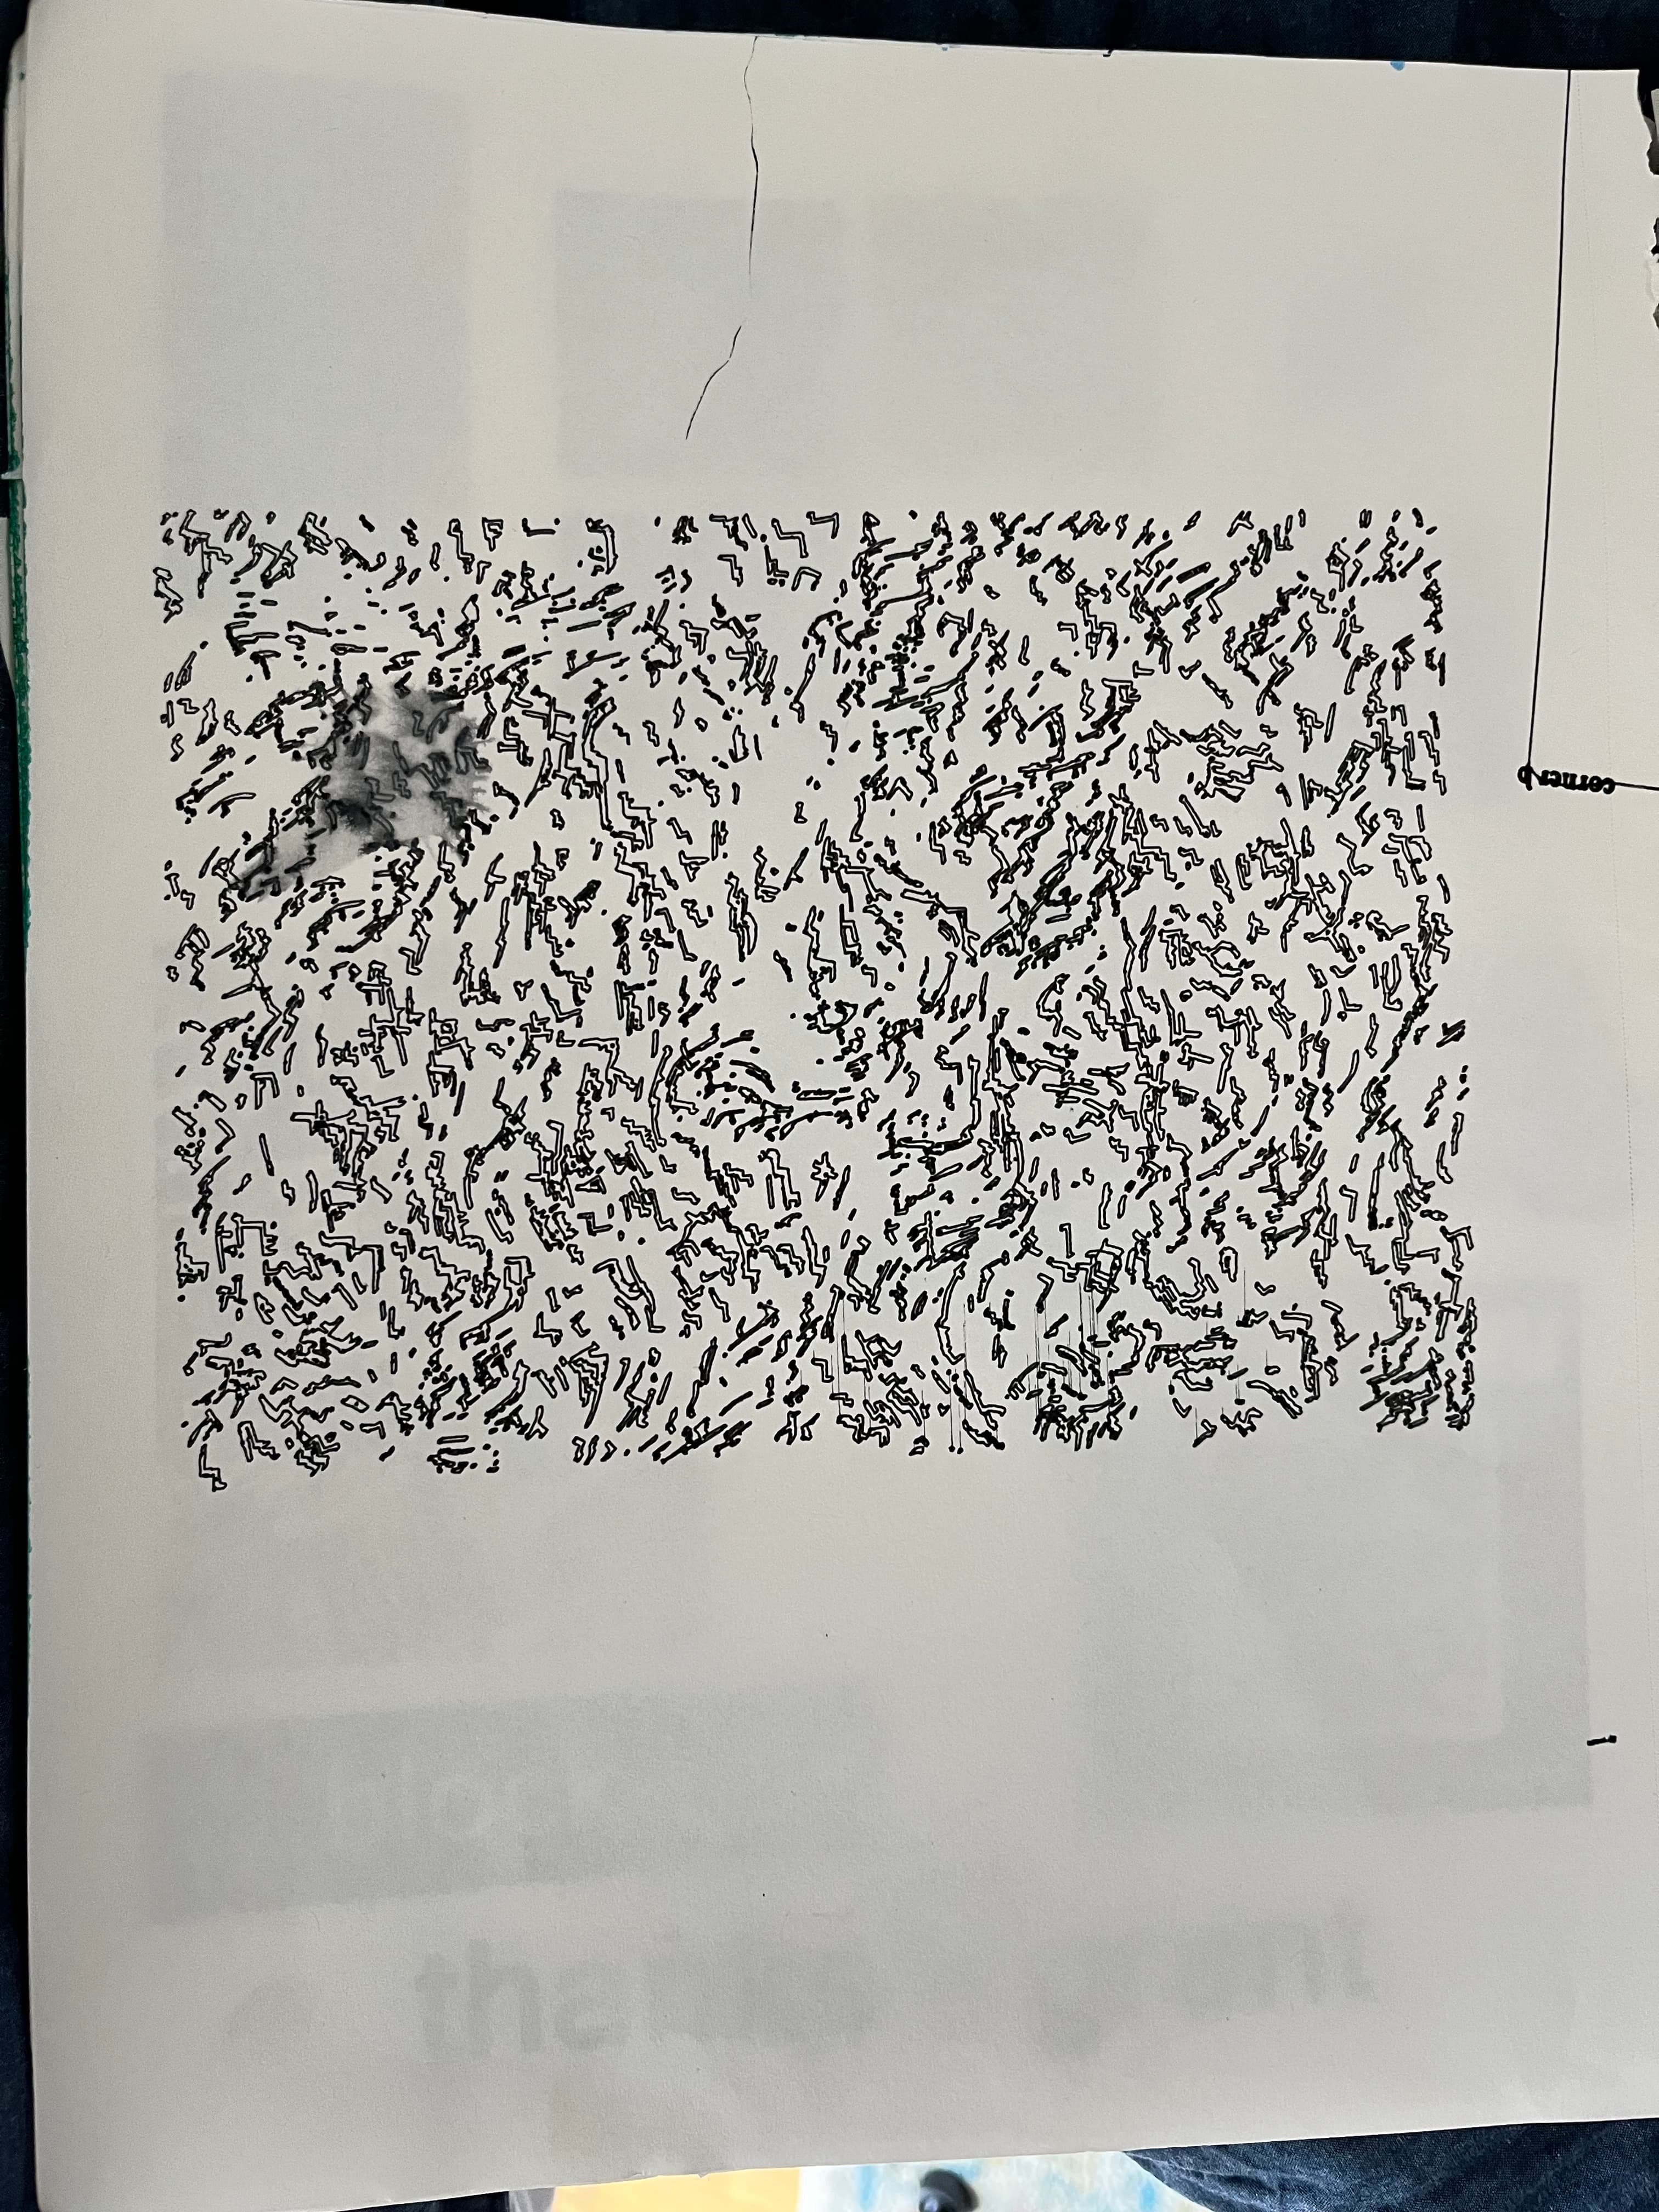
The two outputs above use 0.1mm pens. I previously used 0.3mm pens angled at about 45 degrees. This setup produces splotches on the canvas when resting, or when the head presses down too hard. This can be seen in the image below.
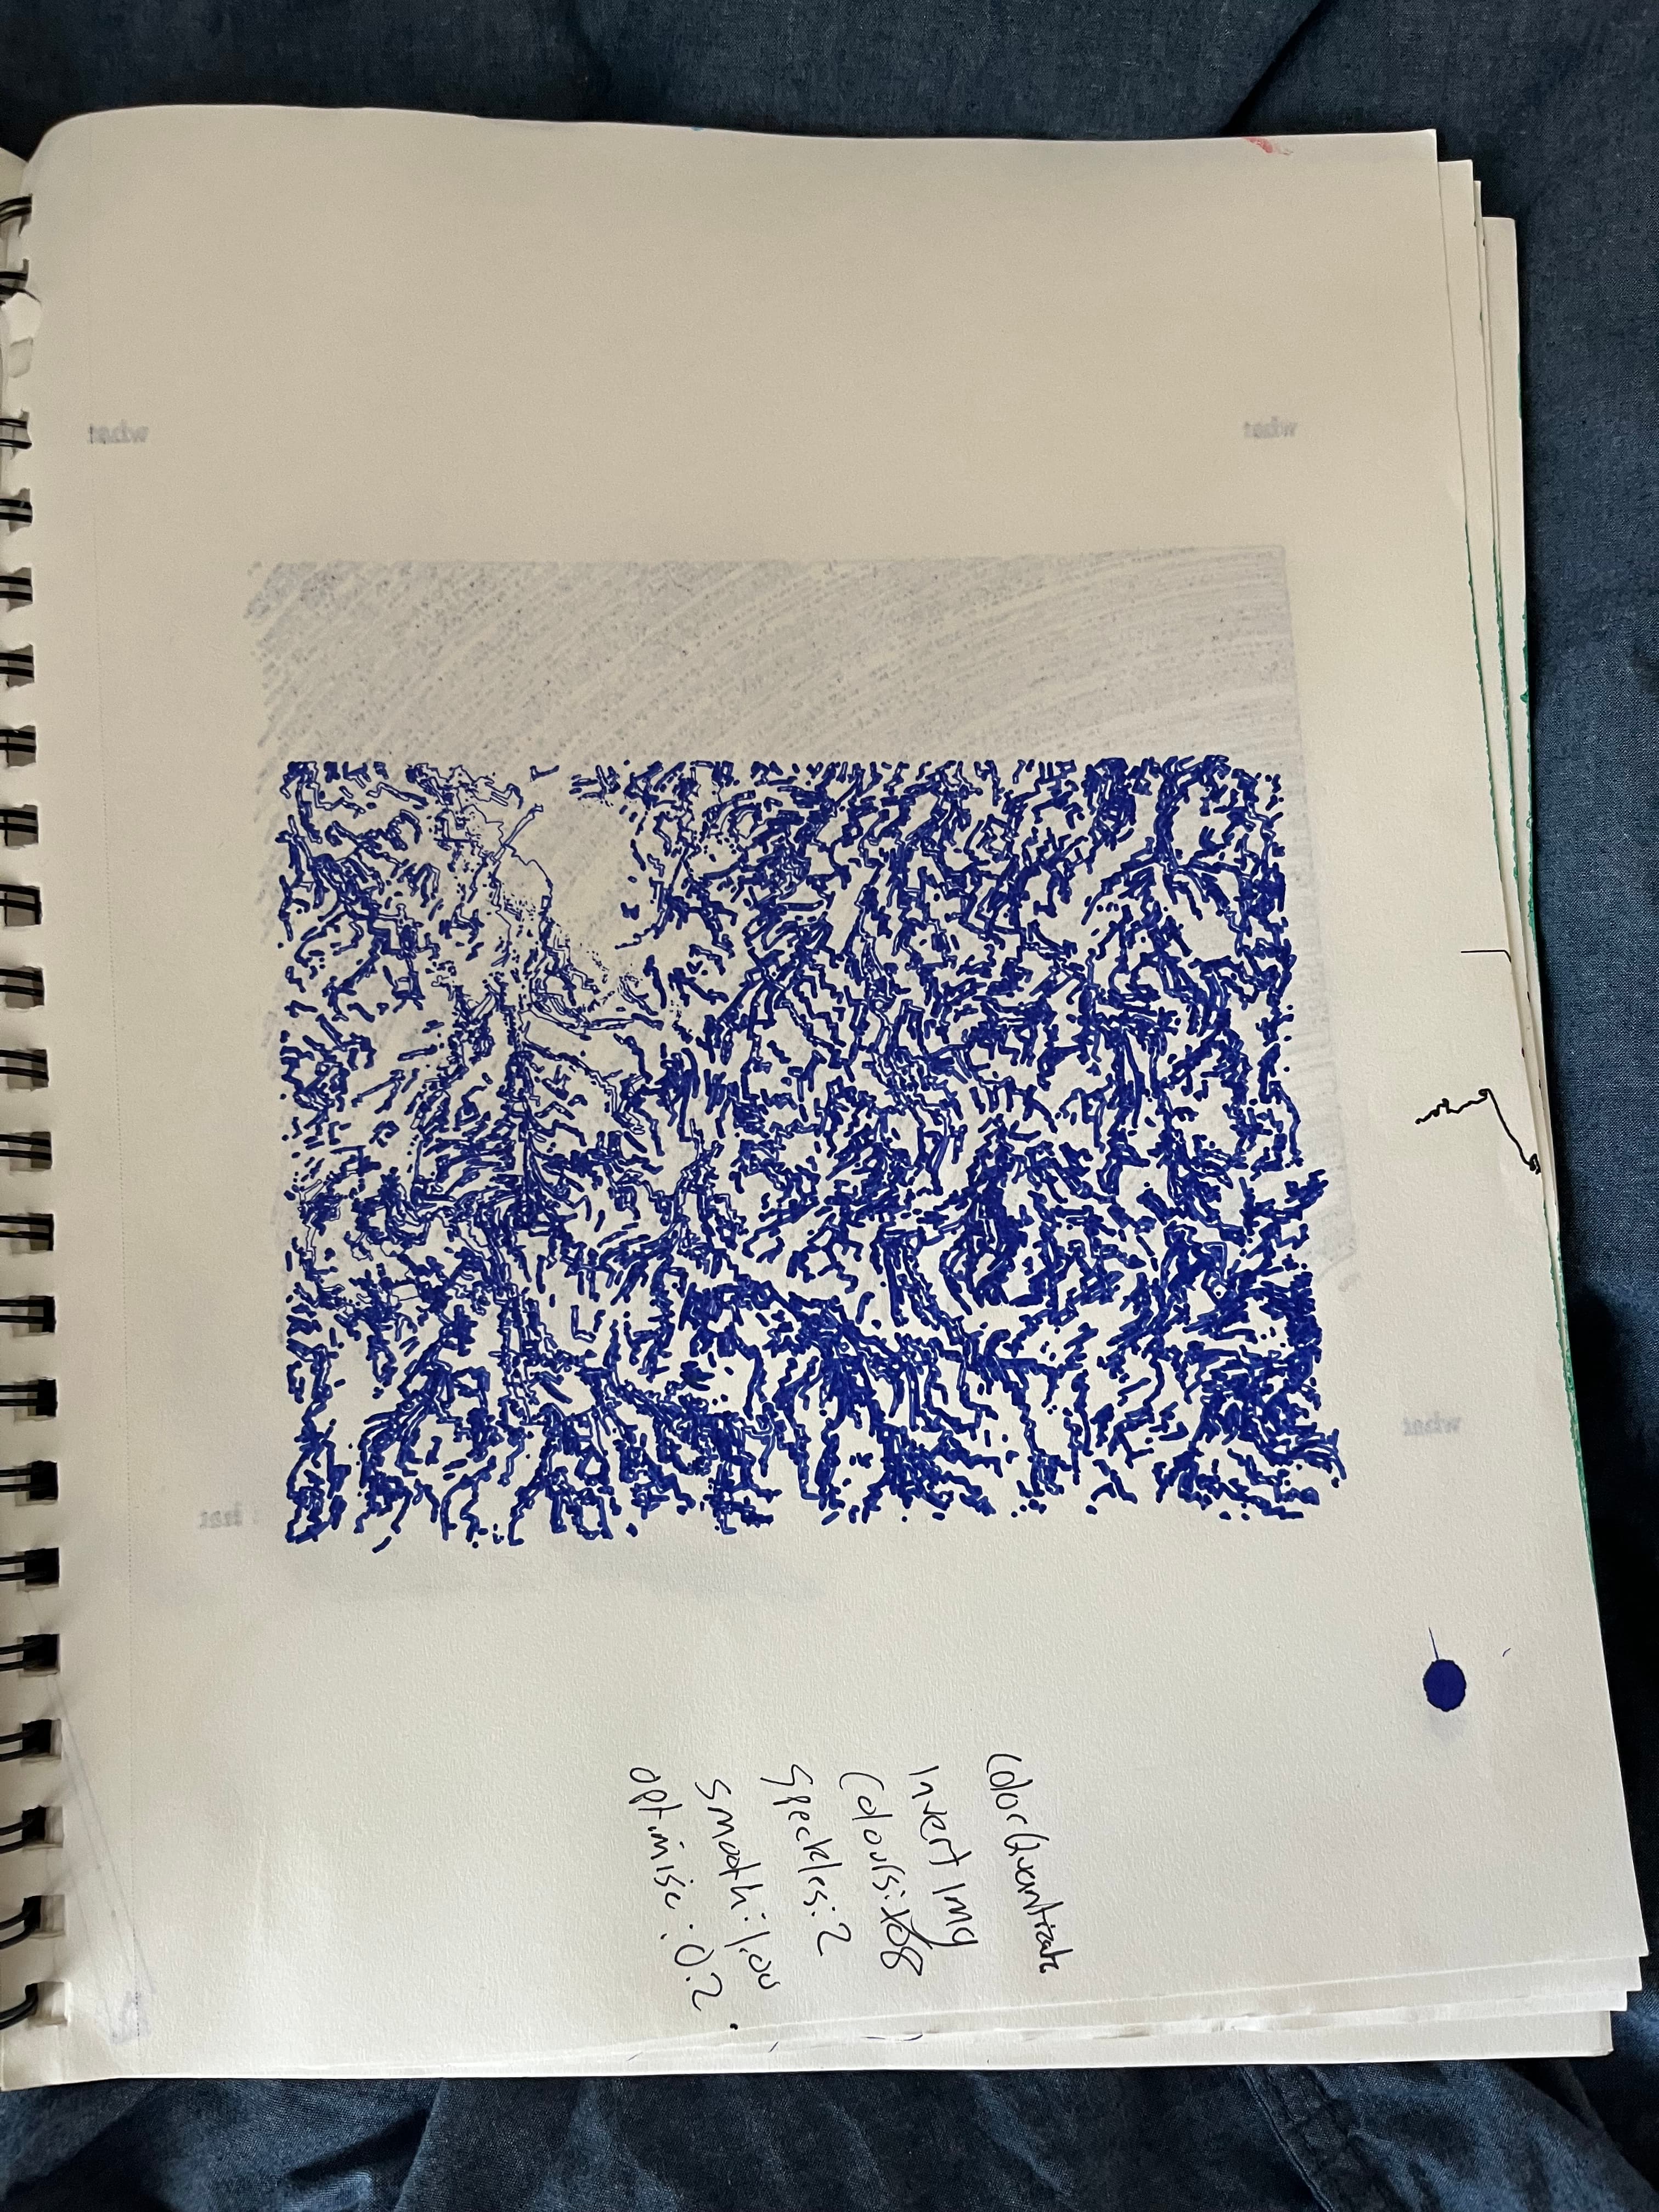
There are a few things I note in this plot. First, some of the plot is missing. This is due to an uneven plotting surface. Note how the paper is still in my sketch book - this makes the paper bend, so when the pen is going across the paper, it simply doesn't reach the canvas. Adjusting this mid-plot means that the pen is darker for 3/4 of the canvas, and lighter for 1/4 of the canvas. The splotch mark in the bottom right is a result of me adjusting the pen mid-plot, and then the pen resting on the canvas. Oops!
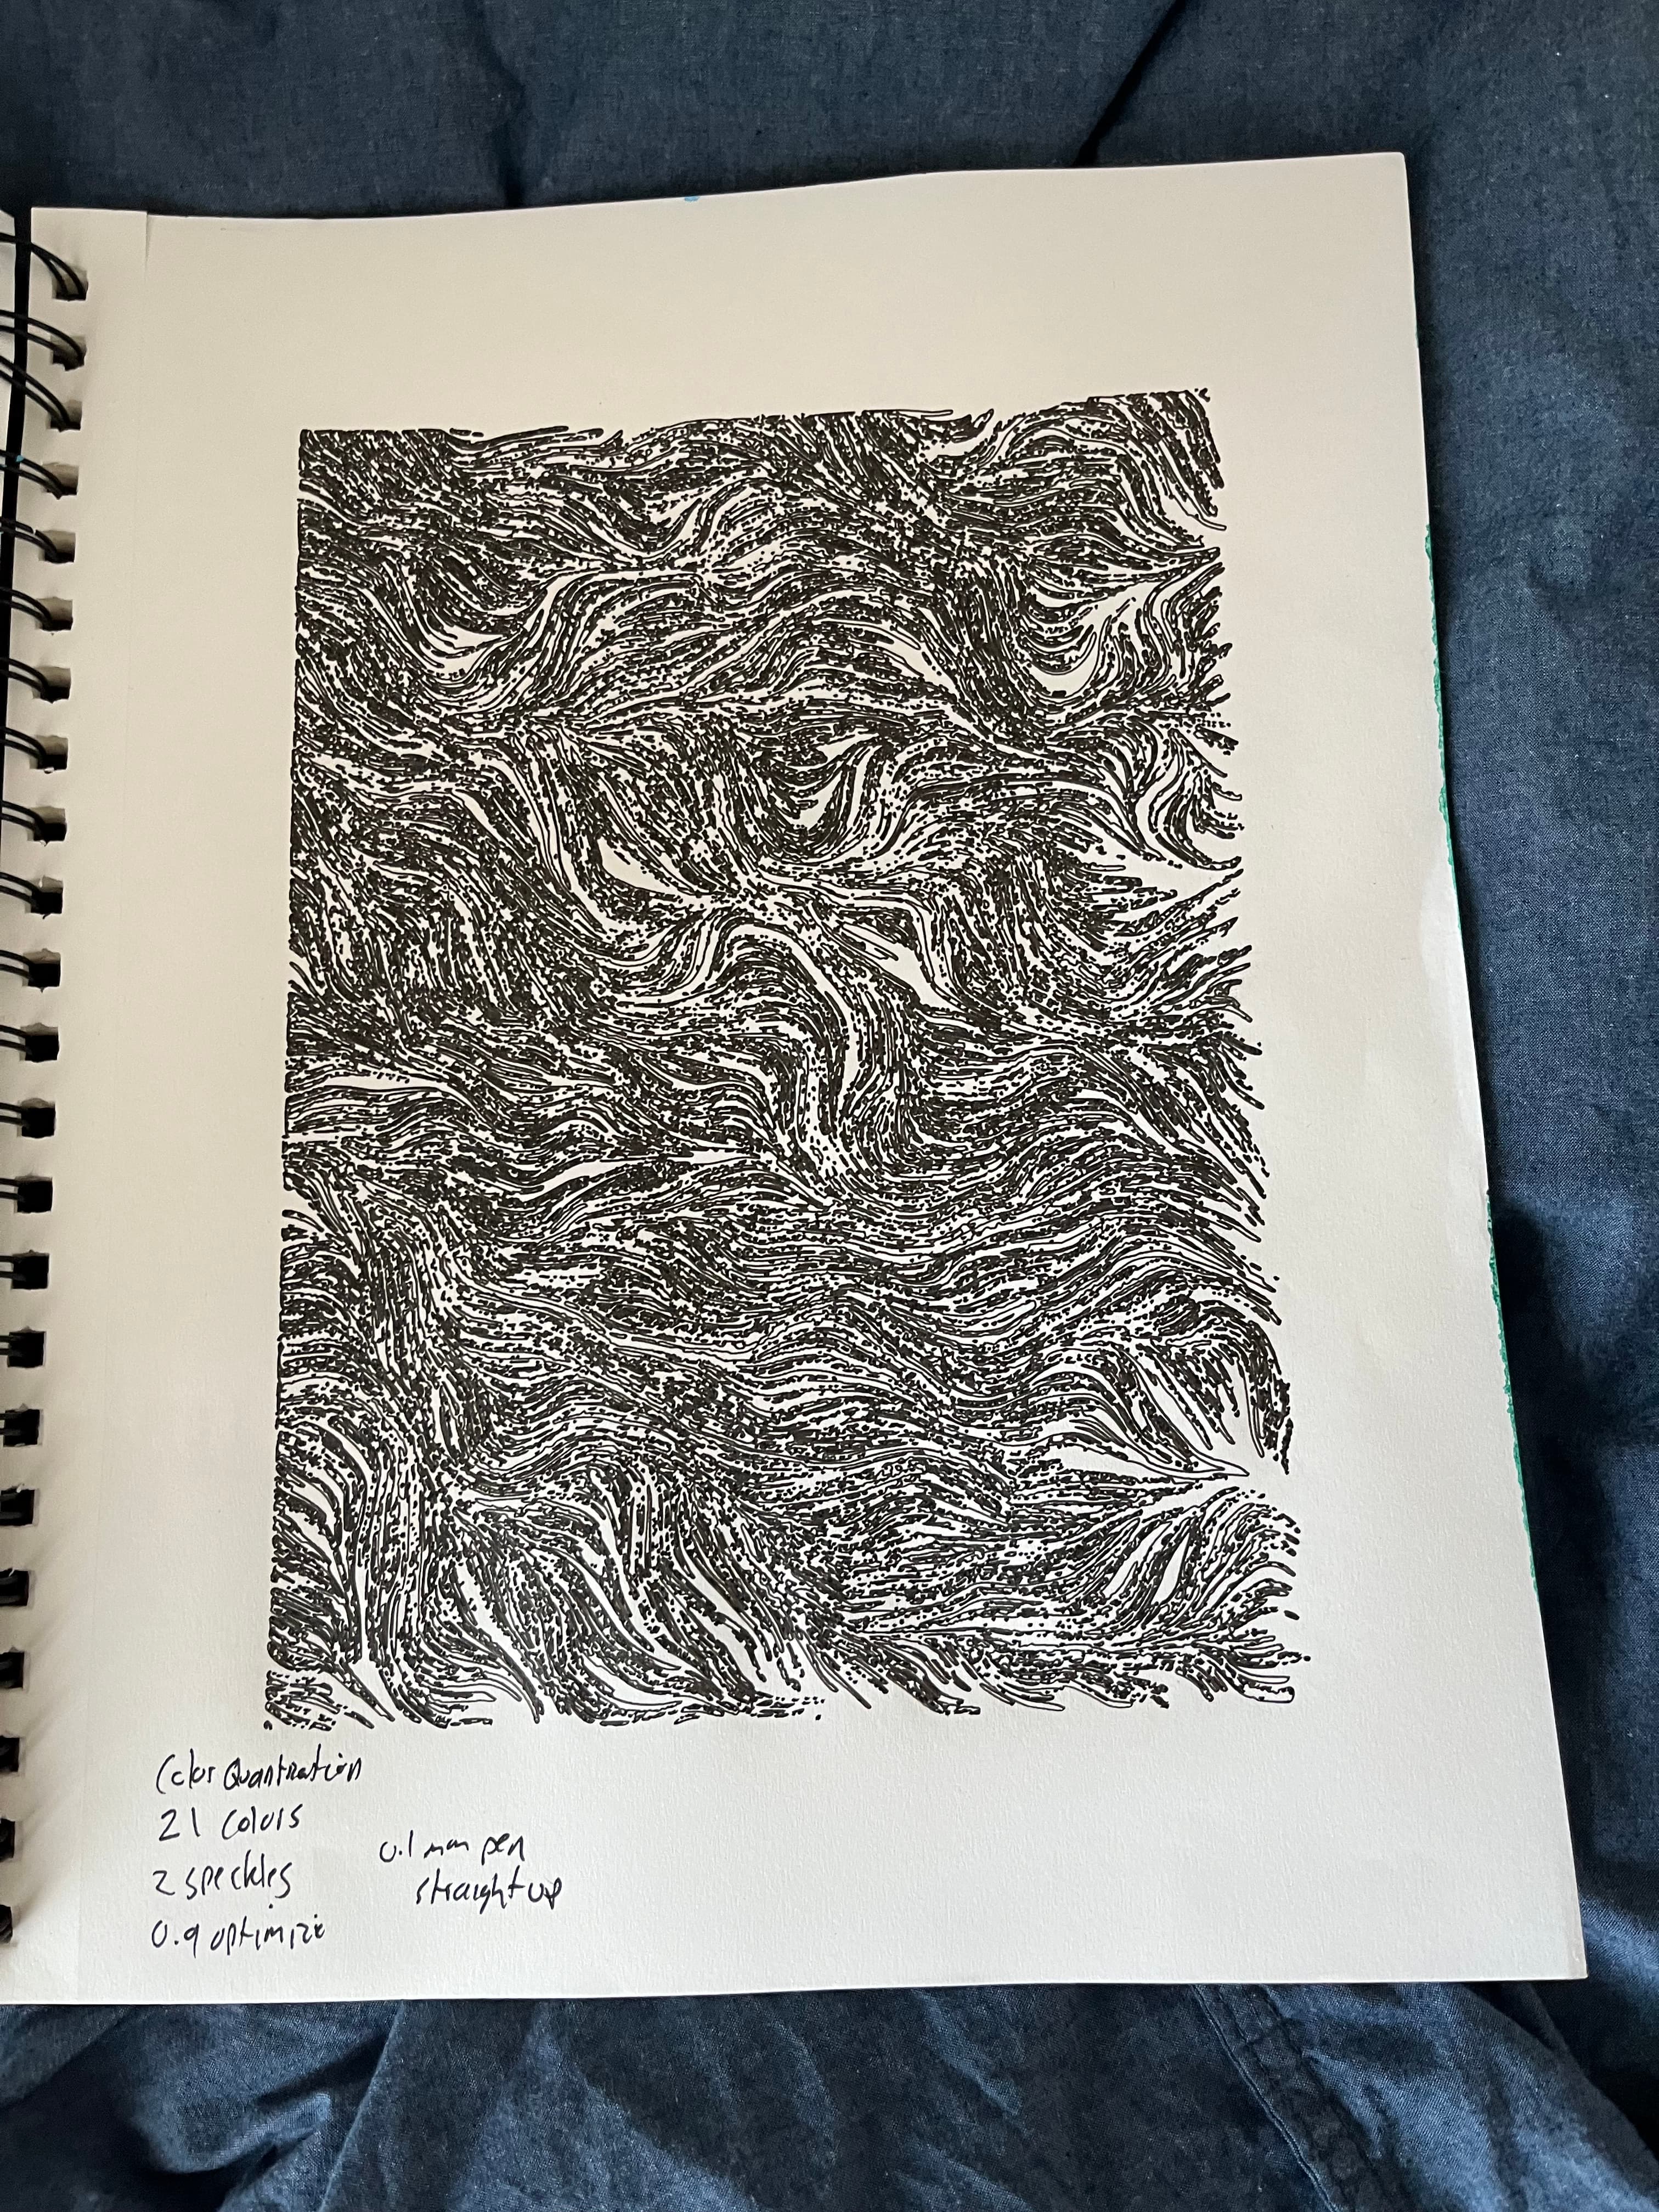
Again, more notes to myself about the setup used for this output.
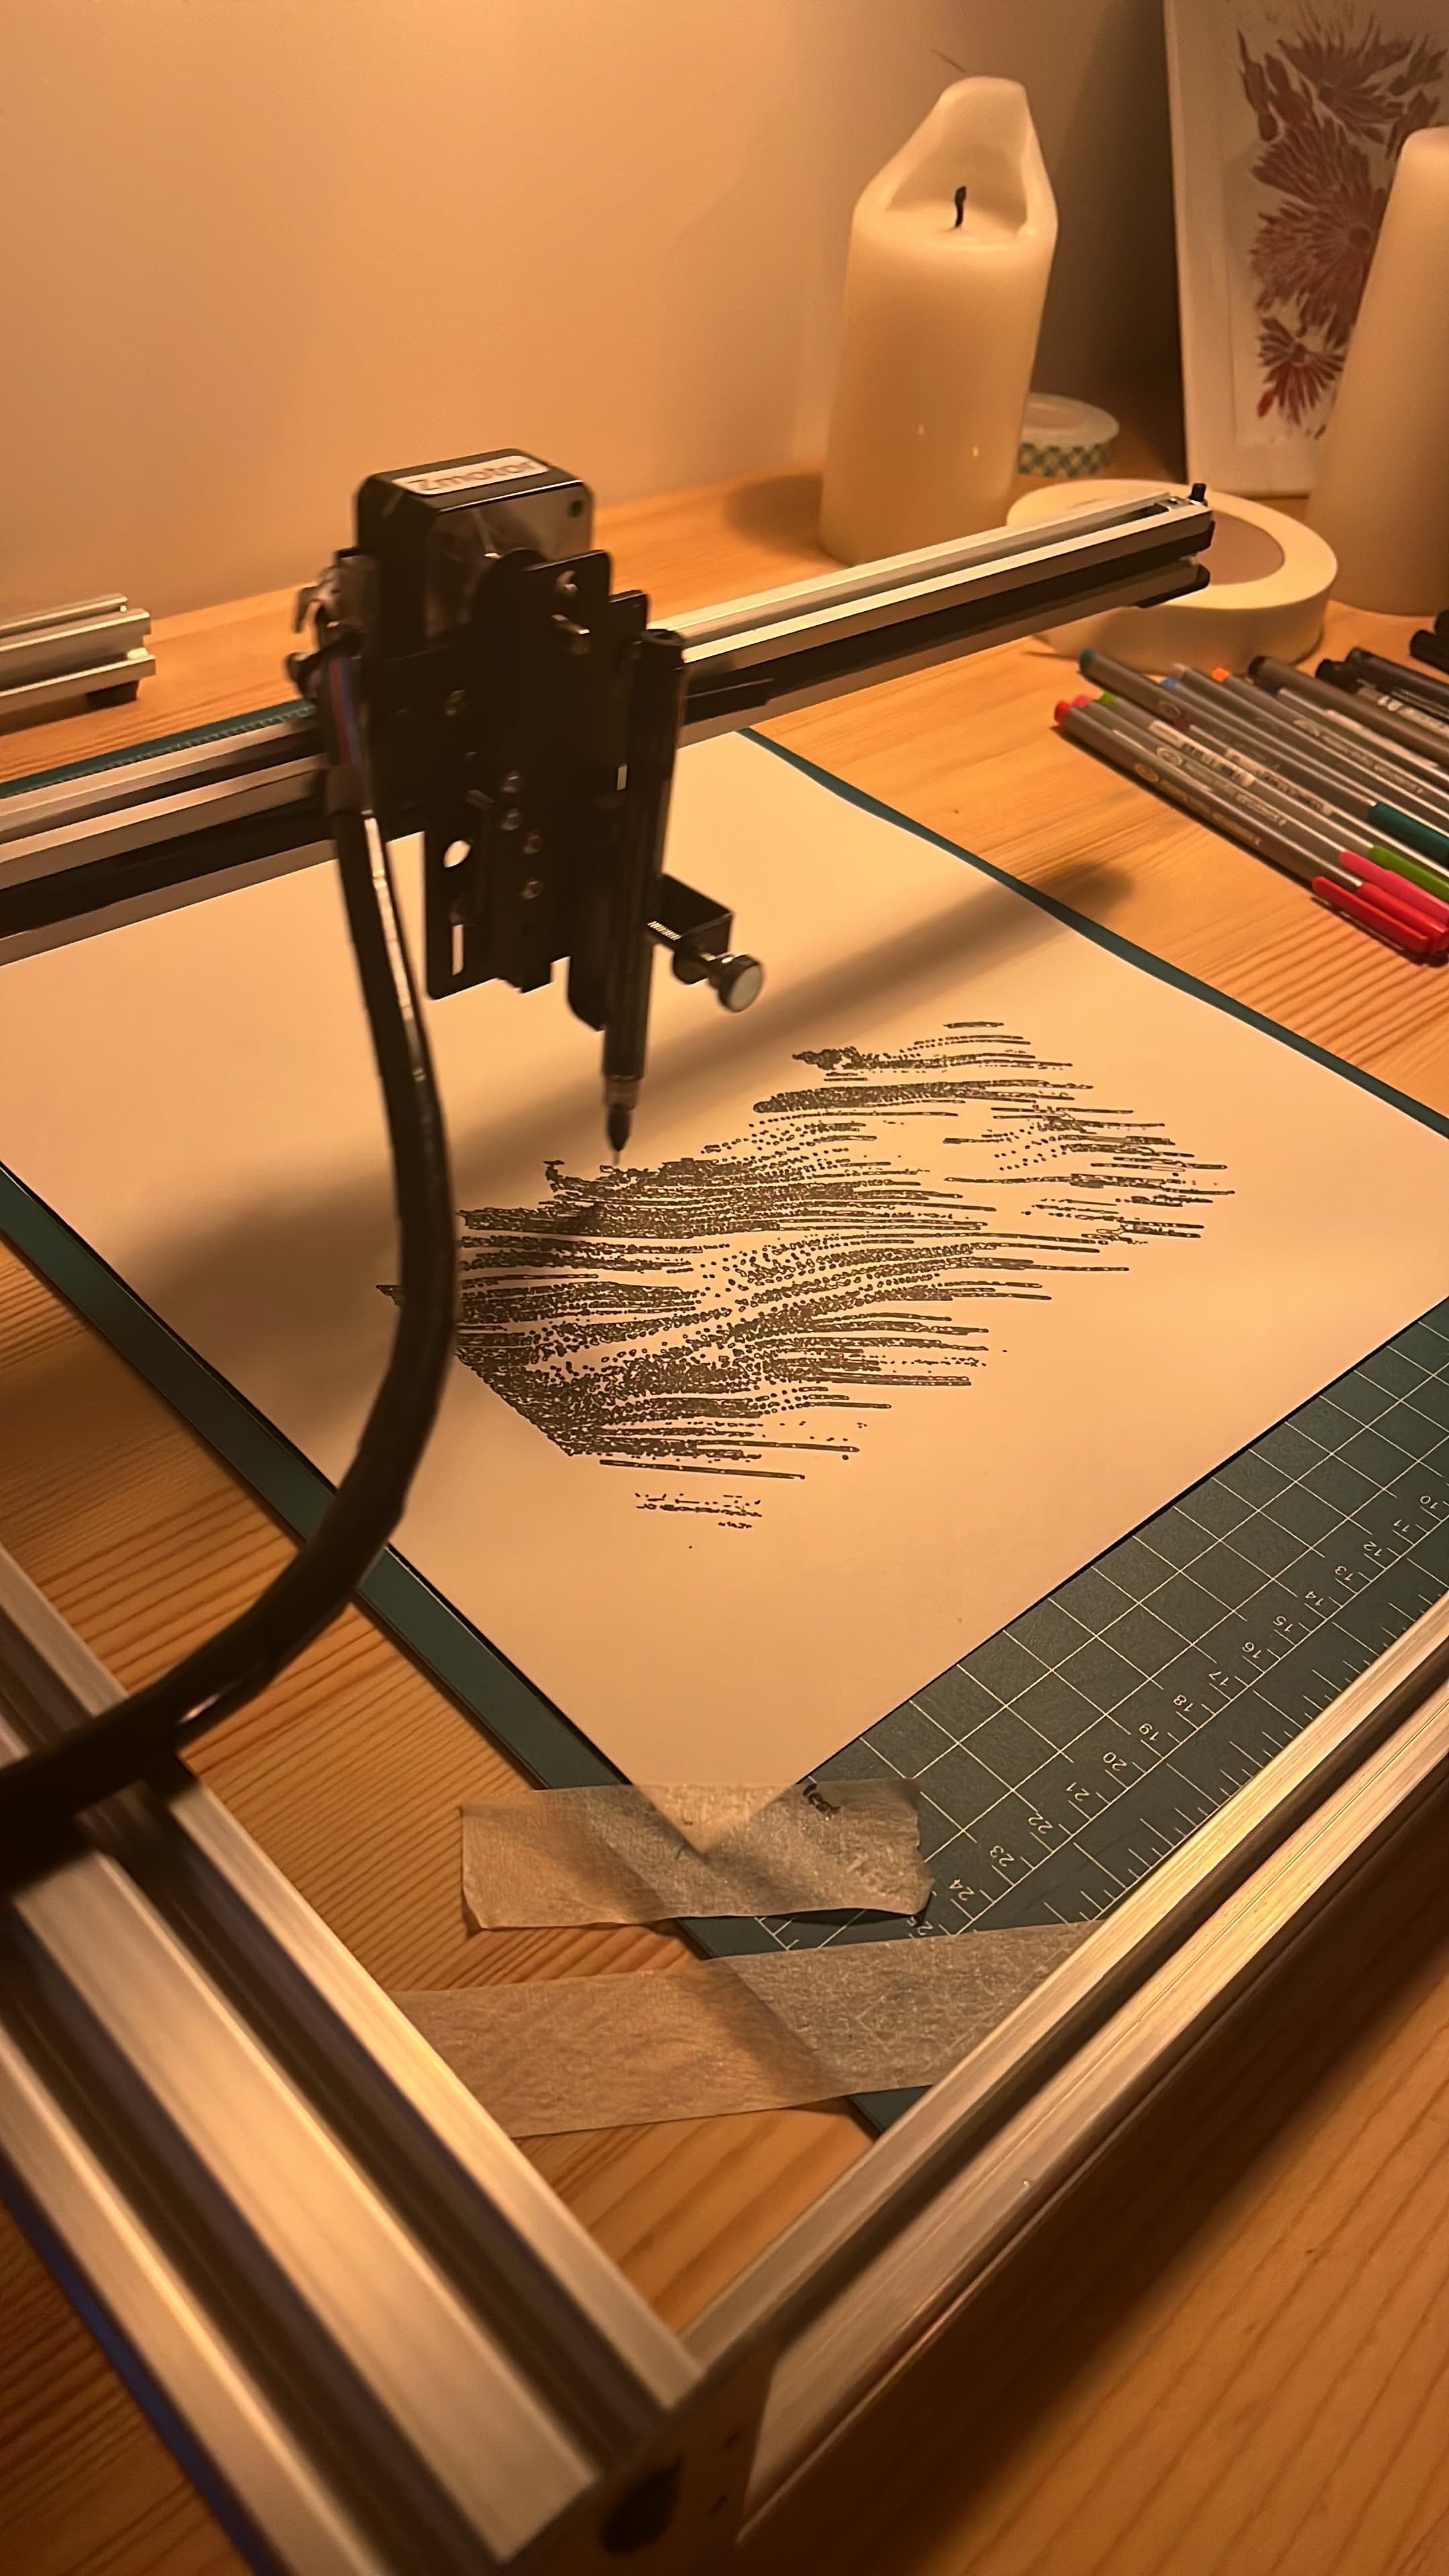
Finally, I am feeling ready to plot onto Bristol (nice) paper. I setup the canvas in Inkscape and run a test without a pen. The head moves to each corner of the canvas, then to each corner within the margins on the canvas. Things are looking good. I adjust the head so it is directly perpendicular to the canvas. I re-run the test. Again, things are looking good. I decide to bite the bullet and plot a near A3 size plot of one of my outputs on Bristol paper!
Inkscape starts thinking, and I hear the motors engage. I watch as the head slowly moves to the bottom left of the canvas and begins working on this output. It starts by plotting multiple small lines across the bottom of the canvas. The bounding box looks good. Slowly, the pen makes its way up the canvas, meticulously plotting each individual line. 3 hours, and quite a bit of plotting ASMR later, the results can be seen below...
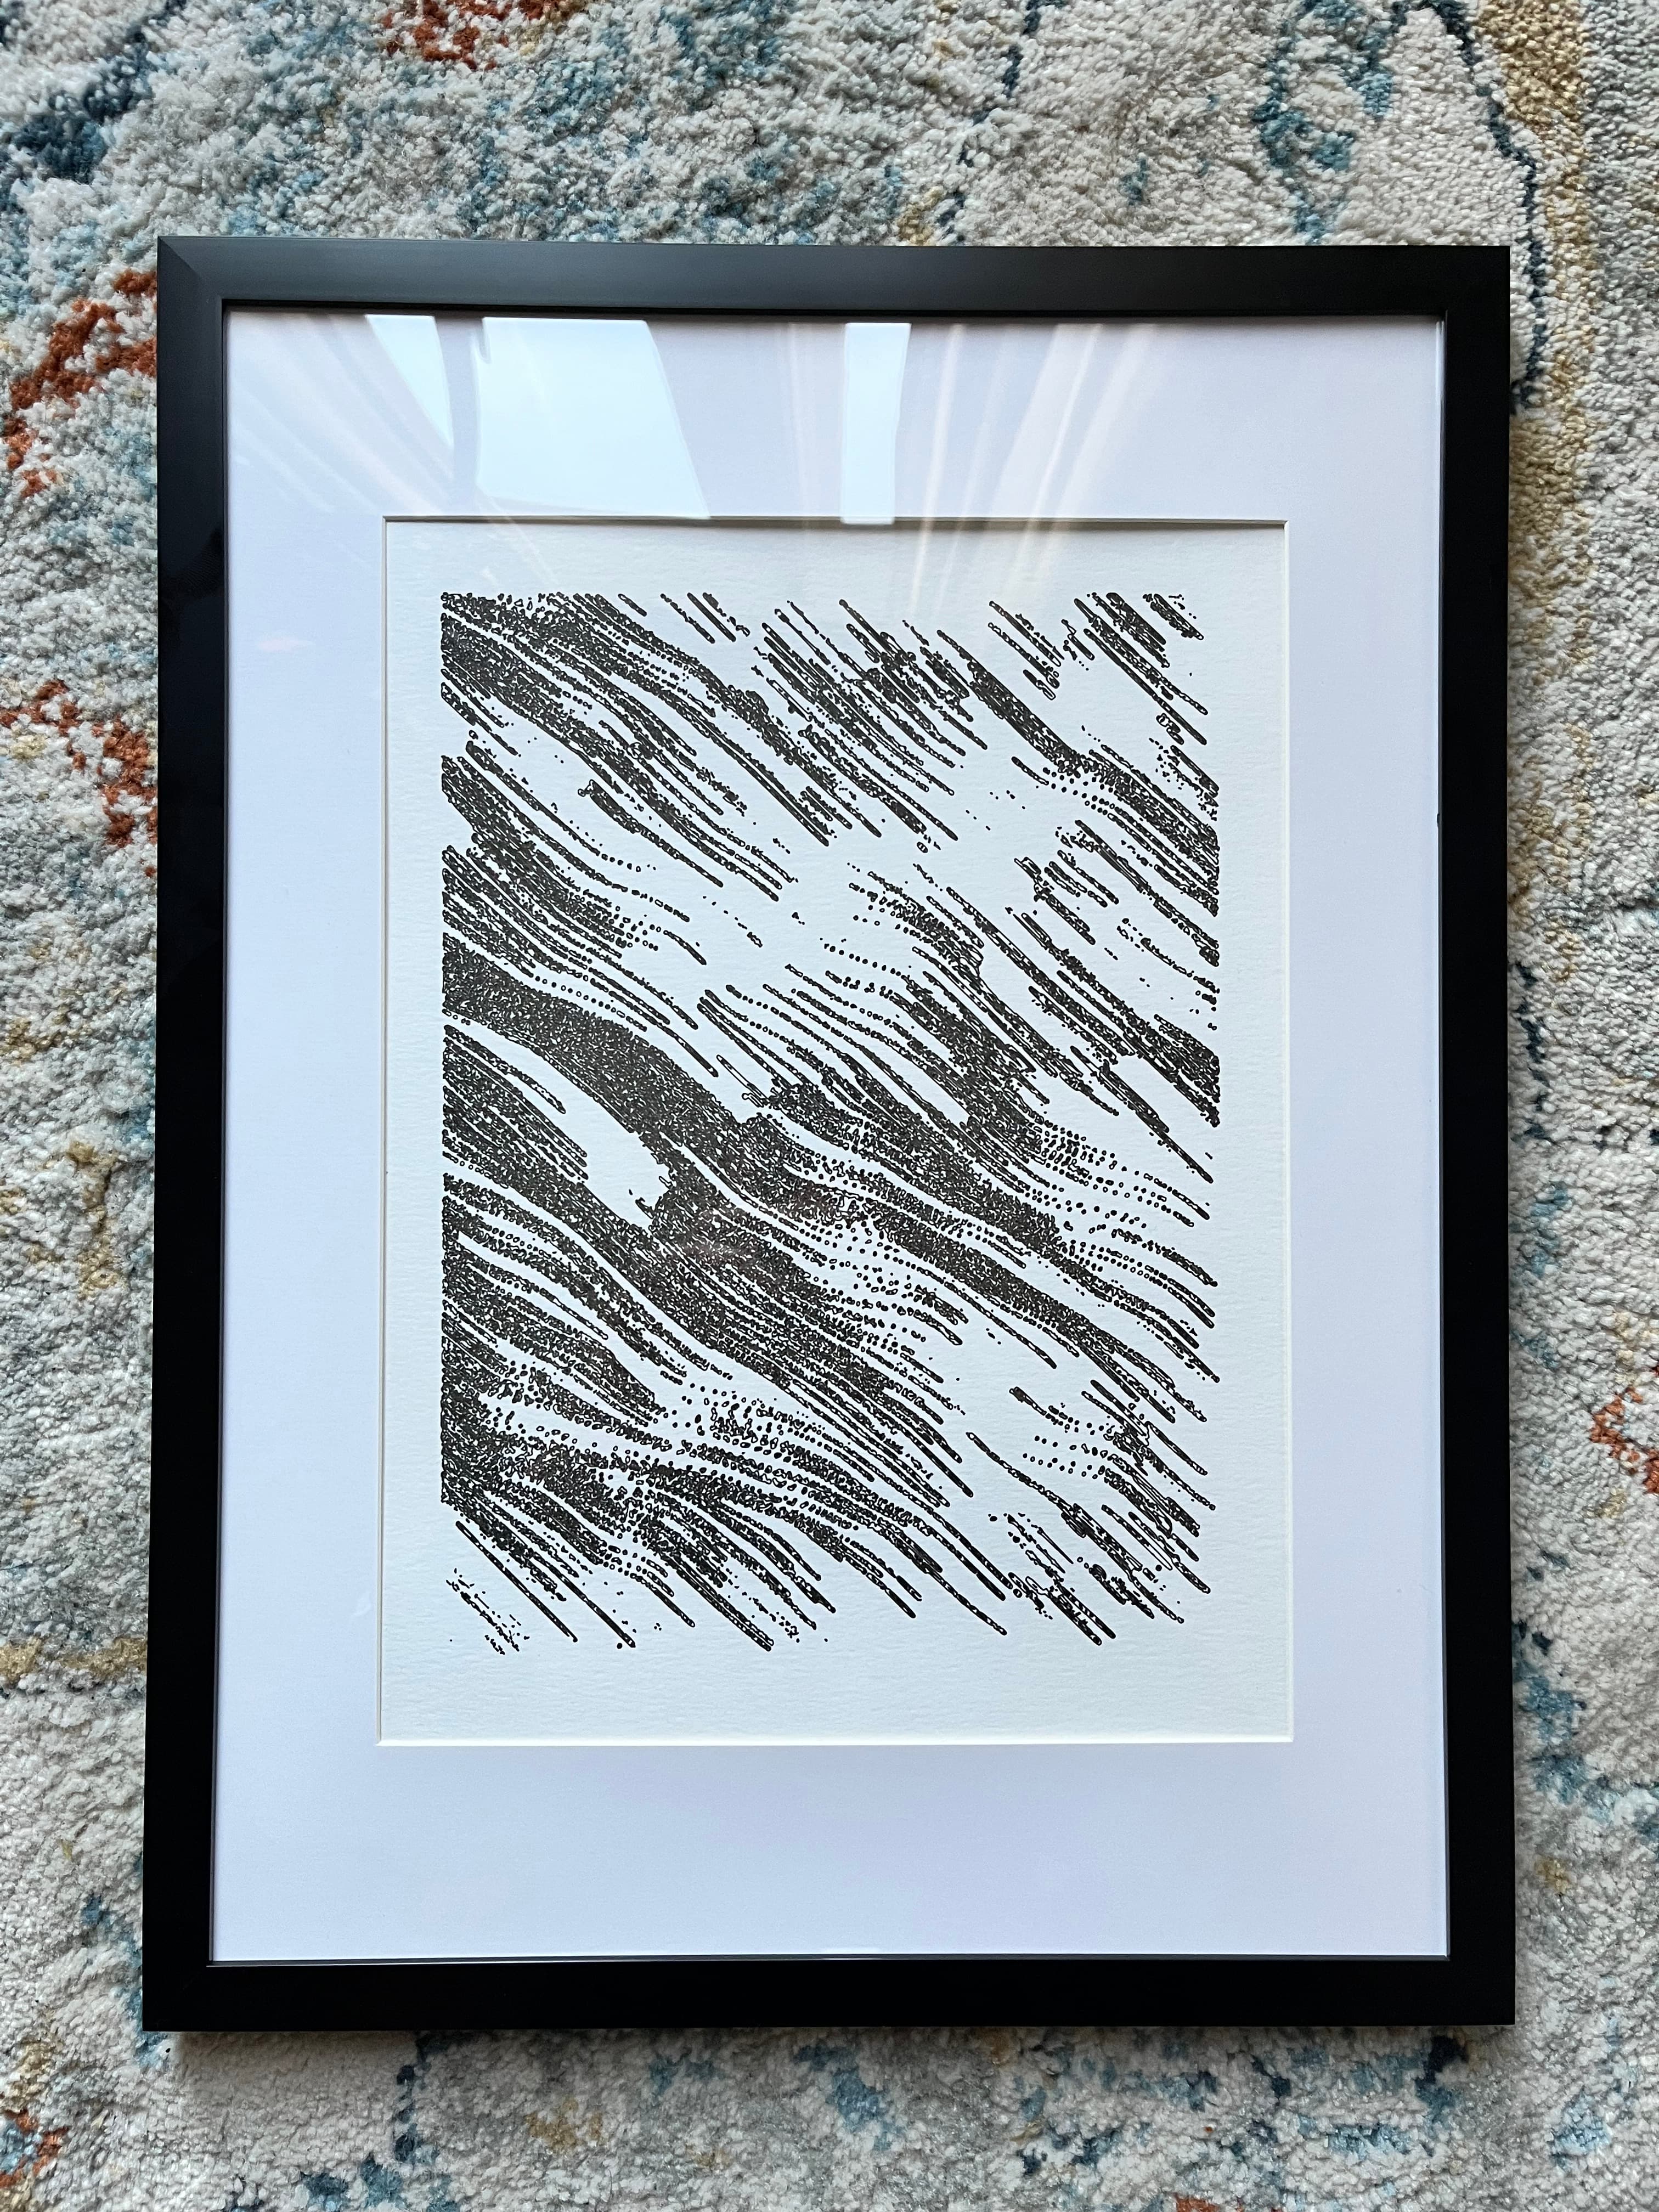
So, this is a documentation of the pains and joys of getting started with plotting. Overall, it is immensely enjoyable. Almost anything can be plotted, and I'm excited to experiment with photography and other mediums to see how they look when run through a plotter. The first plotting project I will embark on is a 64 piece retrospective of flow which I will document on my Instagram and my blog.
Thank you for reading and have a nice day!

Just published my first article on @paragraph https://paragraph.xyz/@henrypye/pain-and-joys-of-plotting
Nice!