


Put Your Podcast Onchain in 5 Easy Steps
Do you have a podcast? Put it onchain this summer. It's almost too easy.
Adrienne
3 min read·
I recently wrote a post about onchain podcasts - what they are, their benefits, and a simple tech stack for an MVP. I encouraged people with existing podcasts to think of onchain as just another distribution channel:
You have nothing to lose and potentially much to gain. You probably already publish your podcast to multiple platforms through RSS, so just think of onchain as one more distribution channel.
I decided to follow my own advice and take one of my existing podcasts and move it onchain. With Base's onchain summer II right around the corner, I figured there's no better time than now.
In this post, I document the steps I took to get my podcast onchain. If you're already familiar with basic web3 tools, the entire process is almost too easy and can be done in less than 20 minutes. Unfortunately, "I don't have time" can no longer be an excuse for not putting your podcast onchain.
If you are new to crypto and blockchains, you might need a little more hand holding or a more detailed tutorial. While this post isn't meant to be a detailed step-by-step tutorial, don't let that stop you from trying. Success in life comes from getting your hands dirty, so don't be afraid to tinker.
Before getting started, choose which of your existing podcasts you want to move onchain and make sure you have the following information and prerequisites readily available:
Podcast name and description
Logo and/or episode cover art
The audio or video file (.mp3, .wav, .mp4, .mov, etc.) for the episode you want to put onchain
The podcast I moved onchain this week is my just-for-fun podcast called Four Old College Friends, which has been available on traditional podcasting platforms - Spotify, Apple Podcasts, iHeartRadio, etc - since last year.
You need an ethereum wallet address to put your podcast onchain. You could use one of your existing wallets, but it's a good idea to spin up a new address especially if you expect to monetize your podcast because it will help keep transactions organized.
I used coinbase wallet to add a new address to one of my existing wallets. This gave me an empty wallet with a new public address, but without a new set of private keys.
I could have instead created a brand new wallet address with a new seed phrase, or spun up a safe smart account, but for simplicity sake I chose not to.
You'll need some ETH to cover the costs of purchasing an ENS. You can send ETH from an existing wallet or a coinbase account to your new address. I sent about $100 in ETH to fund my wallet and ended up using about half of it.
While not actually required to get your podcast onchain, it's a great idea to purchase ENS names for your projects. Along with using a new wallet, it can help you manage and keep track of your funds and assets. An ENS name also helps with branding and awareness.
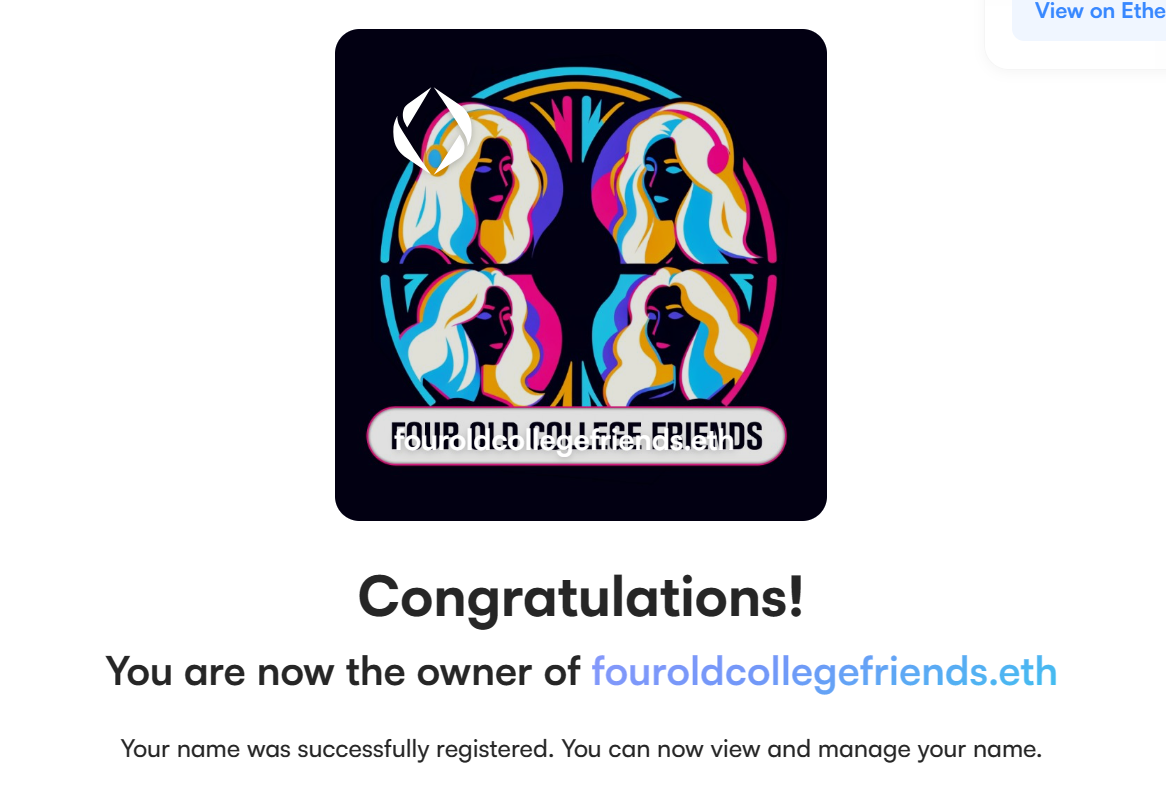
Go to https://app.ens.domains/ to register and purchase an ENS, using your new wallet to login and make the purchase.
For my podcast, I purchased fouroldcollegefriends.eth for 6 years and it cost me 0.0176 ETH.
Create a new account on Zora at https://zora.co/, using your new wallet address.
I created an account for FourOldCollegeFriends and uploaded my podcast's logo. This will be the account you use to create and upload your actual podcast.
Once you are logged into Zora with your new wallet address, go to the create page (click on the + in the top right corner). Follow the prompts to upload your podcast:
Create a new collection - give a name and description for your podcast, and upload cover art. I chose Base as the network for my podcast.
Upload your podcast file (.mp3, .wav. etc.)
Review and change any advanced settings. For my podcast, I chose an open mint duration, with unlimited mints.
Finish submitting the form and sign the transaction with your wallet. When you're done, you'll end up with a mint page for your podcast. Here's what mine looks like:

That's literally all it takes to put your podcast onchain. And as I wrote in my last post, congratulations!
Congratulations! You've successfully launched your MVP onchain podcast and are now part of a small group of pioneers building a more equitable and transparent model for digital content. You're helping redefine the creator economy, directing benefits and power away from large platforms and towards creators and consumers alike.
Now go tell someone about your onchain podcast. Cast a link to your podcast into the onchain media and/or onchain summer channels on Farcaster, and please tag me if you found this post helpful or with any feedback.
Another cool thing you can do with your mint page is embed it into a paragraph post! Here's the podcast I put onchain and how it can look as an embed:
https://zora.co/collect/base:0xca436bf41ae5c193fe4e7ea2332cd4040677ff2d/1Like I said above, this post was not meant to be a detailed step by step tutorial, but rather a list of steps someone who is already familiar with web3 tools could follow. If you are attempting to put your podcast onchain and you do get stuck, here are some resources you can check out:
Onchain Media community on Farcaster
Onchain Summer channel on Farcaster
Docs & Information about Base, Coinbases Layer 2


Amazing this 🔥
I took an existing podcast and put in onchain today. I'll follow up with a paragraph post detailing the steps, but honestly it's almost too easy. 1. Get new wallet address 2. Get new ENS for the show 3. Create new Zora account with new ENS 4. Create new collection, on base, and upload the MP3
Really like this flow, was actually pondering about how to do this with my old show this morning 💜
It's almost too easy. I wrote this follow up piece as well with a little more details. If you do it, report back! https://paragraph.xyz/@adrienne/put-your-podcast-onchain-in-5-easy-steps
Zora has IMO revolutionized creating NFT collections 🤔 It's easier than some clunky websites to upload photos to print, etc. Congrats on finishing one of your goals 🙌💪
This week I built… - Migrated a very normie podcast to Base - Wrote a how-to guide encouraging others to do the same, on paragraph collectible on base https://zora.co/collect/base:0xca436bf41ae5c193fe4e7ea2332cd4040677ff2d/1 https://paragraph.xyz/@adrienne/put-your-podcast-onchain-in-5-easy-steps
50 $DEGEN
Love the guide!
love base! 🔵
Very based! And thank you for putting this together for the normies.
DOPE idea 🔥🔥🔥
Thanks for the guide ! Here is some $MASKS tips for you! 🎭
It's interesting 🤞
Super easy! Do you plan to mint every episode or a few specific ones?
planning to add all episodes into the collection
I just subscribed to @adrienne on /paragraph! Check it out:
From: @jackjack.eth
From: @statuette
I just published a short post outlining how to get an existing podcast onchain. It's almost too easy so what are you waiting for? https://paragraph.xyz/@adrienne/put-your-podcast-onchain-in-5-easy-steps
Great work! 👏💙
Thanks @statuette 🫶
4 $degen
Learnt a lot from reading this!. I will write about it also and share the gospel to my people in Africa
Mint out
Minted ✅
Mint NFT ✨🌺